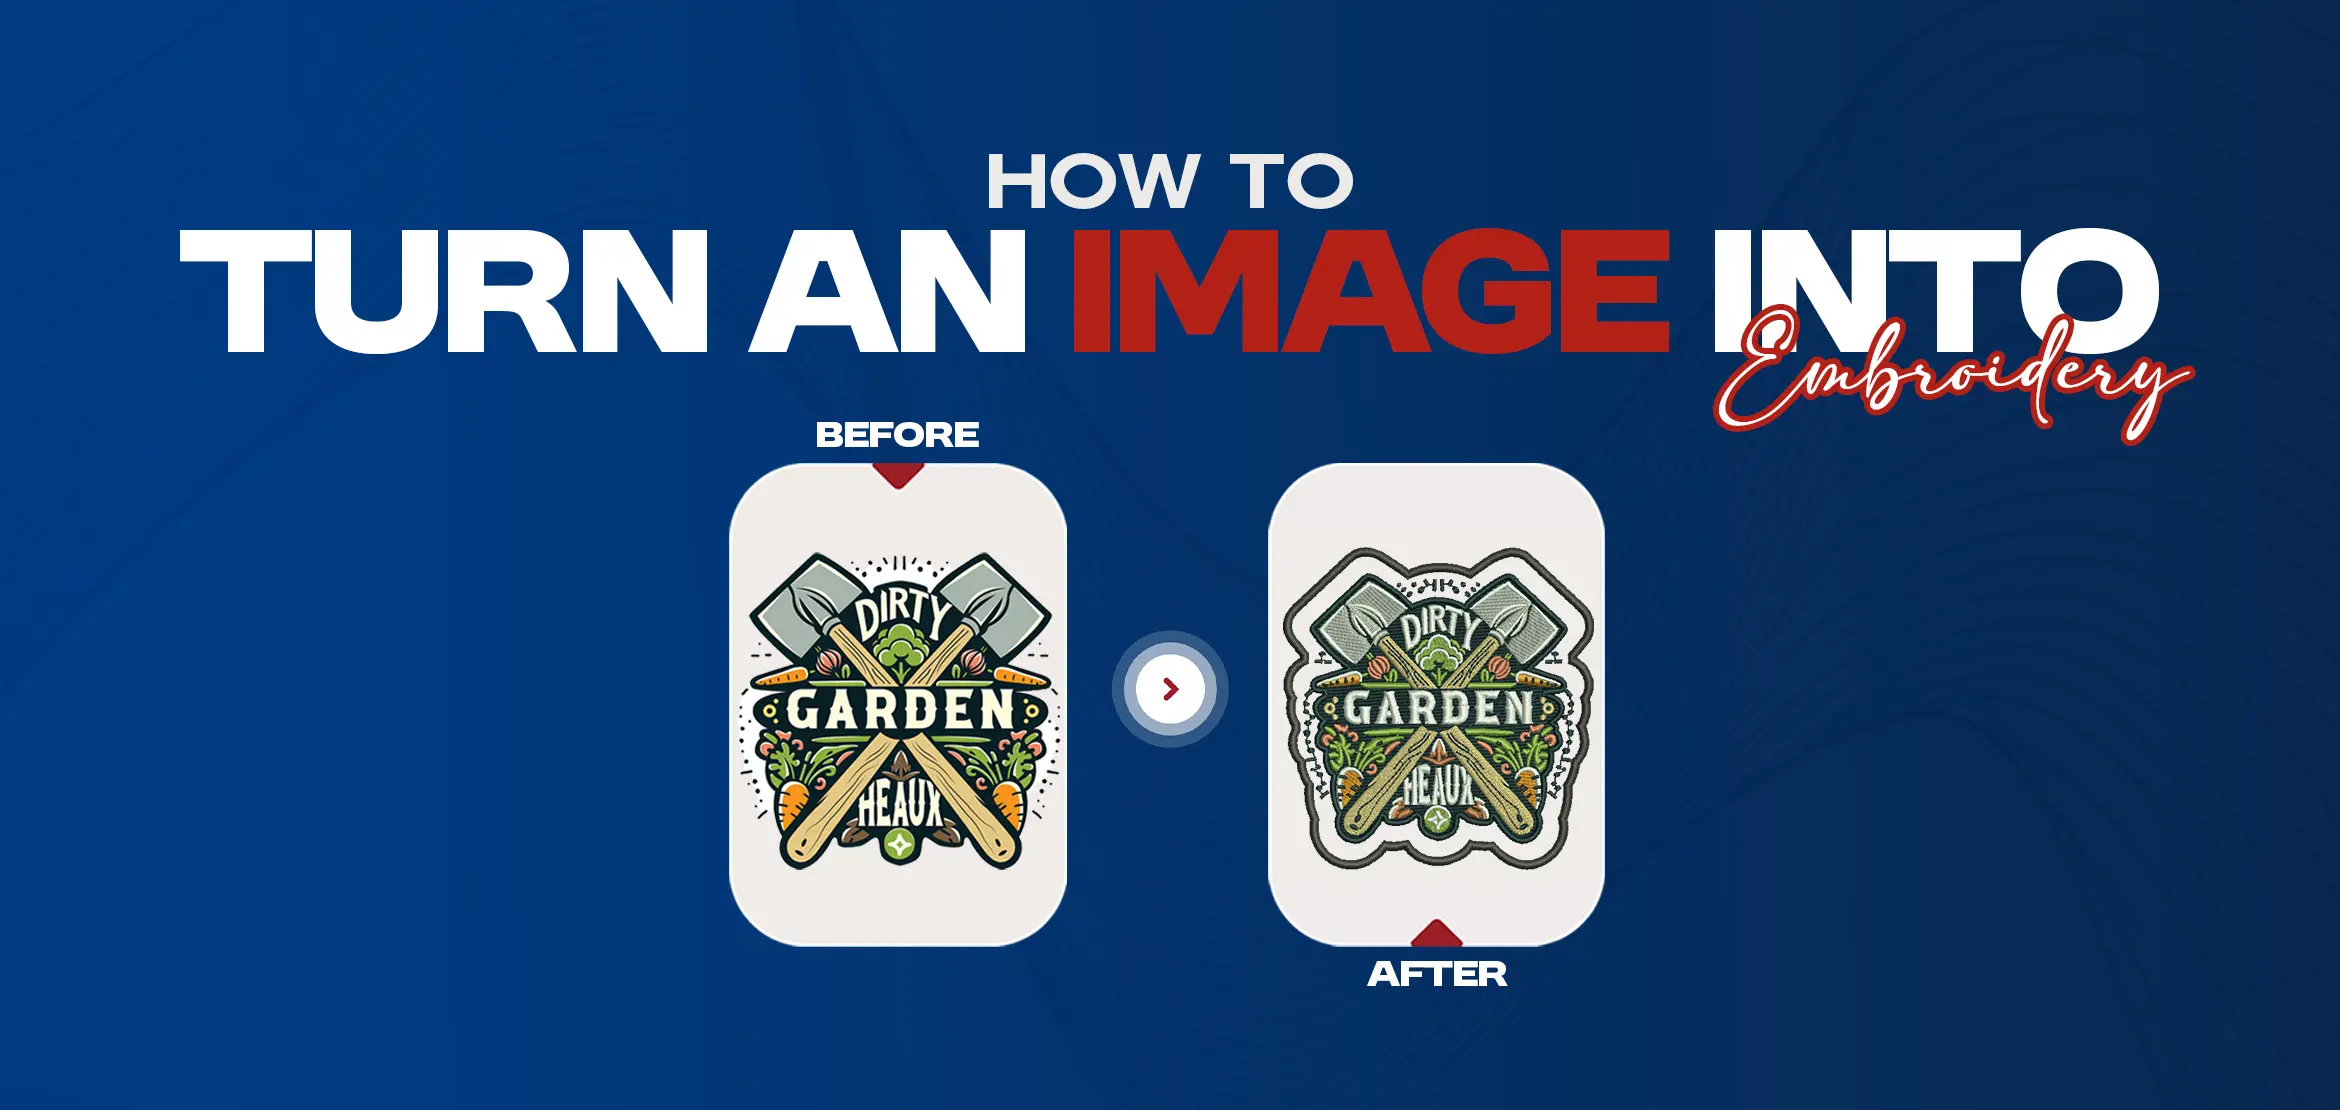
How To Turn An Image Into Embroidery
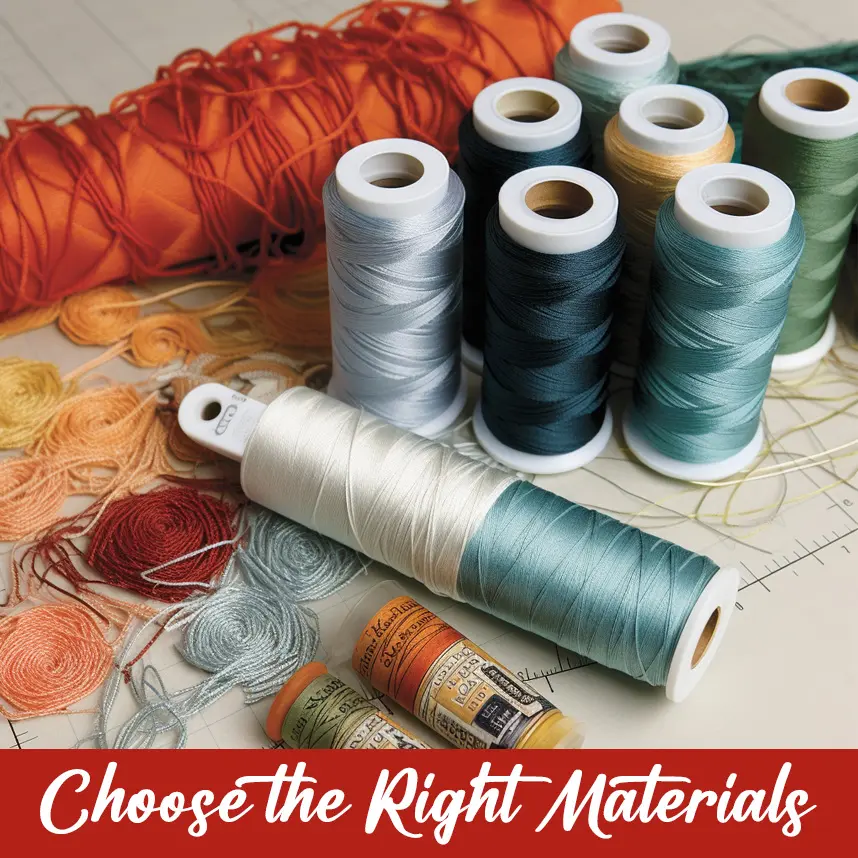
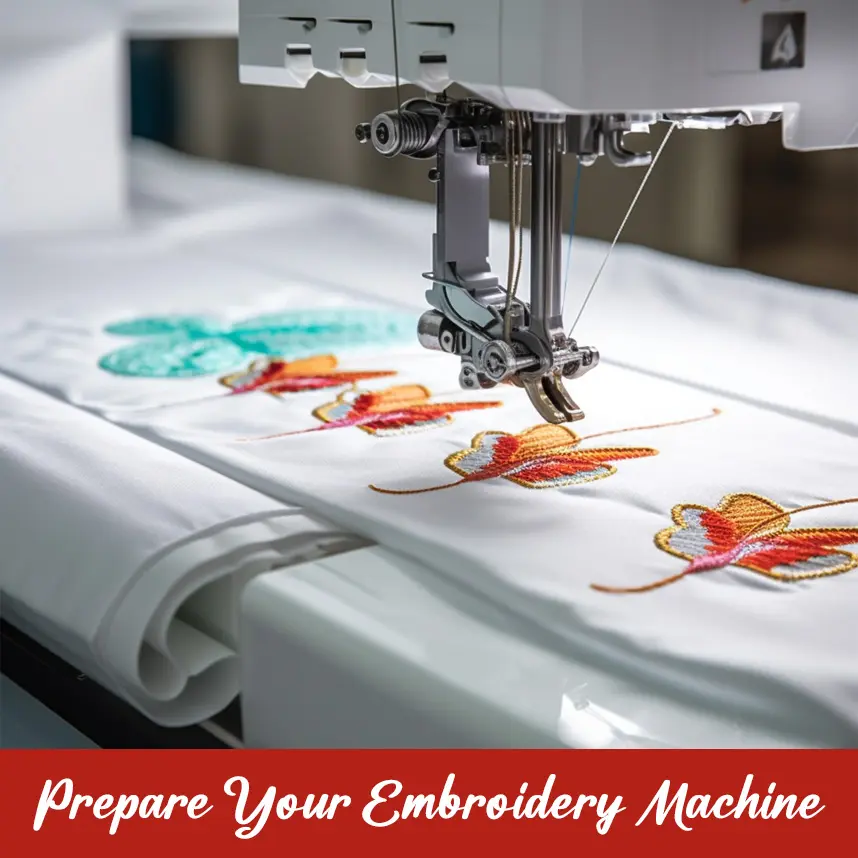
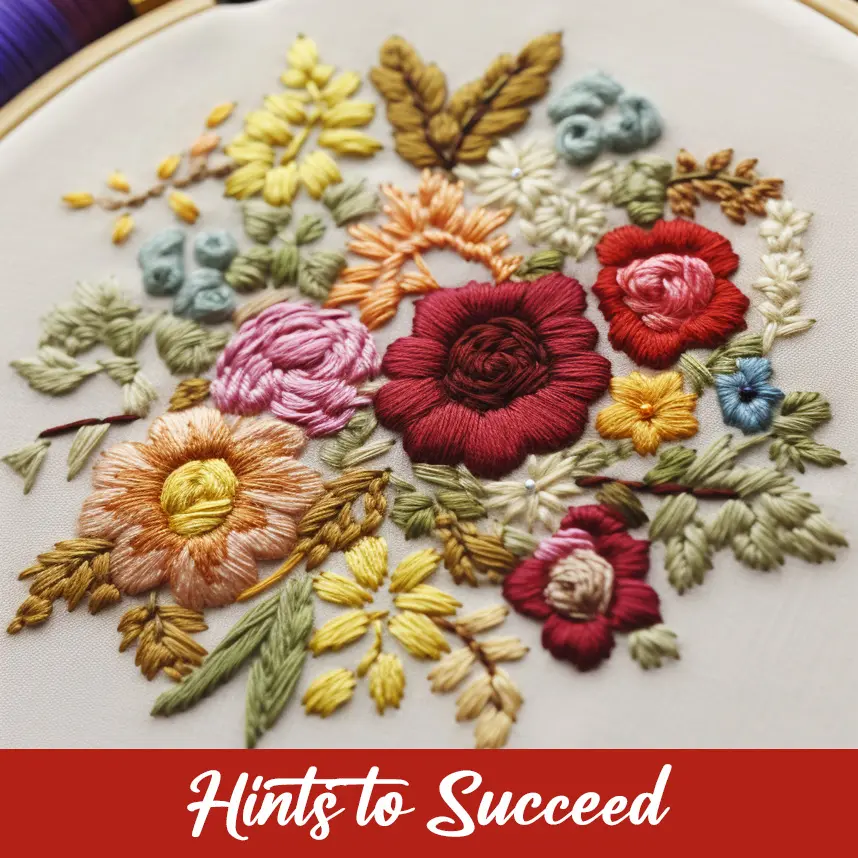
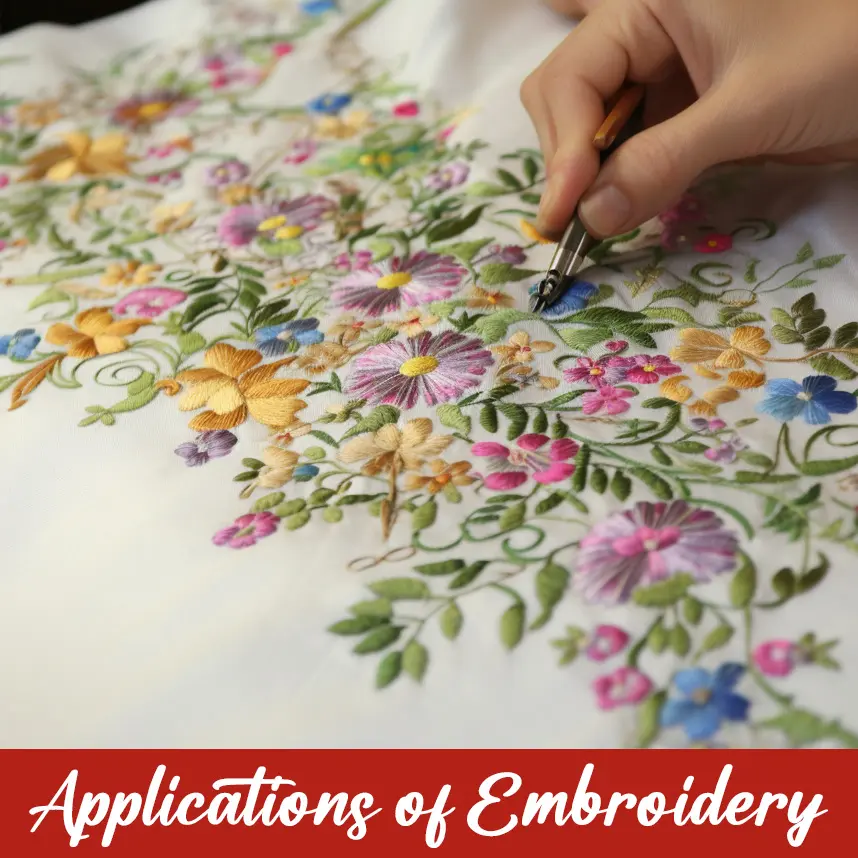
How To Turn An Image Into Embroidery Embroidery is an ancient art that harmoniously combines art and functionality. Whether you are a hobbyist, a small business owner, or just someone looking to personalize an item, turning an image into embroidery opens up endless possibilities for creative expression. This guide will walk you through the entire process-from choosing the right image to completing the embroidered piece. The foundation of any great embroidery project is the image you choose. Here are some tips to help you select the perfect one: Simplicity is Key: Images with clean lines, minimal details, and fewer colors translate better into embroidery. Complex images may lose clarity when stitched. High Resolution: Use a high-resolution image to ensure all necessary details are captured during the digitization process. Contrast: Opt for images with clear contrasts to help define the design. Common choices include logos, cartoon characters, simple illustrations, or text-based designs. If you’re a beginner, start with a simple design to build your confidence. Once you’ve selected an image, you might need to tweak it to make it embroidery-ready. Here’s how: Use Image Editing Software: Tools like Adobe Photoshop, GIMP, or Canva can help you adjust the image by removing unnecessary elements or simplifying intricate designs. Convert to Black and White: This helps you focus on the outline and key details of the design, which are crucial for embroidery. Outline the Design: Trace or outline the main features of your image to emphasize key areas. Save the file in a high-resolution format, such as PNG or JPG. Embroidery machines can't read standard image files, so you have to digitize an image—a process of converting it into a file the machine can read. Here's how: a) Use Digitizing Software Using software such as Wilcom, Hatch, or Embird will transform your image into an embroidery file. The programs will let you define: Stitch types, for example, satin, fill, or running stitches. Assign colors of thread. Define the stitch order and direction. b) Hire a Professional If digitizing feels daunting, consider hiring a professional service. They’ll ensure your image is optimized for embroidery and save you time. The materials you use can significantly impact the quality of your embroidery. Here’s what you’ll need: Fabric: Choose a sturdy fabric like cotton, denim, or canvas that can hold stitches well. Embroidery Thread: Polyester and rayon threads are favorites because they are durable and come in bright colors. Stabilizer: This backing material prevents the fabric from puckering during stitching. Choose the type-tear-away, cut-away, or water-soluble-for your project. Hoop: Keep the fabric taut by placing it in an embroidery hoop. Modern embroidery machines have a number of features that make the process efficient and precise. Here's how to set up your embroidery machine: Load the File: Import your digitized embroidery file into the machine using a USB or direct connection. Thread the Machine: Use the appropriate thread colors according to your design. Position the Fabric: Place the fabric and stabilizer in the hoop, making sure it is centered and tight. Test the Design: Run a test stitch on scrap fabric to ensure accuracy and make any necessary adjustments. Success in an embroidery project can only be achieved through the following; Practice makes perfect: It starts with small designs and, eventually, works with the more intricate projects as experience increases. Quality material is always a must-have: Better threads, fabrics, and stabilizers translate to better outcome results. Patience is needed: Embroidery requires much attention to details and precision. In a rush, mistakes could occur. Translating pictures into embroidery isn't just art, but is rather a way to put these pictures into everyday practical use: T-Shirts and other tops or jackets Embroidered pillow or tablecloth for the home Logos embroidered onto uniforms or tote bags, promotional products A hand-embroidered piece for a friend's birthday. To be successful in an embroidery project, always remember to do the following: Practice makes perfect: It starts with small designs and, eventually, works with the more intricate projects as experience increases. Invest in quality material: Better threads, fabrics, and stabilizers translate to better outcome results. Patience is needed: Embroidery requires much attention to details and precision. In a rush, mistakes could occur. In conclusion, transforming an image into embroidery is a rewarding process that combines creativity, technology, and craftsmanship. By following this step-by-step guide, you’ll be equipped to bring your designs to life. embroidery offers endless opportunities to showcase your artistry and make a lasting impression whether it is for personal or professional use. Strategies to turn an image into embroidery
1. Choose the Right Image
2. Prepare the Image
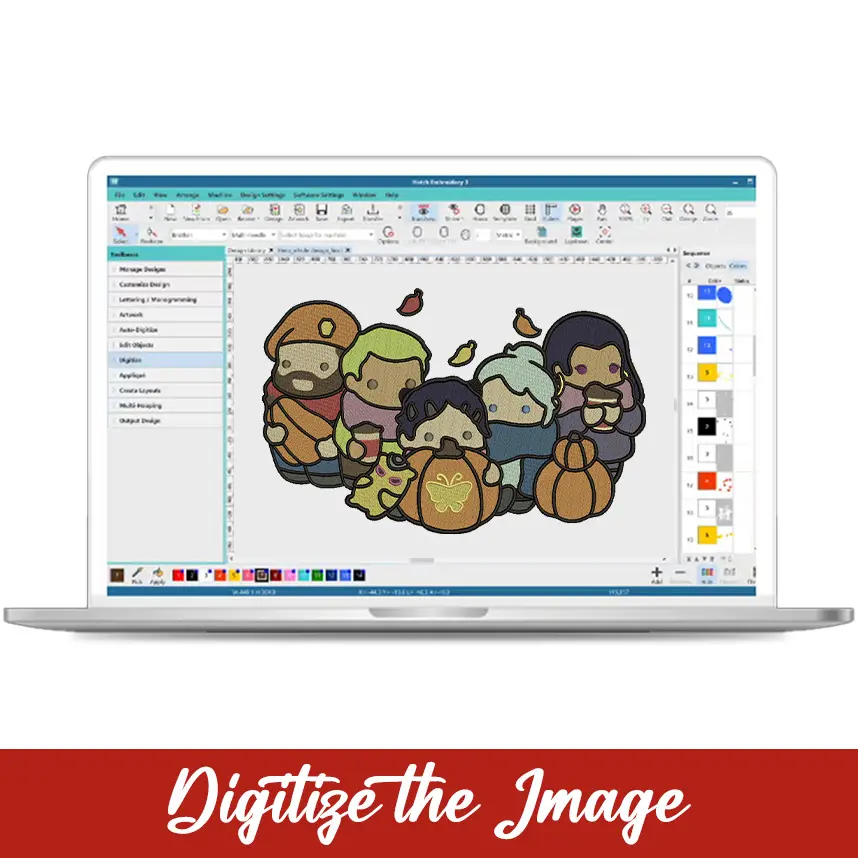
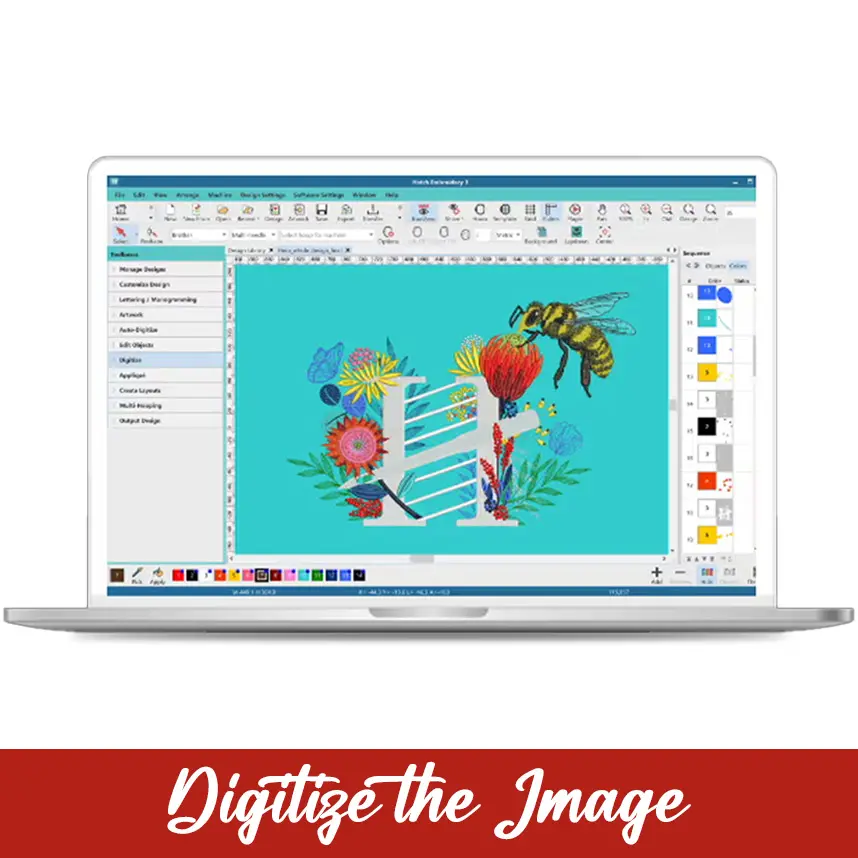
3. Digitize the Image
4. Choose the Right Materials
5. Prepare Your Embroidery Machine
6. Hints to Succeed
7. Applications of Embroidery
8. Tips for Success

Conclusion
Related Blogs