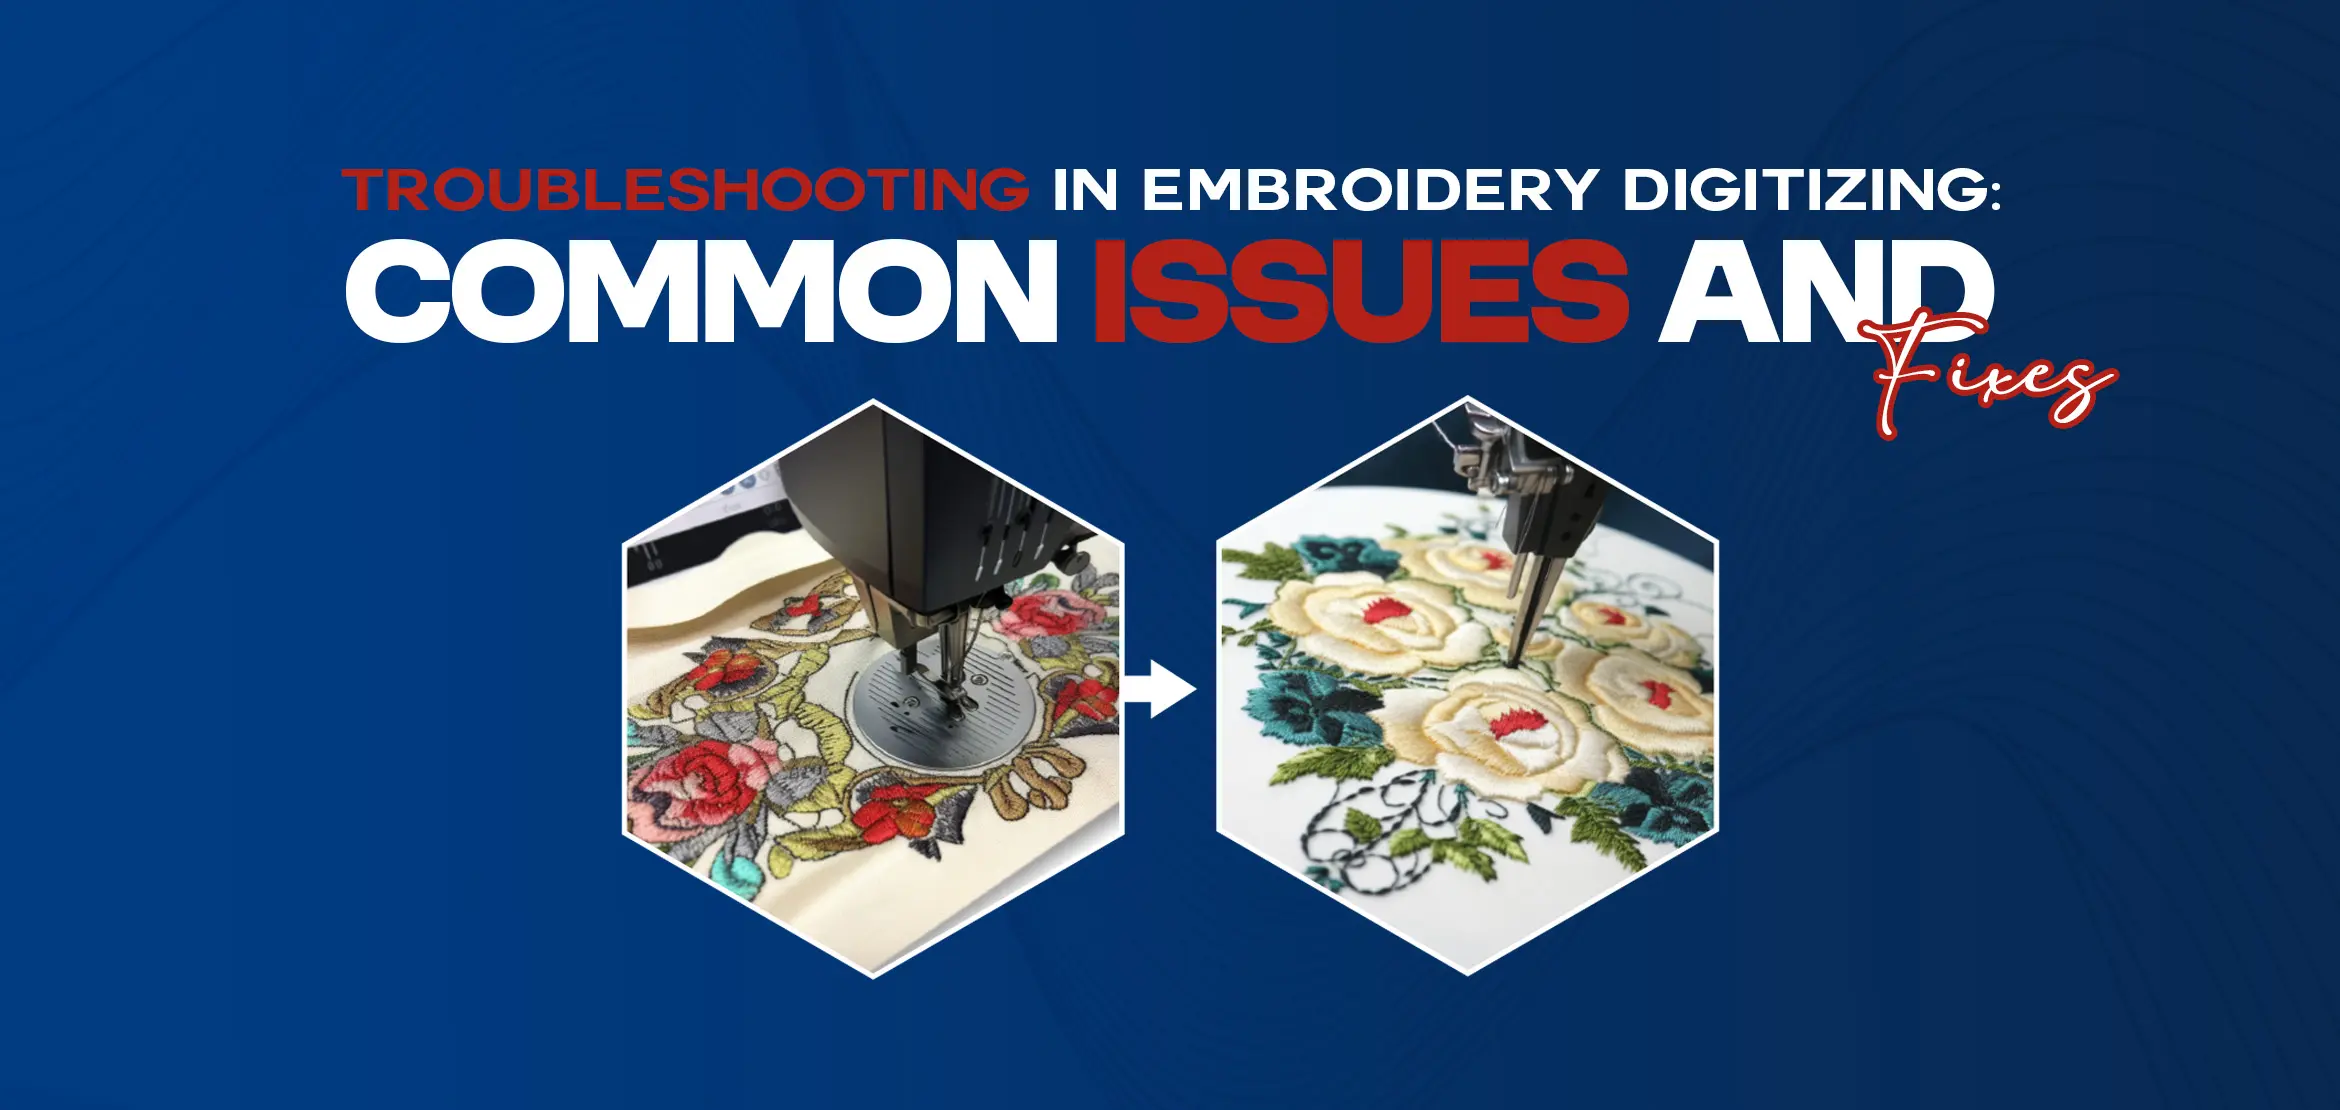
Troubleshooting in Embroidery Digitizing: Common Issues and Fixes
Table Of Content
Embroidery digitizing, a process that transforms artwork into stitch instructions for embroidery machines, can sometimes feel like navigating a labyrinth of technical intricacies. From intricate designs to delicate fabrics, numerous factors can affect the outcome of your embroidered masterpiece. However, fear not! With a bit of know-how and troubleshooting savvy, you can overcome common hurdles and achieve flawless results. Let’s delve into some of the most common issues encountered in embroidery digitizing and how to address them effectively.
1. Thread Breaks
One of the most frustrating issues in embroidery digitizing is thread breaks. Picture this: your machine humming along, then suddenly halts, leaving behind a messy, incomplete design. What went wrong? Thread breaks can occur due to various reasons, including tension issues, old or poor-quality thread, needle problems, or even design complexities.
Thread Break Solution:
Start by checking the tension settings on your machine. Ensure they’re properly adjusted according to the thread and fabric you’re using. Next, inspect the thread itself. Is it old or low-quality? Swap it out for a fresh, high-quality thread to minimize breakage. Additionally, regularly change your needles to prevent dullness, which can cause thread breaks.
2. Puckering
Puckering, the bane of every embroiderer’s existence. It occurs when the fabric bunches up around the embroidered area, resulting in a wrinkled, unprofessional finish. Puckering can stem from incorrect stabilizer selection, excessive tension, or inadequate hooping techniques.
Puckering Solution:
Firstly, ensure you’re using the correct stabilizer for your fabric. Experiment with different types and weights to find the perfect match. Secondly, double-check your tension settings. Too much tension can cause the fabric to pull, leading to puckering. Lastly, master the art of hooping. Make sure the fabric is taut and smooth within the hoop to prevent any puckering mishaps.
3. Misaligned Designs
There’s nothing worse than spending hours perfecting your digitized design, only to have it come out misaligned on the fabric. Misalignments can occur due to inaccurate hooping, design distortion during resizing, or incorrect placement of the design on the fabric.
Misaligned Design Solution:
To tackle misaligned designs, start by meticulously hooping your fabric. Ensure it’s centered and securely taut within the hoop to minimize any shifting during embroidery. When resizing designs, always maintain their aspect ratio to prevent distortion. Additionally, use alignment tools or marks on your fabric to guide the placement of your design accurately.
4. Thread Shredding
Thread shredding, the silent enemy of embroidery digitizing. It sneaks up on you, causing frustration and delays in your embroidery projects. Thread shredding can result from various factors, including dull needles, excessive speed, or improper thread tension.
Thread Shredding Solution:
Combat thread shredding by regularly changing your needles. Dull needles can fray the thread, leading to shredding and breakage. Additionally, slow down your machine speed to give the thread ample time to form clean stitches. Finally, fine-tune your tension settings to achieve the perfect balance for smooth, uninterrupted stitching.
5. Poor Stitch Quality
Nothing tarnishes the allure of embroidery quite like poor stitch quality. Whether it’s inconsistent stitching, thread loops, or jagged edges, poor stitch quality can detract from the beauty of your design.
Poor Stitch Quality Solution:
To enhance stitch quality, start by ensuring your machine is properly calibrated and maintained. Clean the bobbin area regularly and lubricate moving parts as needed to keep everything running smoothly. Additionally, experiment with different stitch settings and densities to find the optimal configuration for your design.
6. Color Bleeding
Color bleeding occurs when the colors of your embroidery design bleed into each other, resulting in a blurred or muddied appearance. This issue can arise due to various factors, including improper thread tension, inadequate stabilization, or using incompatible thread types.
Color Bleeding Solution:
Begin by double-checking your thread tension settings. Ensure they're balanced to prevent excessive thread pull, which can contribute to color bleeding. Next, choose the appropriate stabilizer for your fabric to minimize shifting during embroidery. Experiment with different stabilizer types and weights to find the best match for your project. Additionally, consider using quality thread from reputable brands, as low-quality thread may be more prone to bleeding. Finally, test your design on scrap fabric before embroidering the final piece to identify any potential color bleeding issues and make adjustments accordingly.
7. Digitizing Errors
Digitizing errors can throw a wrench into your embroidery project, causing frustration and wasted time. These errors can manifest in various forms, such as missing stitches, incorrect stitch density, or misaligned elements within the design.
Digitizing Errors Solution:
To address digitizing errors, start by thoroughly reviewing your digitized design file. Use embroidery software to inspect each element and stitch sequence for accuracy. Pay close attention to stitch angles, densities, and overlaps, ensuring they align with your intended design. If you identify any errors, make the necessary adjustments in your digitizing software and re-save the file before proceeding with embroidery. Additionally, consider seeking feedback from experienced digitizers or embroiderers who may offer valuable insights and suggestions for improving your digitizing skills.
Final Words
While embroidery digitizing may present its fair share of challenges, armed with the right knowledge and troubleshooting techniques, you can overcome any obstacle that comes your way. By addressing common issues such as thread breaks, puckering, misaligned designs, thread shredding, and poor stitch quality, you’ll be well on your way to achieving embroidery excellence. So, roll up your sleeves, dive into the world of digitizing, and let your creativity soar!


