The Ultimate Embroidery Removal Tools - StitchUndo
Table Of Content
- 1. Types of Embroidery Removal Tools
- 2. Seam Rippers
- 3. Stitch Erasers
- 4. Cleaning Brushes
- 4.1 Nylon Brushes
- 4.2 Horsehair Brushes
- 4.3 Lint Brushes
- 5. Regular Razors
- 6. Special Blades
- 7. Usage and Care of Embroidery Removal Tools
- 7.1 Extended Usage Between Charges
- 8. Benefits of Using an Embroidery Removal Tool
- 8.1 Fabric Without Damage
- 8.2 Quickly Removing Mistakes and Loose Threads
- 8.3 Create Different Types of Stitch Patterns
- Satin Stitches
- Fill Stitches
- Decorative Stitches
- 8.4 Save Time on Projects with Dense Stitches
- 9. Conclusion
- 10. FAQs (Frequently Asked Questions)
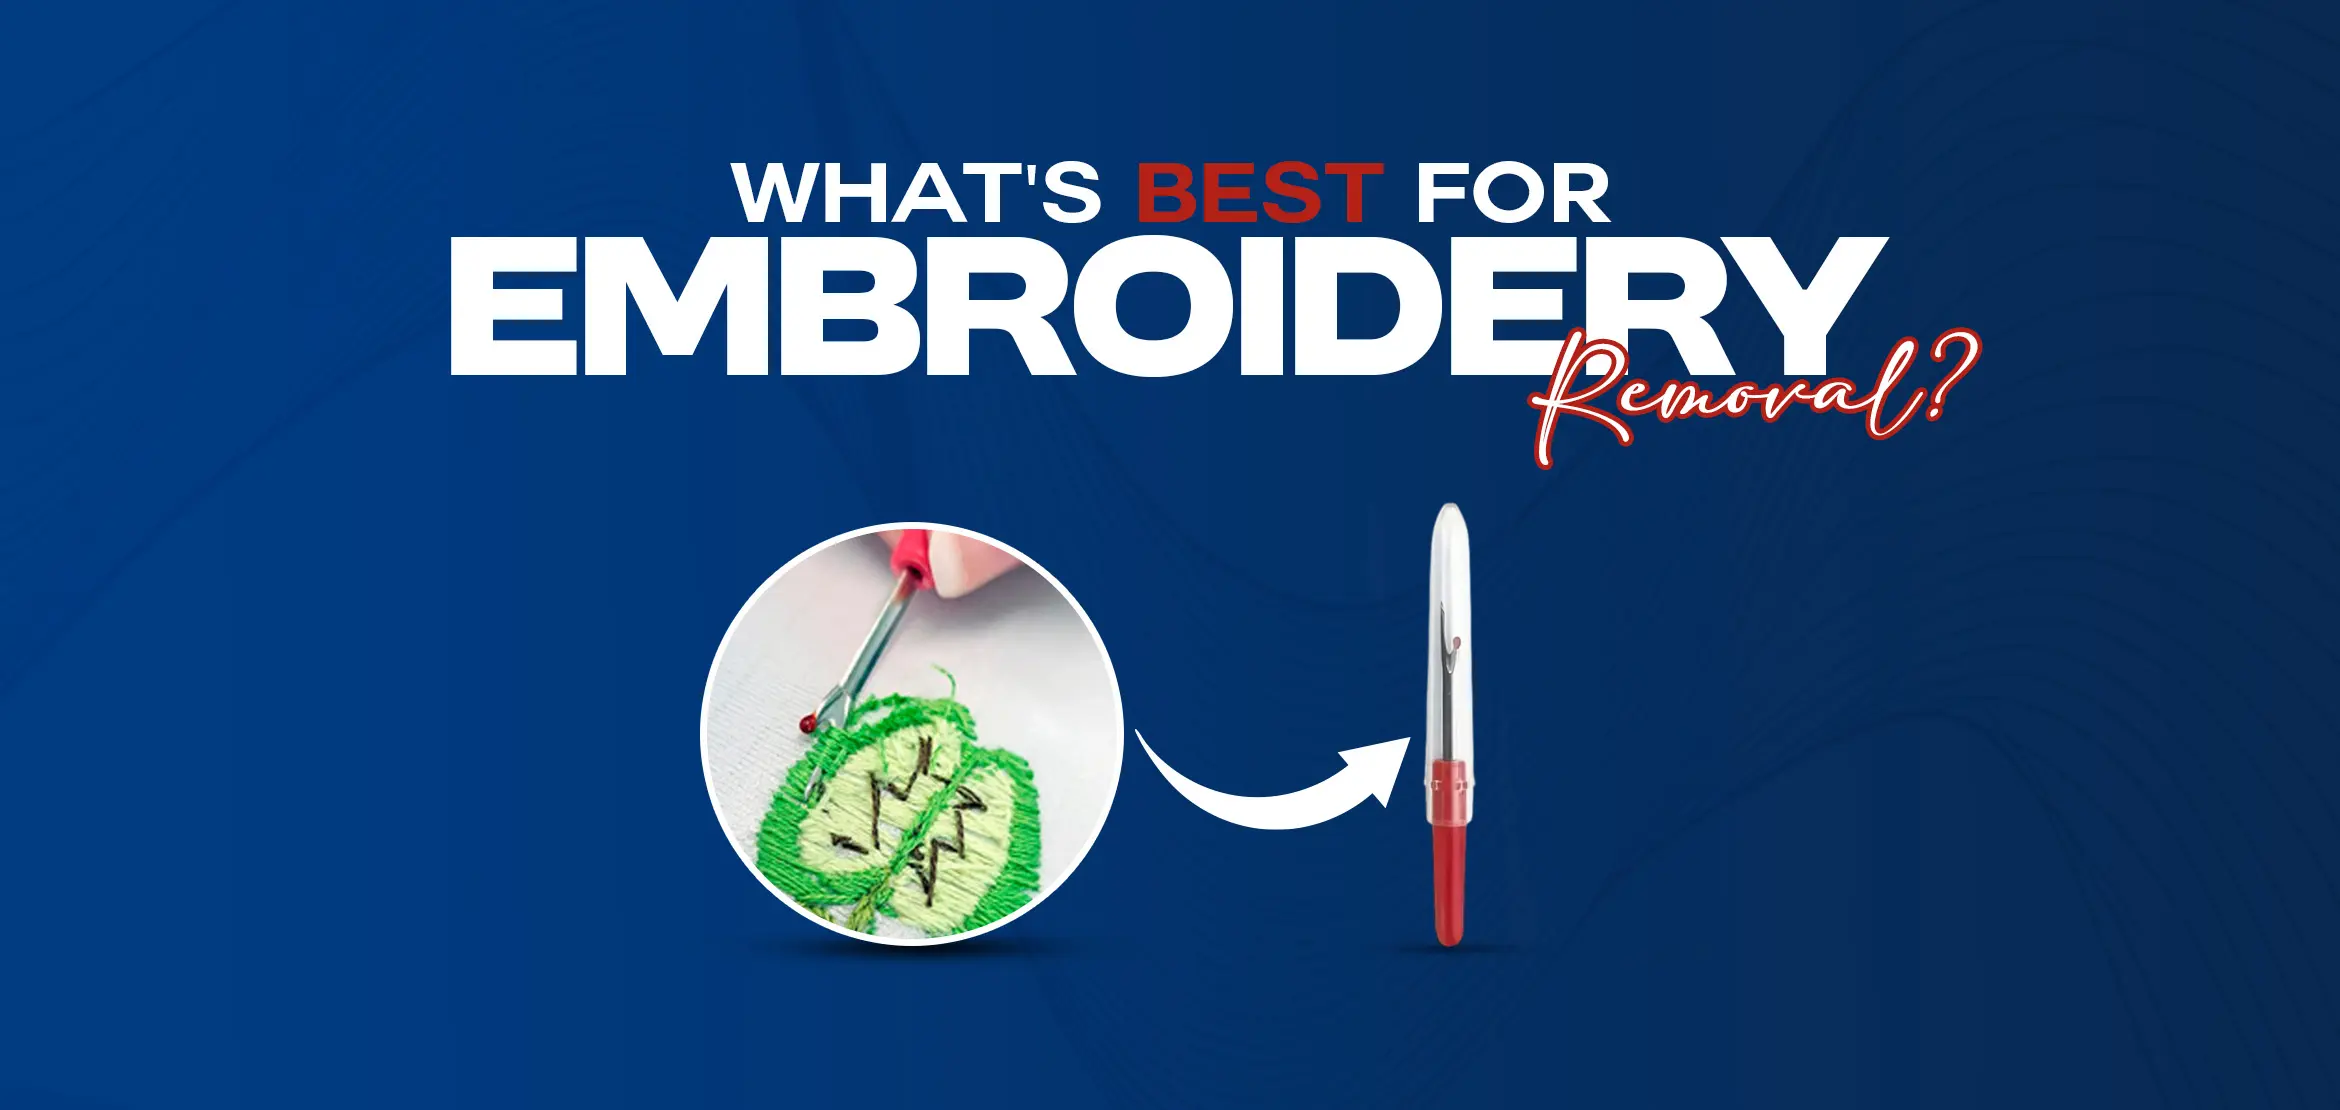
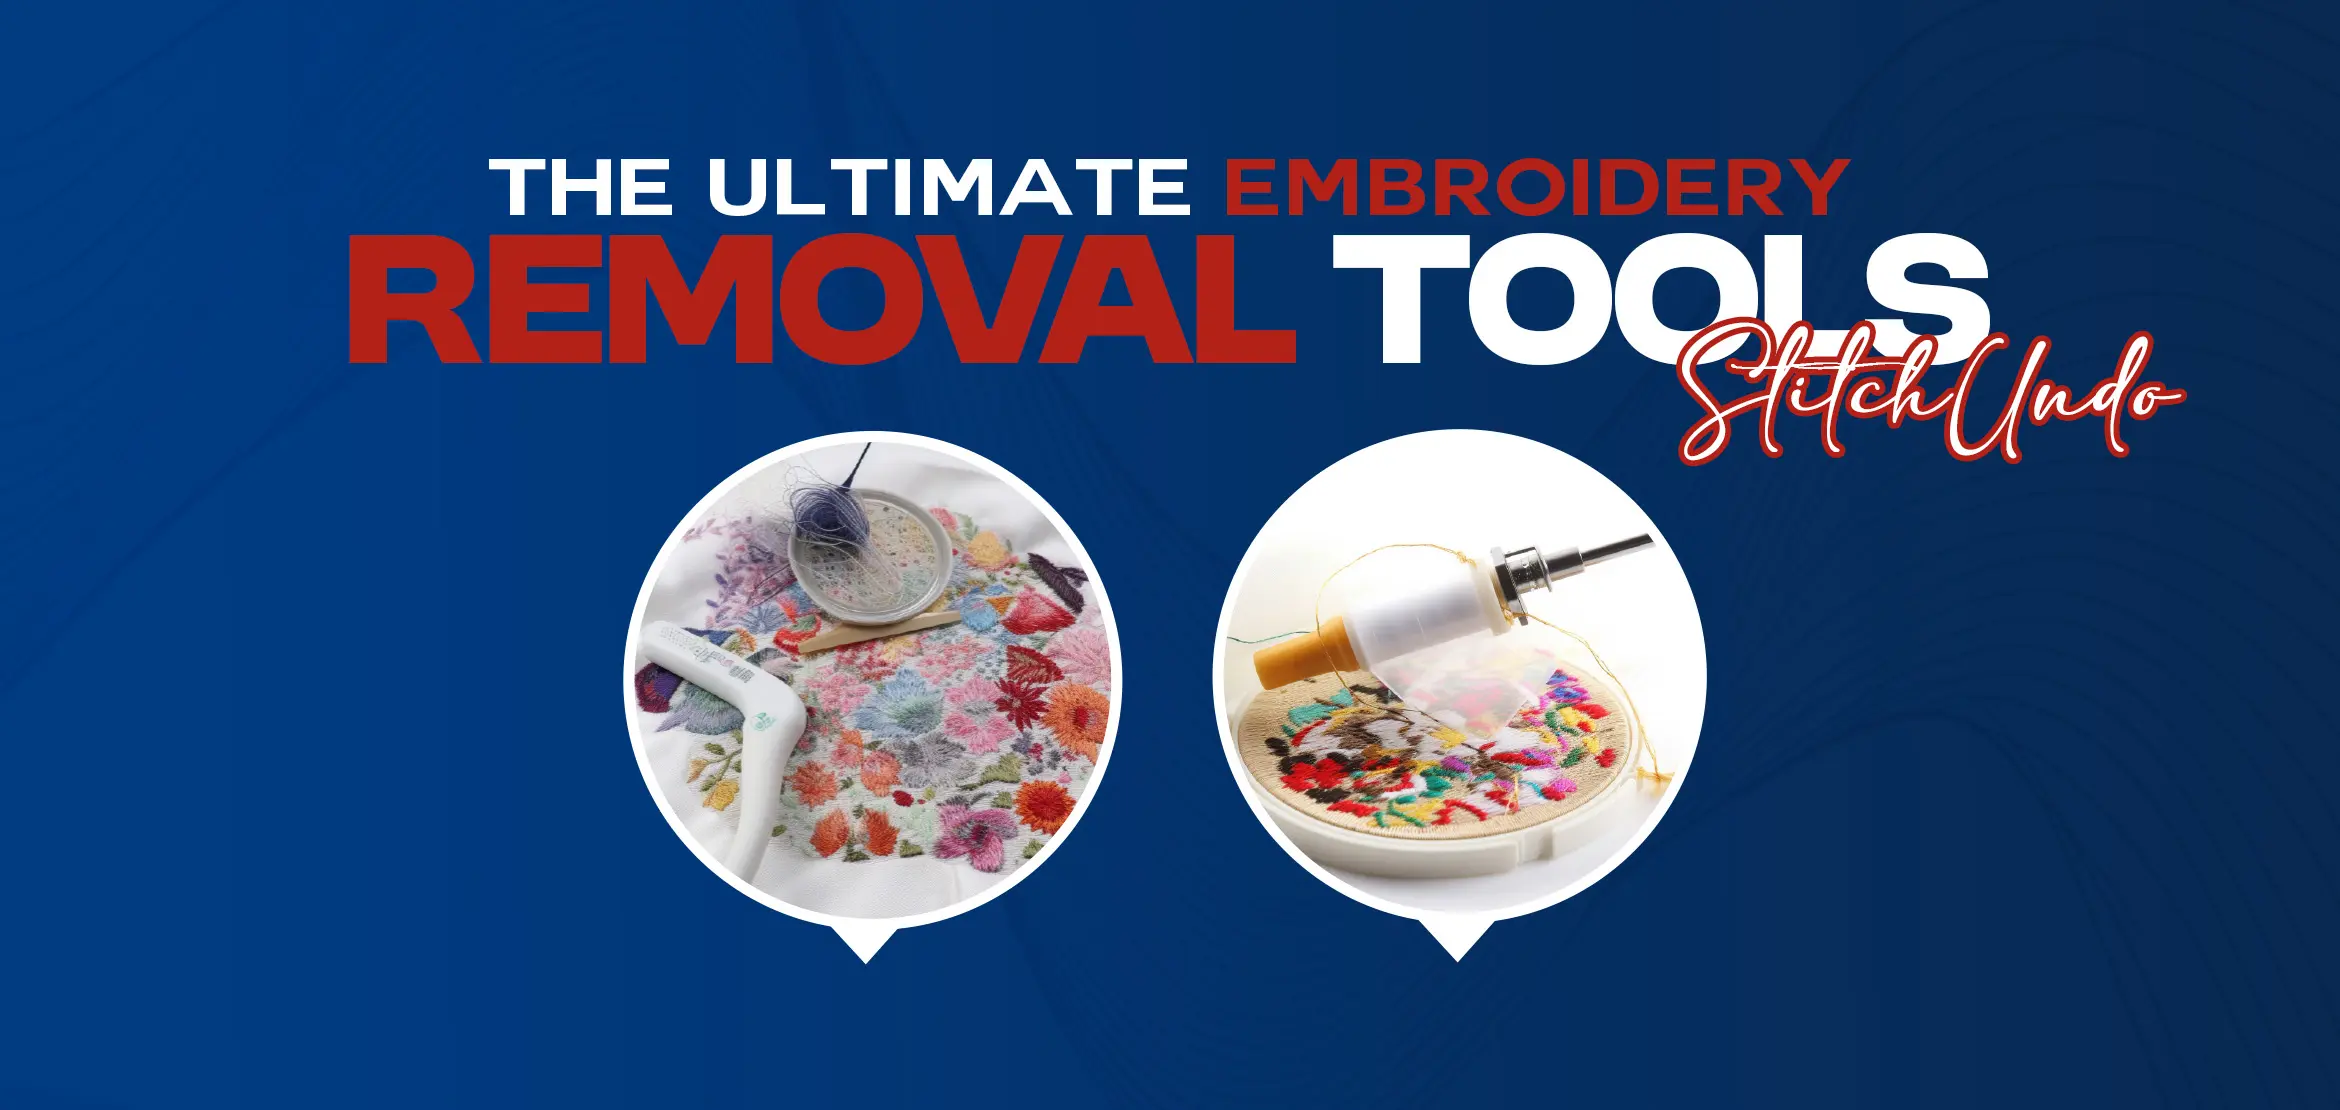
An embroidery removal tool is a handy device used to remove unwanted stitches from fabric. It is specifically designed to help reverse embroidery mistakes and remove stitches without damaging the fabric. There are several types of embroidery removal tools available in the market. One common type is seam rippers, which have a small, sharp blade that cuts through the stitches. Another option is stitch erasers. These tools are particularly useful for removing dense stitches or embroidery that is set deep into the fabric. Cleaning brushes can also be used to remove loose threads or bits of embroidery from the fabric surface. Regular razors are another choice, but caution must be exercised to avoid cutting or damaging the fabric. Special blades are available as well, which are designed specifically for the purpose of removing embroidery stitches. Overall, an embroidery removal tool is an essential tool for seamstresses, embroiderers, and anyone working with fabric. With different options available, it is important to choose the right tool based on the fabric type. Let's delve into an exploration of all the available options. Embroidery removal tools come in various types, each offering unique features and benefits. Seam rippers are a popular option, equipped with a small, sharp blade that cuts through stitches effortlessly. For those dealing with dense stitches or deeply embedded embroidery. Stitch erasers utilize an electric eraser-like tip to gently rub away the stitches. Cleaning brushes are a gentler alternative, perfect for delicate fabrics or intricate designs, effectively removing loose threads and embroidery bits from the fabric surface. However, caution must be exercised when using regular razors, as they can potentially damage or cut the fabric. For more specialized needs, there are tools with special blades designed specifically for removing embroidery stitches. These tools feature a unique cutting head that efficiently slices through the thread without causing any harm to the fabric. With such a wide variety of options available, embroidery enthusiasts and professionals can find the perfect tool to tackle any embroidery removal task with ease and precision. Seam rippers are a popular choice for removing embroidery stitches due to their ease of use and affordability. These handy tools come in different types to suit various needs. The most common type of seam ripper features a slender handle with a small, sharp blade at one end. This pointed blade easily slips under stitches to carefully cut and remove them. Another type includes a curved blade. Which is ideal for cutting stitches in more intricate or delicate embroidery designs. Seam rippers offer several advantages for removing embroidery stitches. Firstly, they are incredibly easy to use. With just a steady hand, you can glide the blade under the stitch and release it. Effectively removing the thread without damaging the fabric. Additionally, seam rippers are the cheapest tool for this purpose. They are widely available in sewing and crafting stores at an affordable price, making them a budget-friendly option for embroidery enthusiasts. Whether you are a beginner or experienced embroiderer, seam rippers are a must-have tool in your embroidery kit. Stitch erasers are specialized embroidery removal tools that have revolutionized the way stitches are removed from fabrics. Peggy's Stitch Eraser and the All-Stitch Remover are two popular options in this category. The standout feature of stitch erasers is their special cutting head, designed to easily and efficiently remove stitches from fabric. This cutting head is particularly effective in dealing with dense stitches or intricate stitch patterns that can be difficult to remove with traditional methods. Powered by a powerful electric motor, stitch erasers offer remarkable performance while being lightweight and portable. This makes them a convenient tool for both home embroiderers and professionals who need to remove stitches from various fabrics on a regular basis. One of the major advantages of using a stitch eraser is that it ensures the fabric remains undamaged. The special cutting head smoothly glides over the fabric, eliminating the risk of accidentally snipping or tearing it. This is especially beneficial when working with delicate or high-quality embroidery fabrics that require extra care. Cleaning brushes are an essential component of embroidery removal tools, designed to effectively remove excess thread and debris from fabric. These brushes help ensure a clean and professional finish to your embroidery projects. One common type of cleaning brush used in embroidery removal tools is the nylon brush. The nylon bristles are sturdy yet gentle on fabrics. Allowing you to remove loose threads and debris without damaging the fabric itself. Nylon brushes are particularly effective in removing stubborn threads that may be tangled or stuck in the fabric. Another type of cleaning brush commonly used is the horsehair brush. Horsehair brushes have softer bristles that are ideal for delicate fabrics. They are gentle enough to remove excess thread and debris without causing any harm to the fabric's surface. Horsehair brushes are particularly useful for intricate embroidery designs or fabrics that require extra care. Lint brushes are also popular for cleaning fabric during embroidery removal. These brushes have a sticky surface that efficiently picks up loose threads, lint, and other debris. Lint brushes are perfect for quick touch-ups and can be easily cleaned or replaced when the adhesive becomes less effective. In conclusion, cleaning brushes play a crucial role in the embroidery removal process. Whether you use nylon brushes, horsehair brushes, or lint brushes. These tools help you achieve a flawless finish by removing excess thread and debris from your fabric. Regular razors can be used as an alternative to dedicated embroidery removal tools for removing stitches from fabric. There are several types of regular razors that can be effective in this task. One option is a standard safety razor, which features a sharp blade that can easily cut through stitches. These razors are compact and affordable, making them a convenient choice for those on a budget. Another option is an electric razor, such as the Wahl hair trimmer. Specifically, the Wahl Peanut model is a popular choice for embroidery stitch removal. It has a compact design and a powerful motor that allows for precise and efficient trimming of stitches. The Wahl Peanut is a budget-friendly option that provides excellent performance. Regular razors can be a viable alternative to dedicated embroidery removal tools, providing effective results at a lower cost. Whether using a standard safety razor or an electric razor like the Wahl Peanut. These tools offer a practical and affordable solution for removing stitches from fabric. One important component of embroidery removal tools is the special blades. Which plays a crucial role in efficiently removing stitches from fabrics without causing damage. One example of a special blade that can be used with embroidery removal tools is the Peggys SE-999BL Upper Lower Replacement Blade Set. Specifically designed for use with a narrow 10mm stitch eraser, this blade is perfect for removing electric embroidery thread. Its sharpness and precision ensure that stitches can be quickly and effectively removed without harming the surrounding fabric. In addition to the Peggys SE-999BL, there are other special blades available that can be used with embroidery removal tools. These include blades with different cutting patterns and sizes, allowing users to customize their tool to suit their specific needs. By choosing the right blade, users can achieve clean and seamless stitch removal. Whether it's for a business embroidery machine or simply fixing mistakes on handmade items. To upgrade your embroidery removal tool and achieve professional-grade results. Consider investing in a special blade such as the Peggys SE-999BL replacement blade. With its narrow 10mm stitch eraser compatibility and ability to remove electric embroidery thread. This special blade is an essential addition to any embroidery enthusiast's toolkit. So, get ready to say goodbye to those unwanted stitches and hello to perfectly clean fabric surfaces! Embroidery removal tools are essential for anyone involved in embroidery. Whether it's a professional embroidery business or a hobbyist working on handmade items. To effectively use these tools, it's important to follow some basic guidelines. When using embroidery removal tools, it's crucial to handle them with care to avoid damaging the fabric. Start by selecting the right blade for the task at hand, considering factors such as stitch density and thread type. Gently glide the tool over the stitches, applying light pressure to avoid tearing or snagging the fabric. Regularly clean the blade during use to prevent buildup that can affect its performance. After each use, thoroughly clean the tool with a cleaning brush or cloth to remove any residual threads or debris. Proper storage is also important to maintain the longevity of the tool. Keep it in a dry place, away from moisture and extreme temperatures. By following these guidelines, embroidery removal tools can be effectively used and continuously provide great results for all embroidery needs. To extend the usage of an embroidery removal tool between charges, there are several tips and strategies you can follow. 1. Firstly, it is important to conserve battery power by turning off the tool when not in use. This will prevent unnecessary drain on the battery and allow the tool to last longer between charges. 2. Additionally, reducing the tool's runtime can also help extend usage. Try to complete embroidery removal tasks efficiently and avoid unnecessary or prolonged use of the tool. 3. Proper charging techniques are crucial for maximizing the battery life of your embroidery removal tool. It is recommended to fully charge the tool before each use and avoid charging it for too long. As overcharging can shorten the battery lifespan. 4. Furthermore, it is advisable to store the tool in a cool and dry place when not in use. Extreme temperatures can negatively impact the battery performance. So it's important to avoid exposing the tool to hot or cold environments. By following these tips and strategies, you can effectively extend the usage of your embroidery removal tool between charges and enjoy seamless embroidery removal without worrying about battery life. Using an embroidery removal tool can greatly benefit anyone involved in embroidery work or those who wish to fix or modify embroidered items. These tools are specifically designed to make the process of removing stitches easier and more precise. Whether you are a professional embroiderer, a hobbyist, or simply someone who wants to correct embroidery mistakes. An embroidery removal tool can be a valuable addition to your toolkit. These tools allow for the safe and efficient removal of stitches without causing damage to the fabric. By utilizing tools such as seam rippers, stitch erasers, and cleaning brushes. You can easily undo unwanted stitches and start fresh with your embroidery projects. Additionally, using an embroidery removal tool can save you time and effort compared to traditional methods. Ensuring that your finished products are of the highest quality. Fabric Without Damage: Preserving Delicate Fabrics with an Embroidery Removal Tool Embroidery can add beautiful embellishments to all sorts of fabrics, but what happens when you need to remove it? This is where an embroidery removal tool comes in handy. However, it's important to be mindful of the fabric you're working with. As some delicate materials may not withstand the process without damage. Fabrics like leather, velvet, vinyl, and cardstock tend to retain permanent needle holes even after using an embroidery removal tool. While the embroidery may successfully be removed, the fabric may bear the marks of the needle, affecting its overall appearance. Similarly, other delicate fabrics such as thin jersey shirts, chiffon, and silk may not look the same after embroidery removal. The removal process can stretch or distort the fabric, leading to a change in its texture or drape. To preserve delicate fabrics while using an embroidery removal tool, follow these tips: 1. Use a specialized embroidery removal tool designed for delicate fabrics. 2. Test the tool on a small, inconspicuous area of the fabric before proceeding. 3. Proceed with caution and gentle movements, avoiding excessive force or pressure. 4. Consider seeking professional help or advice if you're unsure about removing embroidery from a delicate fabric. By being careful and mindful of the fabric you're working with, you can successfully remove embroidery without causing damage. Remember to choose an embroidery removal tool that is suitable for delicate fabrics and always handle them with care. When working on embroidery projects, mistakes and loose threads can often occur. However, addressing these issues promptly is crucial to maintaining a clean and professional finish. With the help of an embroidery removal tool. You can quickly and effectively remove these unwanted elements. For more intricate removals, tweezers can come in handy. Gently use the tweezers to grip onto the loose thread or mistake and carefully pull it away from the fabric. Tweezers allow for precise control and are particularly useful when dealing with finer details or delicate fabrics. After removing the mistakes and loose threads, it's essential to give the fabric a thorough clean. One effective technique is to use a lint roller. Roll the roller across the fabric to catch any tiny threads or remnants left behind. Addressing mistakes and loose threads promptly when working on embroidery projects is vital for achieving a clean and professional finish. Seam rippers and tweezers are recommended tools for efficient removal. While a lint roller helps to clean up any lingering remnants. By using these tools and techniques. You can easily rectify any errors and ensure that your embroidery projects look their best. An Embroidery Removal Tool is not only useful for removing mistakes and loose threads. But it is also a versatile tool for creating different types of stitch patterns. With its special cutting heads and blades, this tool allows for precise and accurate stitch removal without damaging the fabric. One type of stitch pattern that can be created using an Embroidery Removal Tool is the satin stitch. This is a popular stitch used for filling in large areas with a smooth and shiny finish. The sharp cutting head of the tool can easily remove any unwanted satin stitches. Allowing you to adjust and perfect the look of your embroidery. In addition to satin stitches, an Embroidery Removal Tool can also be used to create various fill stitches. Fill stitches are used to fill in spaces between outlines and can be done in a variety of patterns such as herringbone, cross-stitch, or basket weave. The precise control and versatility of the tool allow you to effortlessly remove and modify fill stitches as needed. Furthermore, the Embroidery Removal Tool is perfect for creating decorative stitches. These stitches add unique and intricate details to your embroidery designs. Whether it's a raised chain stitch, feather stitch, or French knot. The tool's special cutting heads enable you to easily remove and adjust decorative stitches for a flawless final result. With an Embroidery Removal Tool, you have the freedom to experiment with different stitch patterns and create stunning embroidery designs. Its precision and versatility make it an essential tool for both beginners and experienced embroiderers. So, grab your tool and let your creativity flow as you explore the endless possibilities of stitch patterns in your embroidery projects. Using an embroidery removal tool can significantly save time on projects with dense stitches. The powerful electric motors and special cutting heads of these tools are specifically designed to efficiently remove dense stitches without damaging the fabric. The high-powered electric motors provide the necessary strength to effortlessly cut through tightly-packed stitches. Reducing the time and effort required to remove them manually. Additionally, the special cutting heads are specifically engineered to target and remove dense stitches with precision and accuracy, ensuring that the fabric remains intact. Moreover, these embroidery removal tools are lightweight and portable, Making them easy to maneuver and use for longer periods of time. This feature is particularly beneficial when dealing with projects that have a high density of stitches. As it allows for continuous and uninterrupted removal without significant strain or fatigue. Overall, by using an embroidery removal tool, crafters and enthusiasts can save valuable time when working on projects with dense stitches. The combination of powerful electric motors and specialized cutting heads ensures efficient and damage-free removal. While the lightweight and portable design allows for extended usage without discomfort. In conclusion, embroidery removal tools are indispensable for seamstresses, embroiderers, and fabric enthusiasts alike. From the versatile seam rippers to the cutting-edge stitch erasers, these tools offer efficient solutions for undoing stitching mistakes while preserving the integrity of the fabric. Cleaning brushes and specialized blades add to the toolkit's versatility, ensuring clean and professional finishes. Additionally, proper usage and care guidelines help maintain the longevity of these tools. For those looking to enhance their embroidery experience further, consider exploring the world of embroidery digitizing services. Transform your designs into stunning embroideries with precision and ease. Take your embroidery journey to the next level with embroidery digitizing services today. Q1. What are seam rippers commonly used for? Seam rippers are commonly used for removing embroidery stitches due to their ease of use and affordability. Q2. How do stitch erasers differ from traditional tools? Stitch erasers have a special cutting head designed to remove dense or intricate stitches efficiently, powered by an electric motor. Q3/ What types of cleaning brushes are used in embroidery removal tools? Nylon, horsehair, and lint brushes are commonly used to remove excess thread and debris. Q4. Can regular razors be used as an alternative to dedicated embroidery removal tools? Yes, regular razors, such as safety razors or electric razors, can be effective and budget-friendly alternatives. Q5. What role do specialized blades play in embroidery removal tools? Specialized blades, like the Peggys SE-999BL, are crucial for efficiently removing stitches without damaging the fabric, providing professional-grade results.1. Types of Embroidery Removal Tools
2. Seam Rippers
3. Stitch Erasers
4. Cleaning Brushes
4.1 Nylon Brushes
4.2 Horsehair Brushes
4.3 Lint Brushes
5. Regular Razors
6. Special Blades
7. Usage and Care of Embroidery Removal Tools
7.1 Extended Usage Between Charges
8. Benefits of Using an Embroidery Removal Tool
8.1 Fabric Without Damage
8.2 Quickly Removing Mistakes and Loose Threads
8.3 Create Different Types of Stitch Patterns
Satin Stitches
Fill Stitches
Decorative Stitches
8.4 Save Time on Projects with Dense Stitches
9. Conclusion
10. FAQs (Frequently Asked Questions)
