Setting Up Your Hat Embroidery Machine
Table Of Content
- How Do You Set Up the Embroidery Machine?
- 1- Choosing the Right Equipment
- 2- Preparing Your Workspace
- 3- Setting Up Your Embroidery Machine
- Mounting the Equipment
- Connecting the Machine
- Install Software Updates
- 4- Adjusting Machine Settings
- 5- Threading the Machine
- 6- Calibrating the Machine
- 7- Maintenance and repair
- Thread Breaks
- Needle Issues
- Skipped Stitches
- 8- Editing Design Using Embroidery Software
- Introduction to Embroidery Software
- Wrapping up
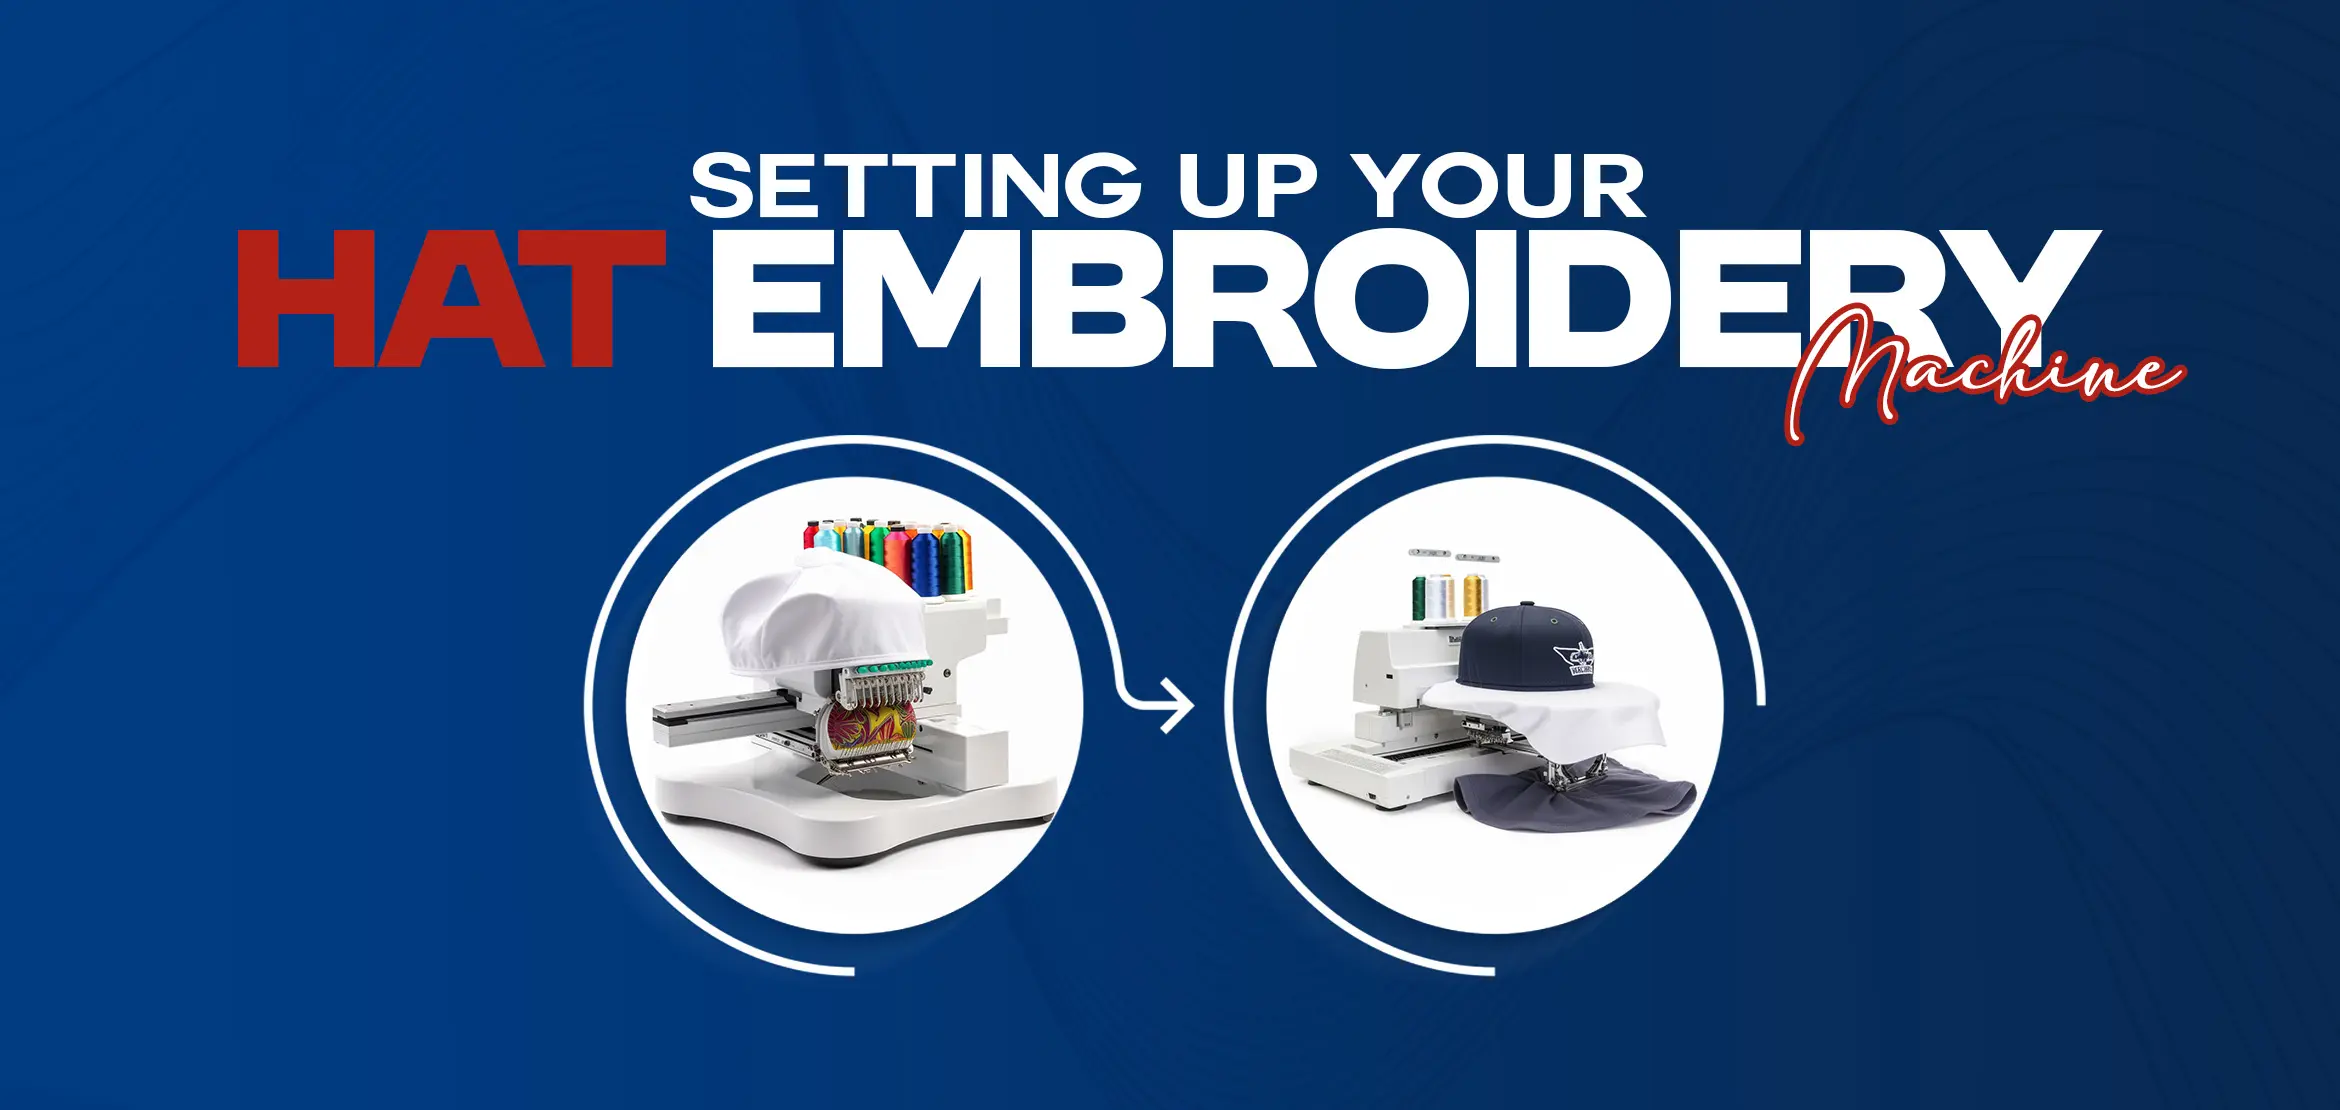
Setting up one’s embroidery set-up is a somewhat challenging task. But it is not impossible. With the unwavering commitment to setting up your embroidery machine and the necessary considerations in mind, it is not a big challenge. There are certain requirements like machine equipment, accessories, workspace, hooping, machine setting, and many more to get the right system.
Learn this and many more in this month’s blog post.
Happy learning:
How Do You Set Up the Embroidery Machine?
This section unfolds the necessary prerequisites for accurately setting up the machine set-up.
Let’s understand one by one.
1- Choosing the Right Equipment
.webp)
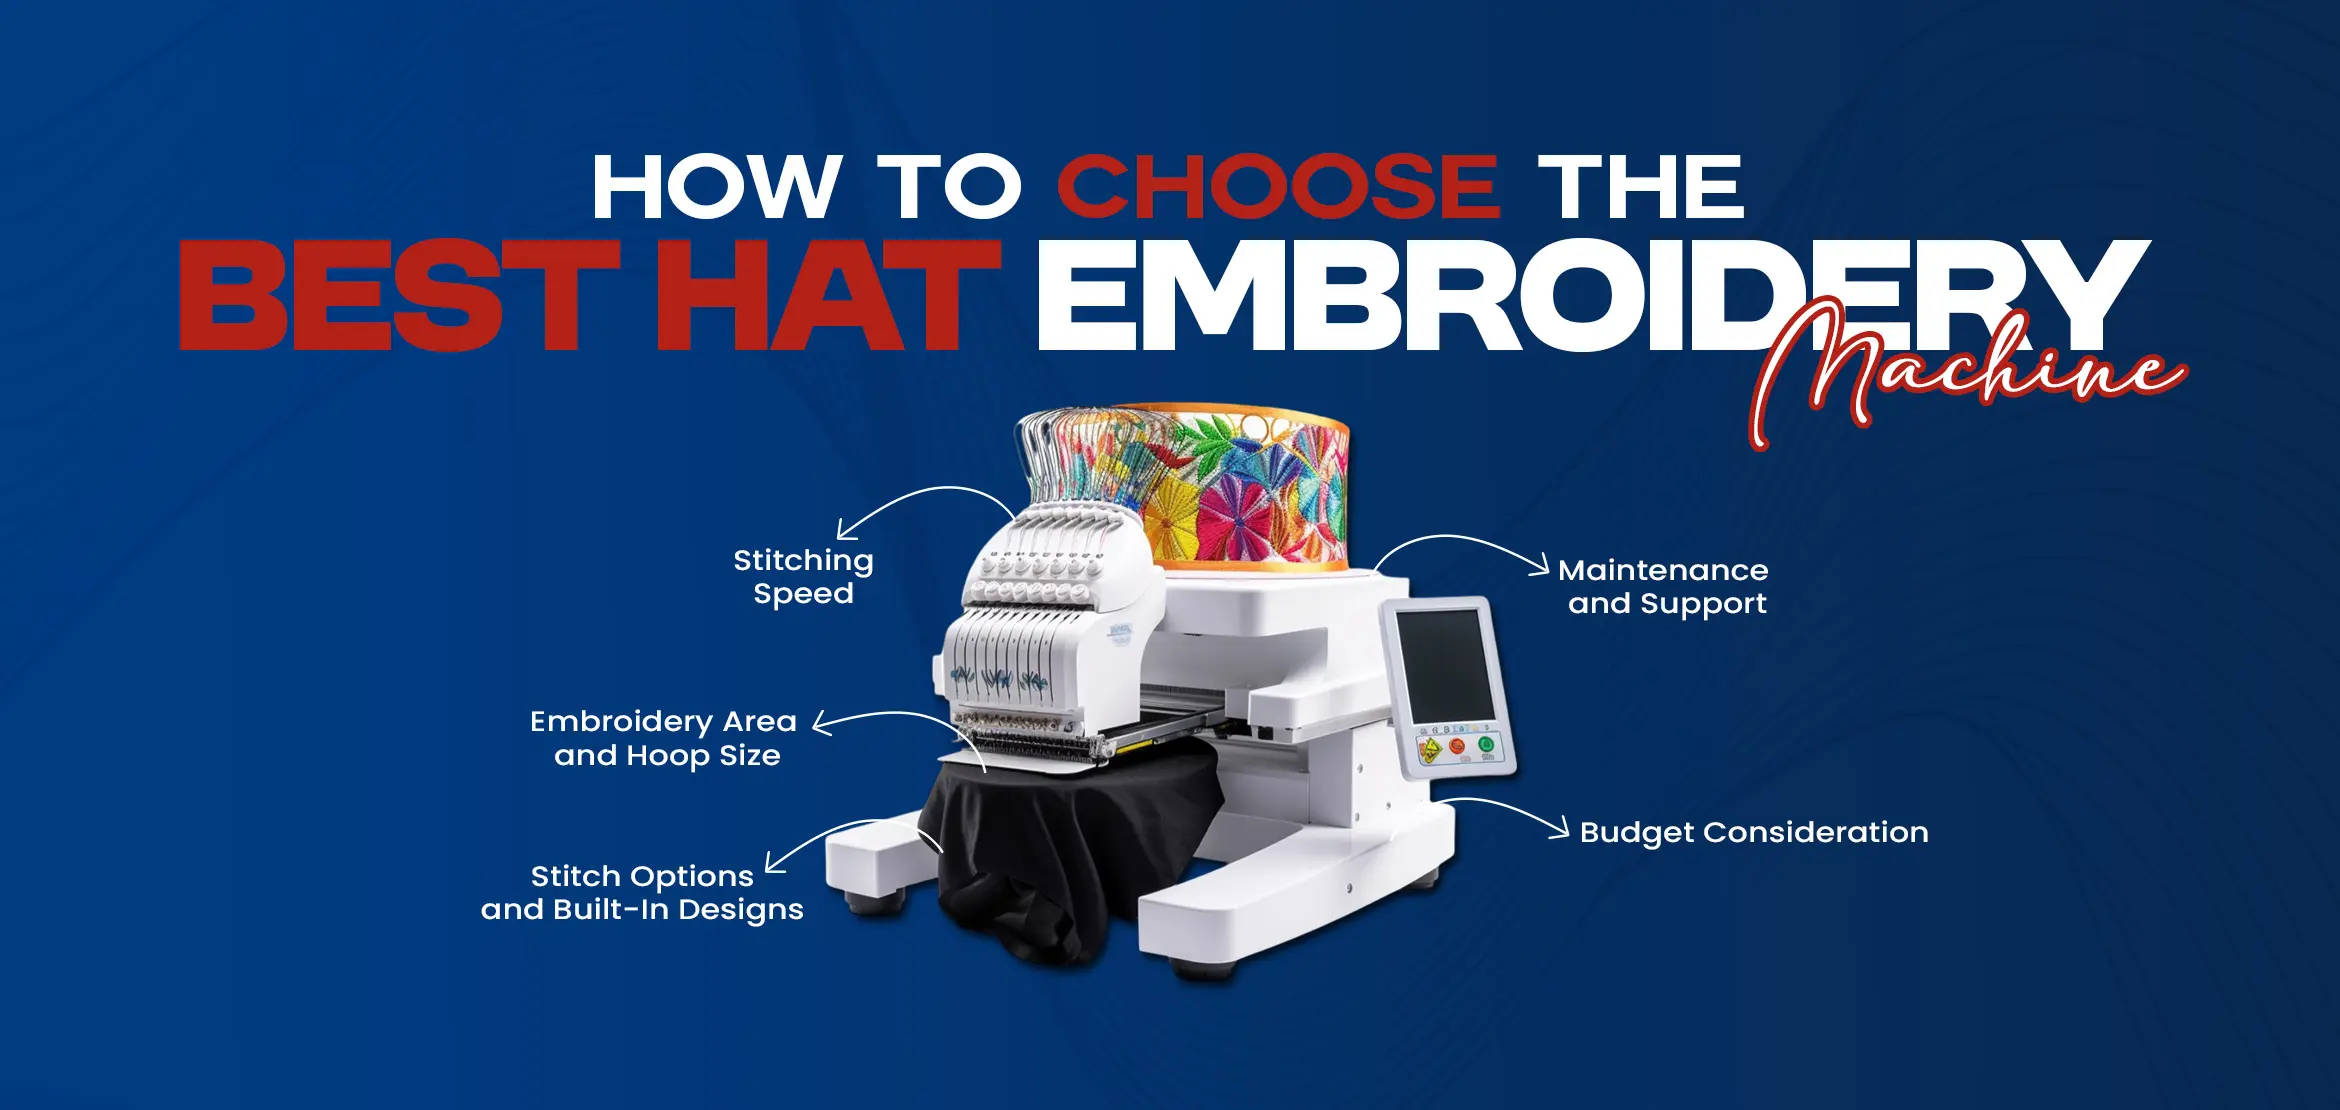
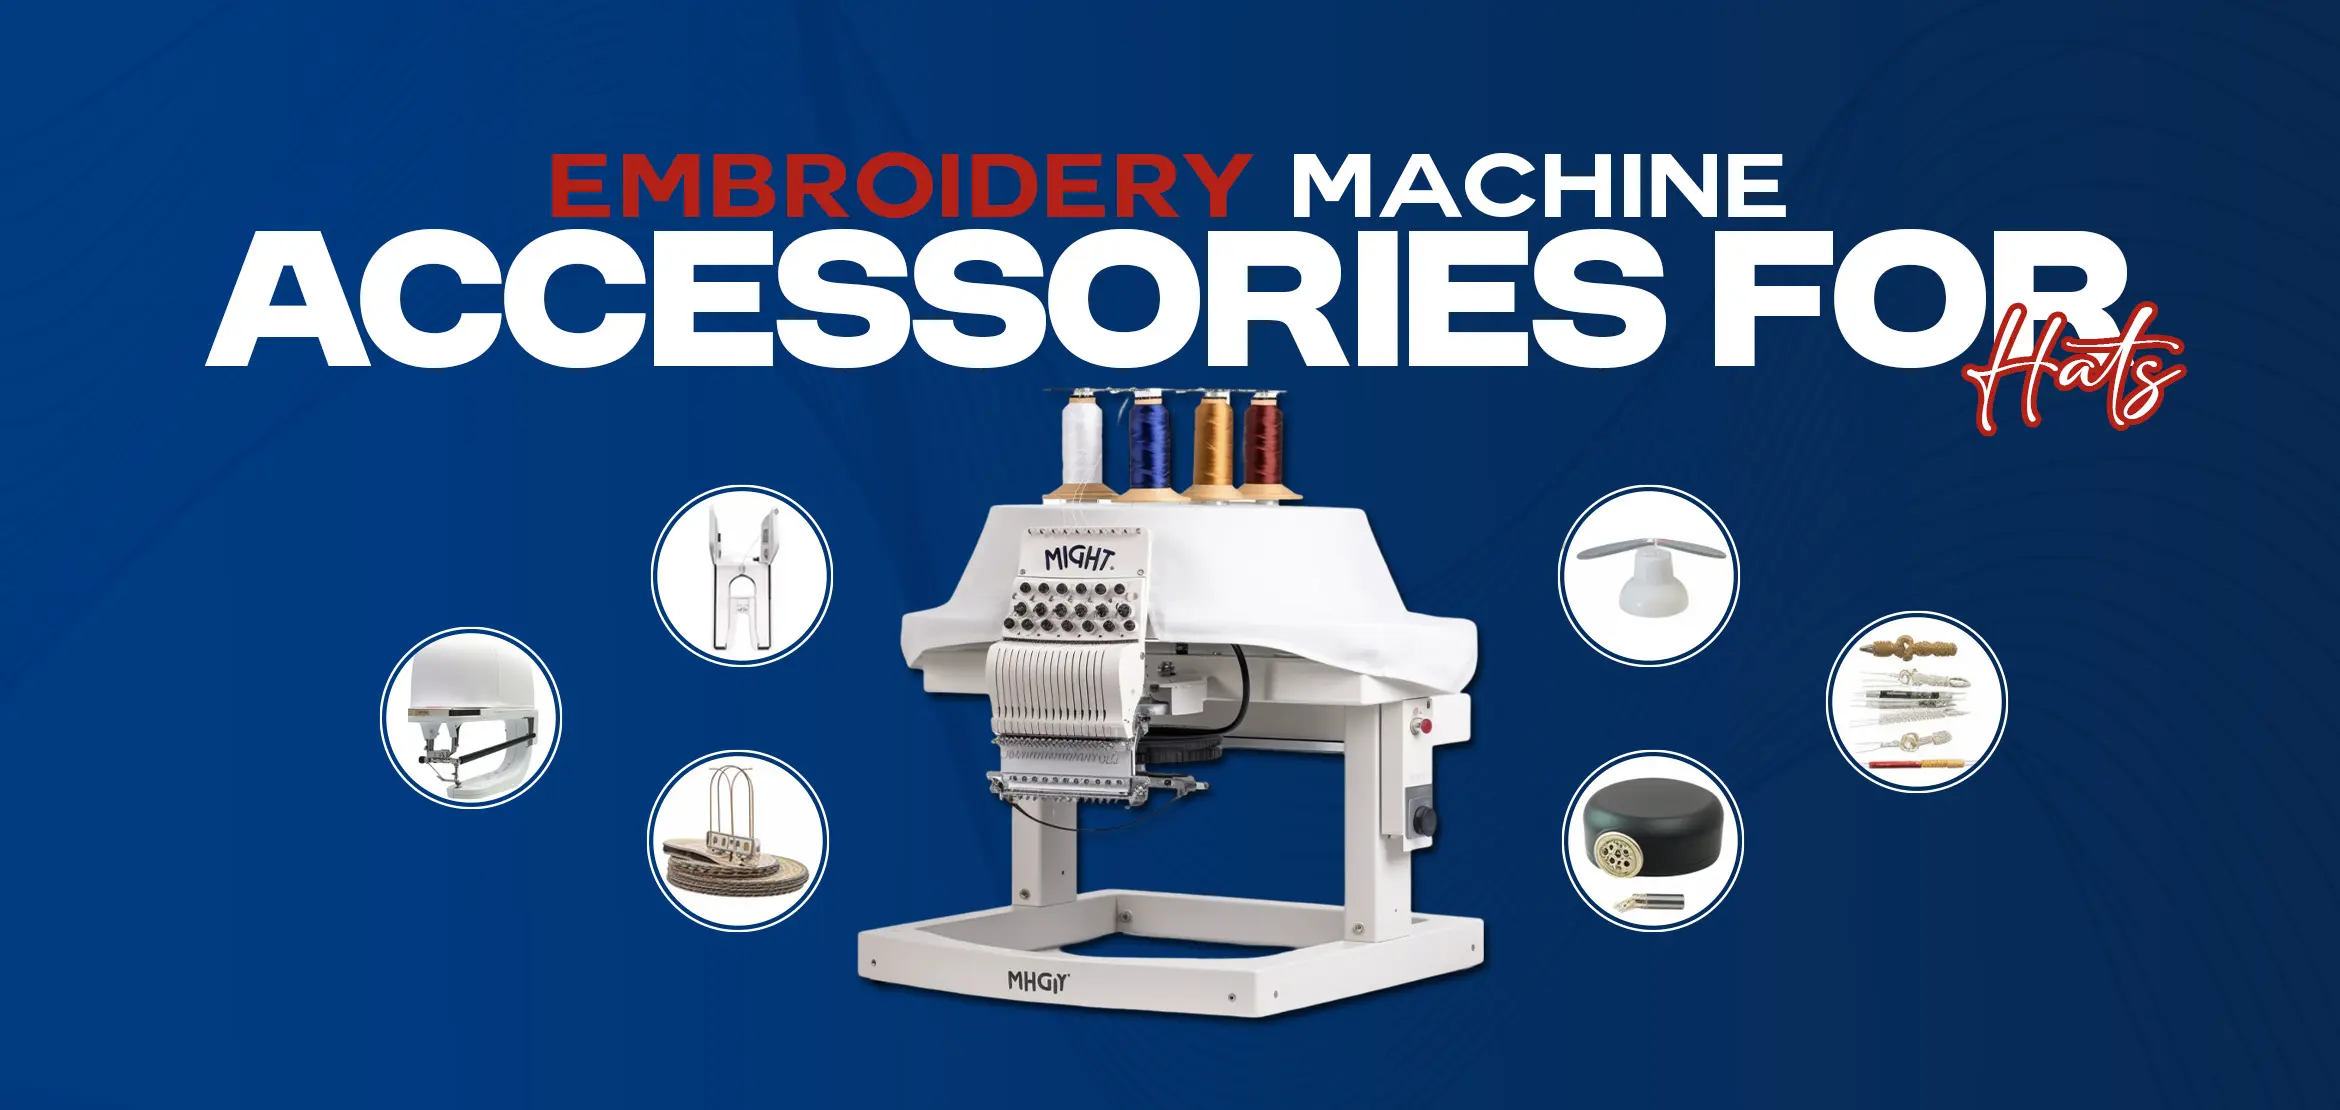
Having the right equipment is the first basic requiremnt. Choosing an embroidery machine requires affordability, working efficiency, and a hoop or cap frame to go with the appropriate machine. Opt for a machine preferably with multiple needles for greater efficiency. Equally important is choosing the right stabilizer to support the fabric during the embroidery process, with needles as per your fabric. These key elements are crucial in selecting the right equipment.
2- Preparing Your Workspace
.webp)
A well-organized workplace is essential to a seamless set-up procedure. Ensure your workspace is neat and clutter-free to improve accuracy and visibility. Organize all required equipment and supplies so they are always within convenient reach to enhance workflow.
3- Setting Up Your Embroidery Machine
.webp)
Mounting the Equipment
Place your embroidery machine on an even, flat floor space. It must be not far from a power point and control the cords to avoid being tripped.
Connecting the Machine
Turn on the equipment according to the new installation instructions as given in the user guide which would include language setting and screen calibration.
Install Software Updates
Firmware or software upgrades: Whether the installed options receive upgrades on your machine. It should improve performance or add some new features.
4- Adjusting Machine Settings
.webp)
Machine setting is necessary for producing professional, clean embroidery work. Start with inserting the needle and thread as per your project. Adjusting the thread tension and machine speed according to the fabric and complexity of the design ensures high-quality results. With an in-depth understanding of machine adjustment requirements and factors, you can easily decide which machine would be easily adjusted based on your expertise.
5- Threading the Machine
.webp)
Quality Embroidery Threads: Choose a good embroidery thread that is compatible with your machine. Polyester threads are resistant and flexible and are generally used for hat embroidery.
For Threading keep in mind that You should thread the machine according to your machine's manual, generally following these main steps: Place the spool onto the spindle, and guide it into the tension disks and then through the needle.
6- Calibrating the Machine
.webp)
Fine-tune the machine settings, including tension, speed, and design placement, depending on the material and complexity. Refer to your machine's guidebook for specific instructions.
Running a Test Stitch There would be a test stitch on a piece of scrap cloth before the project is really executed to identify possible problems. Adjustments would then be made so perfect embroidery is achieved at the end.
7- Maintenance and repair
.webp)
Regular cleaning is necessary to keep your machine in an immaculate condition. In particular, pay special attention to the bobbin area and needle plate. Once directed by the manufacturer, periodically lubricate moving parts.
Some Common problems are the following:
Thread Breaks
There must be proper threading and tightening of tension settings.
Needle Issues
Select the ideal size and type of needle for your project
Skipped Stitches
Verify that the needle is mounted right and not bent or broken.
8- Editing Design Using Embroidery Software
.webp)
Introduction to Embroidery Software
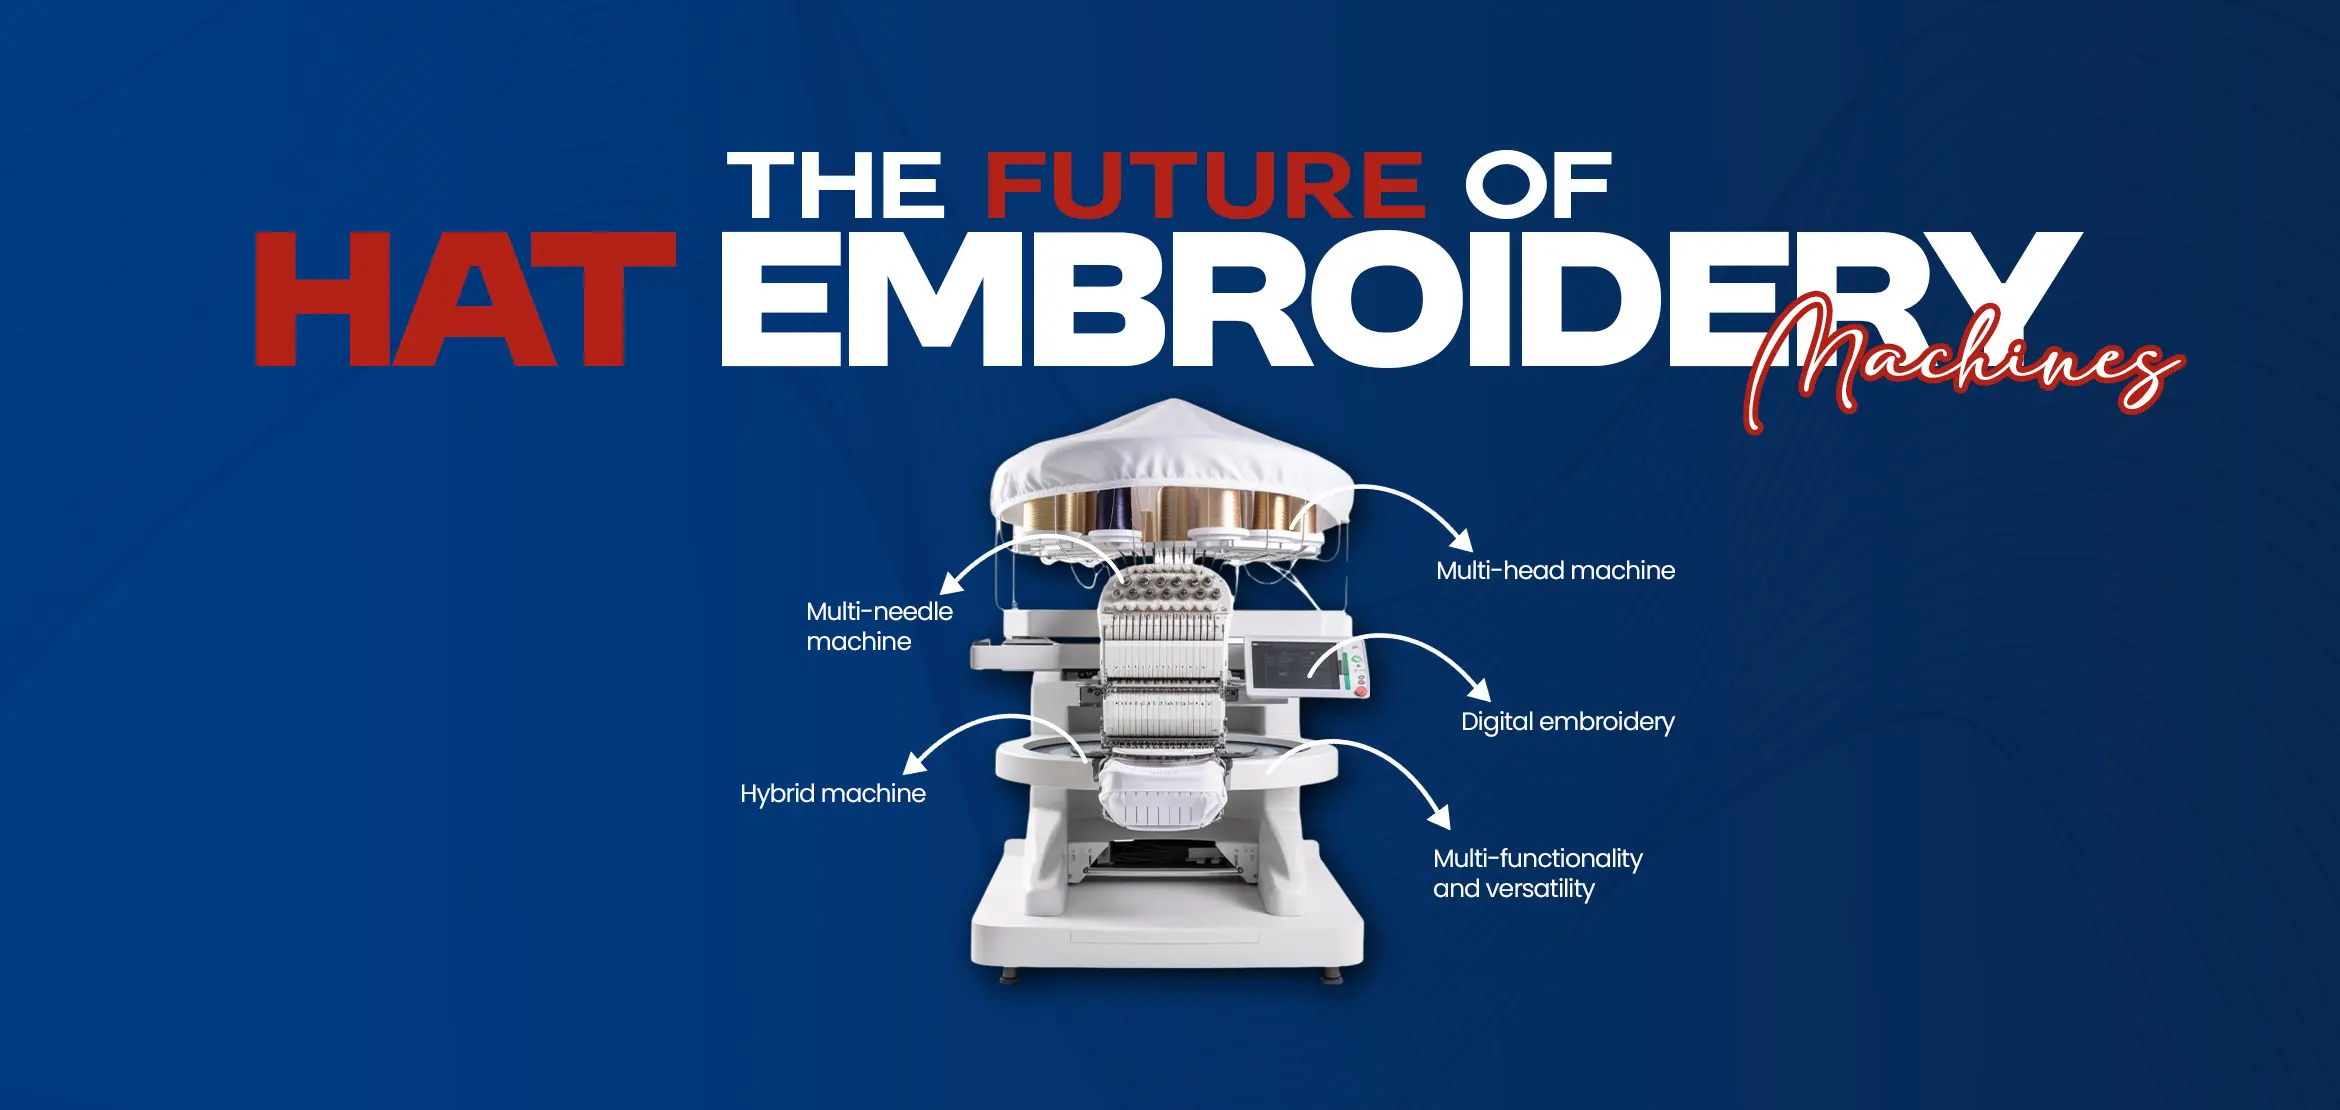
Explore the different types of embroidery software and how it would help in your design to make it customized according to your original style. It will be much more creative and versatile.
Familiarize yourself with the general functions, say importing images, resizing designs, and adjusting stitch patterns. Start experimenting with different features to perfect your designs.
Wrapping up
Consulatively, these steps are formidable for establishing an embroidery set-up. It is wise to undertake in-depth research to analyze the prerequisites of establishing well well-machine setup. For this, you can undertake research and Take guidance from experts. Delves into the depth of essential requirements before starting the journey of setting up embroidery machines. We know it's exhausting but a worthwhile initiative
Happy stitching!
