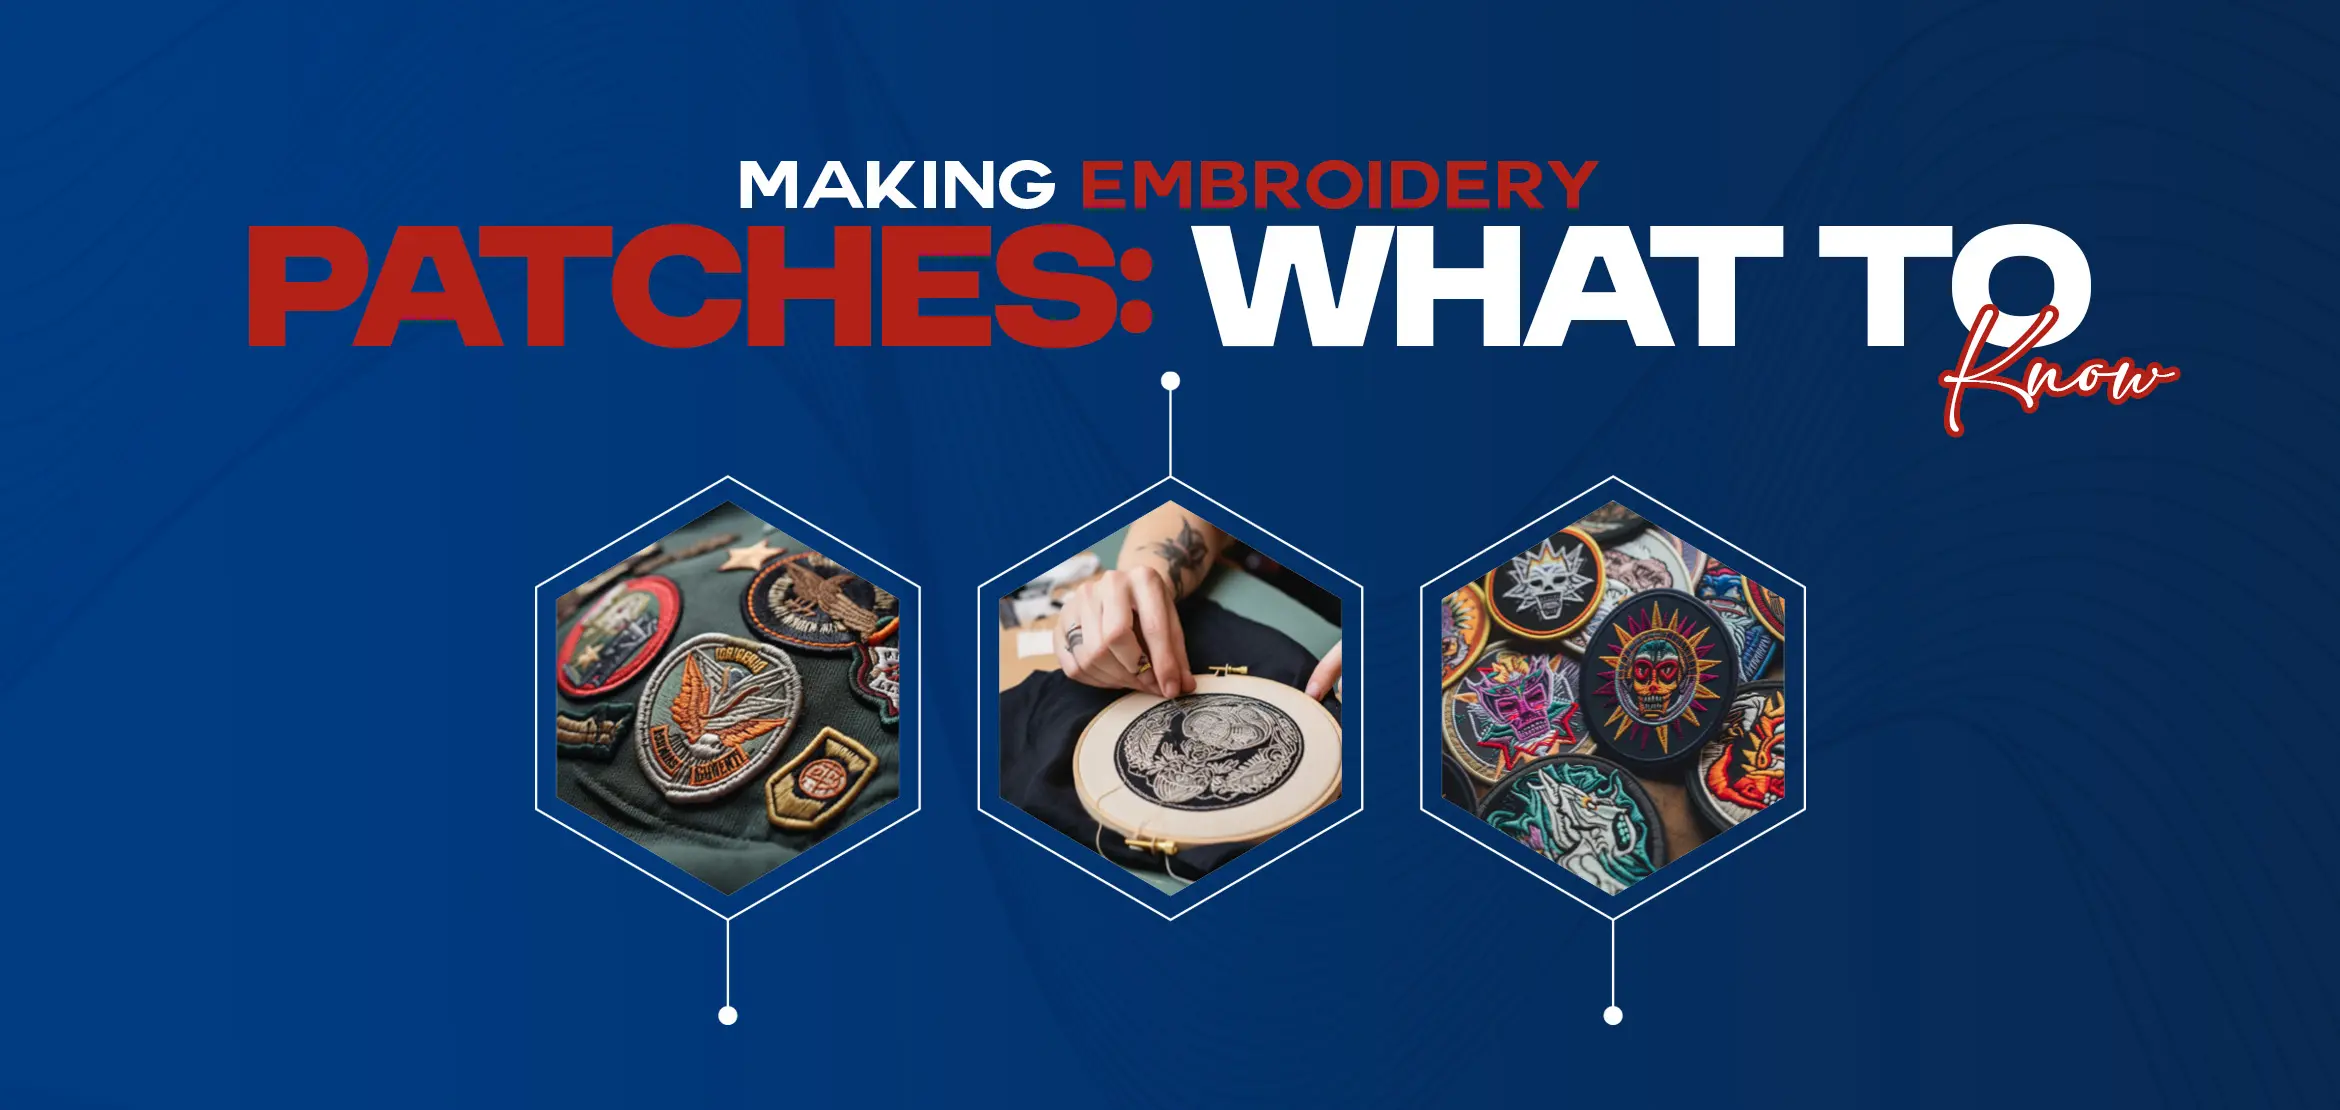
Making Embroidery Patches: What to Know
Table Of Content
- Key Consideration in Making Embroidery Patches
- Choosing the Correct Materials
- Designing Your Patch
- Understanding embroidery process
- Backing Options
- Finishing Touches
- Step-BY-Step Guide for Creating Embroidery Patches
- 1. Make patch
- 2. Get the Fabric Ready
- 3. Place the Fabric in a Hoop
- 4. Keep the design in
- 5. Embroidered your Patch
- 6. Finish the Patch
- 7. Put the Patch
- What Enables Digitizing USA to Become the Best Embroidery Company?
- Key Benefits of Using our Services
- Wrapping up
Is making patches easier than stitching straight onto the fabric? Embroidery patches are the best way to reflect your ideas to the world. It means you can express your business goals by showing embroidery patches. Embroidery patches or floral embroidery patches are crafted for caps, fabrics, shirts, and jackets. Embroidery patches are versatile, and their eye-catching look stands the test of time. These patches are best suited to convey your brand awareness and message to the audience in an attractive way. At Digitizing USA, we deliver top-notch custom-made embroidered patches for various purposes.
There's a blog detailing embroidery patches.
Keep reading
Key Consideration in Making Embroidery Patches
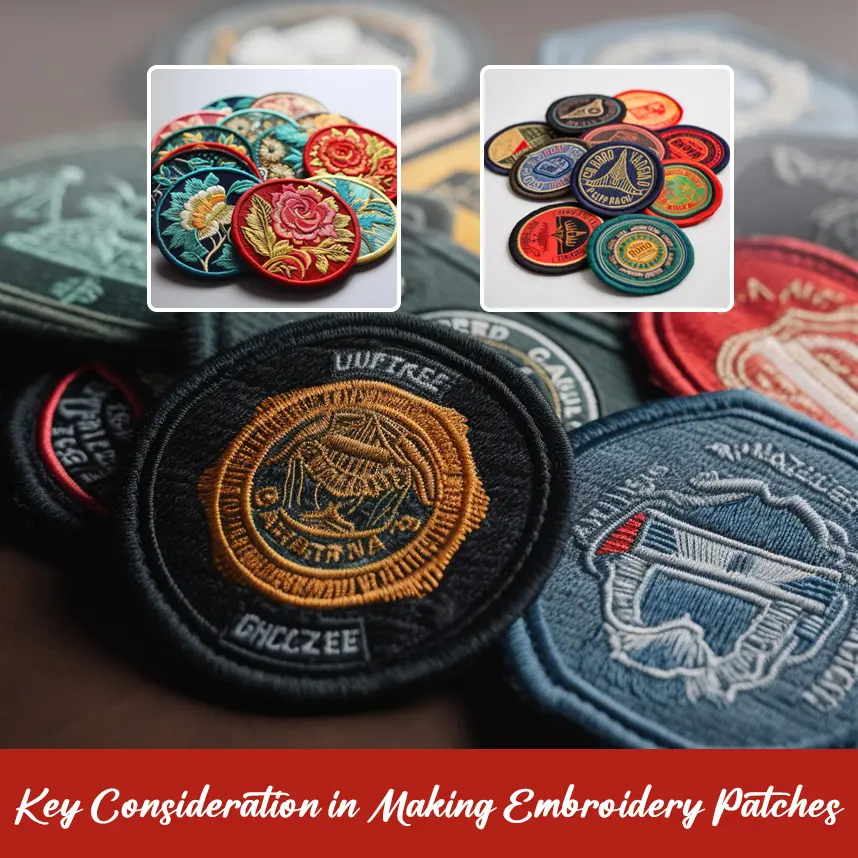
Embroidery patches take time and energy. For an accurate embroidery patch artwork, it is necessary to keep certain conditions in mind. Some of the most significant conditions are listed below:
Choosing the Correct Materials
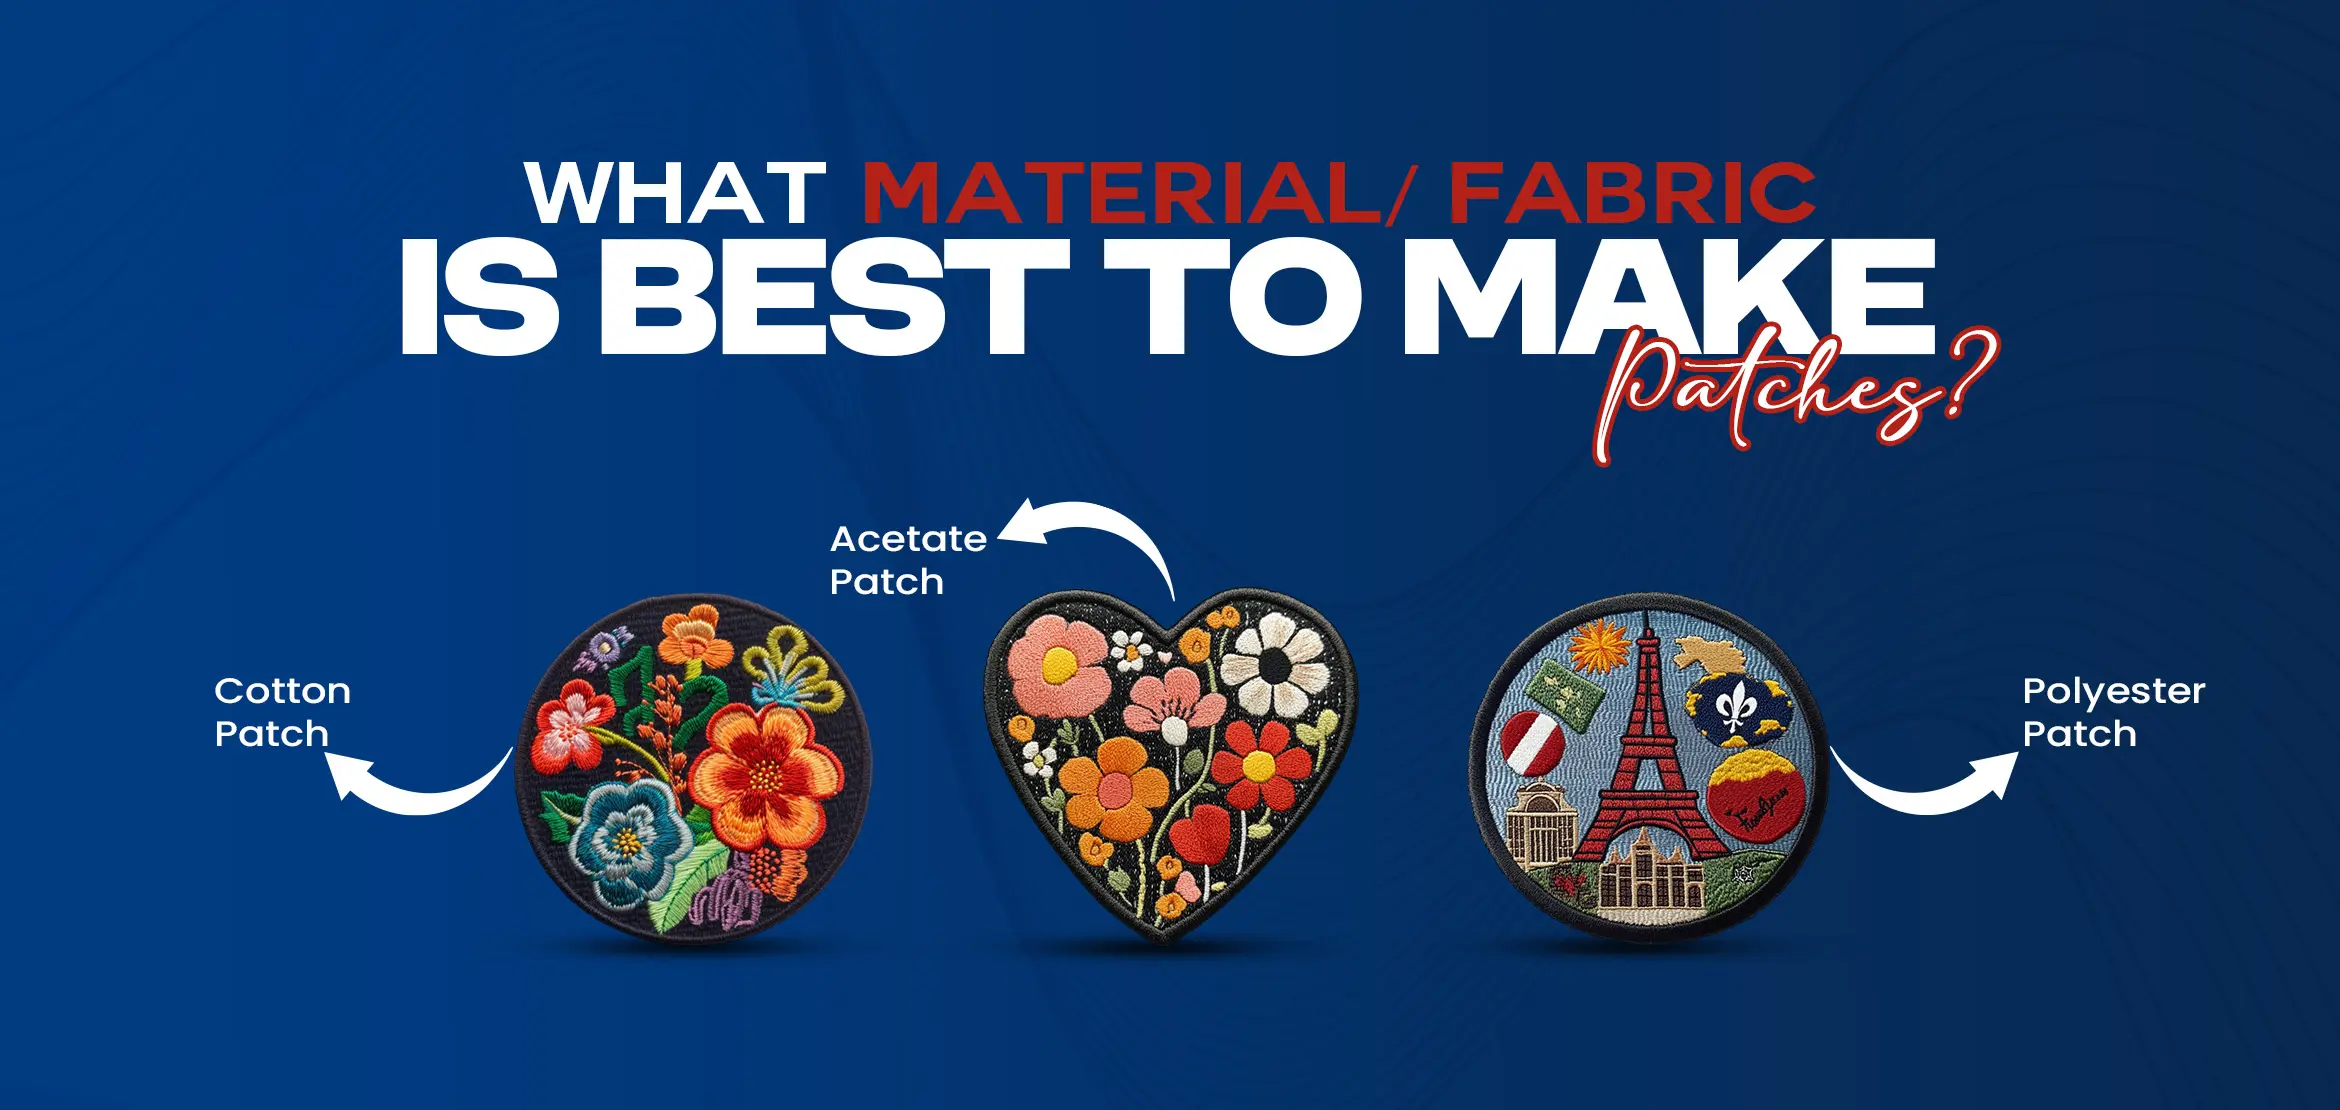
Embroidery patches are all about the materials selected. The material for the back of the embroidery patch is essential, where twill and felt are highly popular. If you want the stitches to stand out, go for twill; if you need a softer and vintage look, use felt. The thread quality is also high, mostly rayon and polyester threads. Polyester threads are more durable and less prone to fading, thus making them more suitable for outdoor patches.
Designing Your Patch
A great patch begins with a well-conceived design. Depending on how it will be used, consider how big and shaped the patch should be. Remember that a simple, bold design with limited colours will convert better to embroidery than a detailed one. If you have text, make sure it is large enough to be legible and won't get lost when scaled down. Embroidery-specific design software can show you how your patch will appear when stitched.
Understanding embroidery process
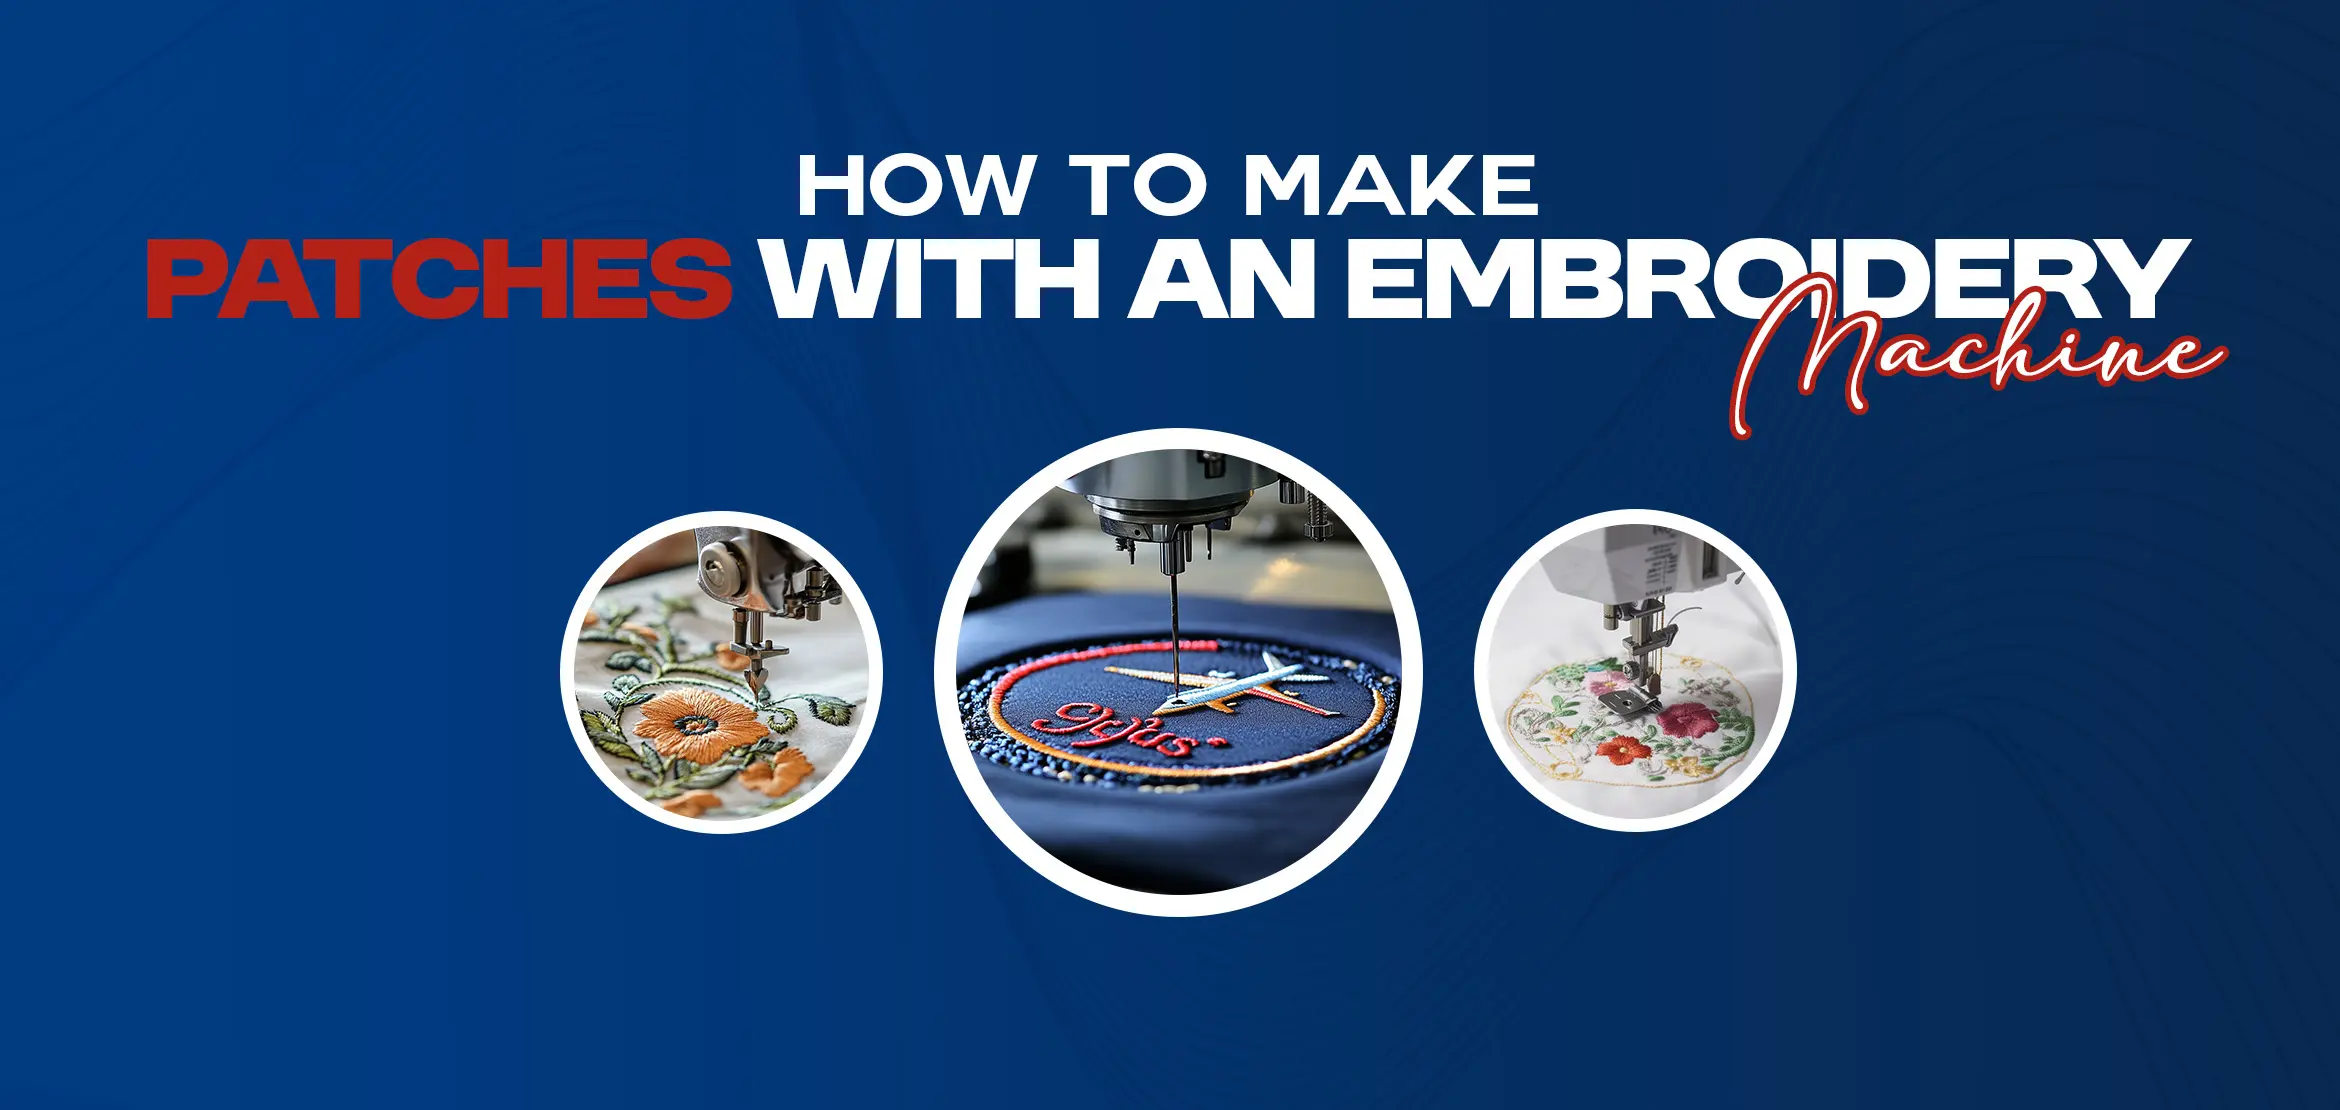
These machines bring embroidery to the paper to life. Digitizing the design is an integral part of doing this. It converts the artwork into a readable format for the embroidery machine, which decides the stitch types to be used, the direction of the stitch, and the density of the stitch. Poor digitization will lead to uneven stitches, puckering, and other distortions to the actual design. Try to work through experienced digitizers or professional software.
Backing Options
The back of a patch dictates how it will be applied to the fabric. Iron-on backings are easy to use, and sew-on patches ensure permanent attachment. Velcro backings are suitable for uniforms and gear, where patches are often changed. Select the support based on the intended use of the patch.
Finishing Touches
Traditional rounded edges are produced by a special machine called a merrow. Heat-cut edges are used for intricately shaped or non-standard designs. It is up to the customer to determine the best edge style to add aesthetic appeal and durability to the patch.
Step-BY-Step Guide for Creating Embroidery Patches
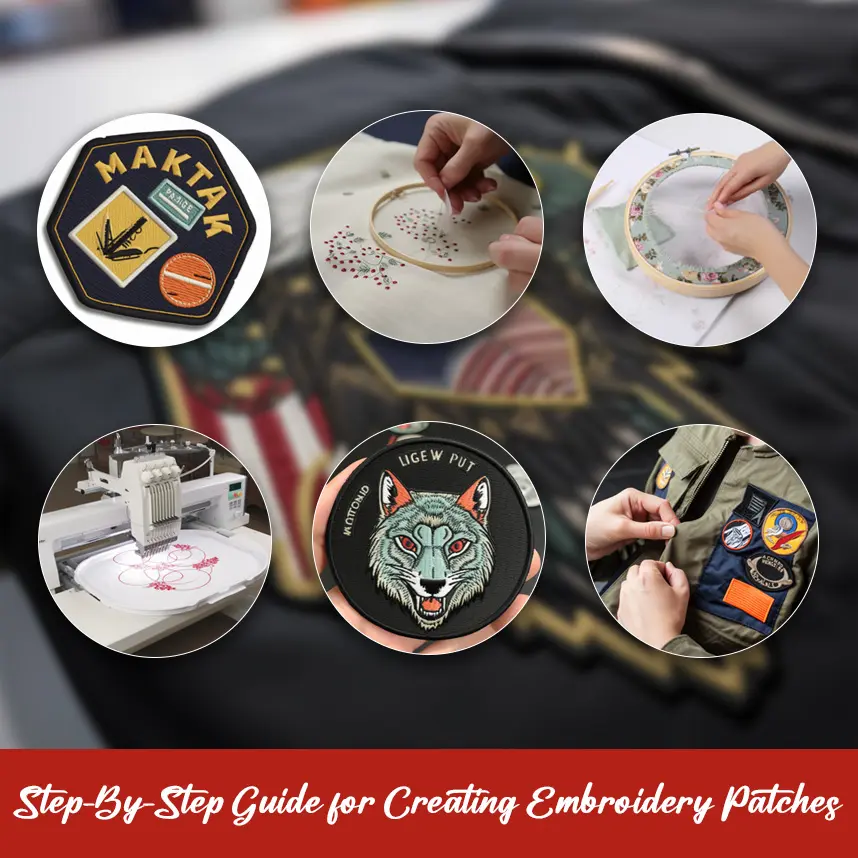
1. Make patch
Start by creating your patch design using design software. If you don't have much experience, you can hire a professional like Digitizing USA. The design must be tailored to the patch size. Keep in mind that it will not be overboard with unnecessary details.
2. Get the Fabric Ready
Preparing the fabric is also challenging. Make sure the fabric is not bigger than the size of the patches.
3. Place the Fabric in a Hoop
In the third step, you need to set your fabric in an embroidery hoop. Make sure the fabric is not misaligned during stitching so that the embroidery patches are completed smoothly.
4. Keep the design in
You need to reframe your embroidery machine by following the manufacturer's instructions for this type.
5. Embroidered your Patch
For embroidering patches, make sure to select a machine that will run smoothly. Also, remove excess stabilizer and fabric from the hoop.
6. Finish the Patch
While finishing the embroidered design, ensure a minimum space is left beside the border.
7. Put the Patch
Patches can be attached using different methods. Depending on the type of patch, sewing and ironing are most commonly used.
What Enables Digitizing USA to Become the Best Embroidery Company?
Digitizing USA has an expert pool that assists in delivering top-notch embroidery patches, whether for professional or personal use.
Key Benefits of Using our Services
We ensure delivering quality work.
Our flat prices with fast turnaround.
Assistance from a professional for your project.
Wrapping up
In conclusion, embroidery patch designs are gaining momentum due to their growing importance in distinct spheres. As they reflect a company's core values and objectives, they must be designed with great care and attention. You can use embroidery patches for entrepreneur advertisements, as a business logo. Flower embroidery patches are the best way for using as a home decor and for giving presents. Make sure you get the best embroidery patches, as Digitizing USA offers.
