How to Remove Embroidery Hoop Marks: Tips and Tricks
Table Of Content
- Understanding Embroidery Hoop Marks
- How to Remove Embroidery Hoop Marks
- 1. Rubbing Alcohol
- 2. Use Vinegar
- 3. Baking Soda
- 4. Lemon Juice
- 5. Use Salt
- Remove Embroidery Hoop Marks Using a Steam Iron
- Professional Cleaners
- Common Causes of Embroidery Hoop Marks
- 1. Improper Tension Setting
- 2. Type of Fabric
- 3. Hoop Material and Size
- The material and size of the embroidery hoop can impact the severity of the marks. Metal hoops, for instance, tend to leave more noticeable indentations than their plastic counterparts. Additionally, if the design necessitates stretching the fabric excessively to fit the hoop. It increases the likelihood of developing prominent hoop marks.
- 4. Lack of Backing Material
- 5. Human Errors
- Preventing Future Hoop Marks
- Conclusion
- FAQs (Frequently Asked Questions)
Transforming plain fabrics into beautiful pieces of art through embroidery is a delightful craft. However, dealing with stubborn hoop marks left on your clothes after sewing can be quite frustrating. Fear not! We've got a simple guide to help you get rid of embroidery hoop marks without damaging your fabric. Whether you're a seasoned embroiderer or a beginner, these easy steps will ensure a clean, smooth, and mark-free finish.
Understanding Embroidery Hoop Marks
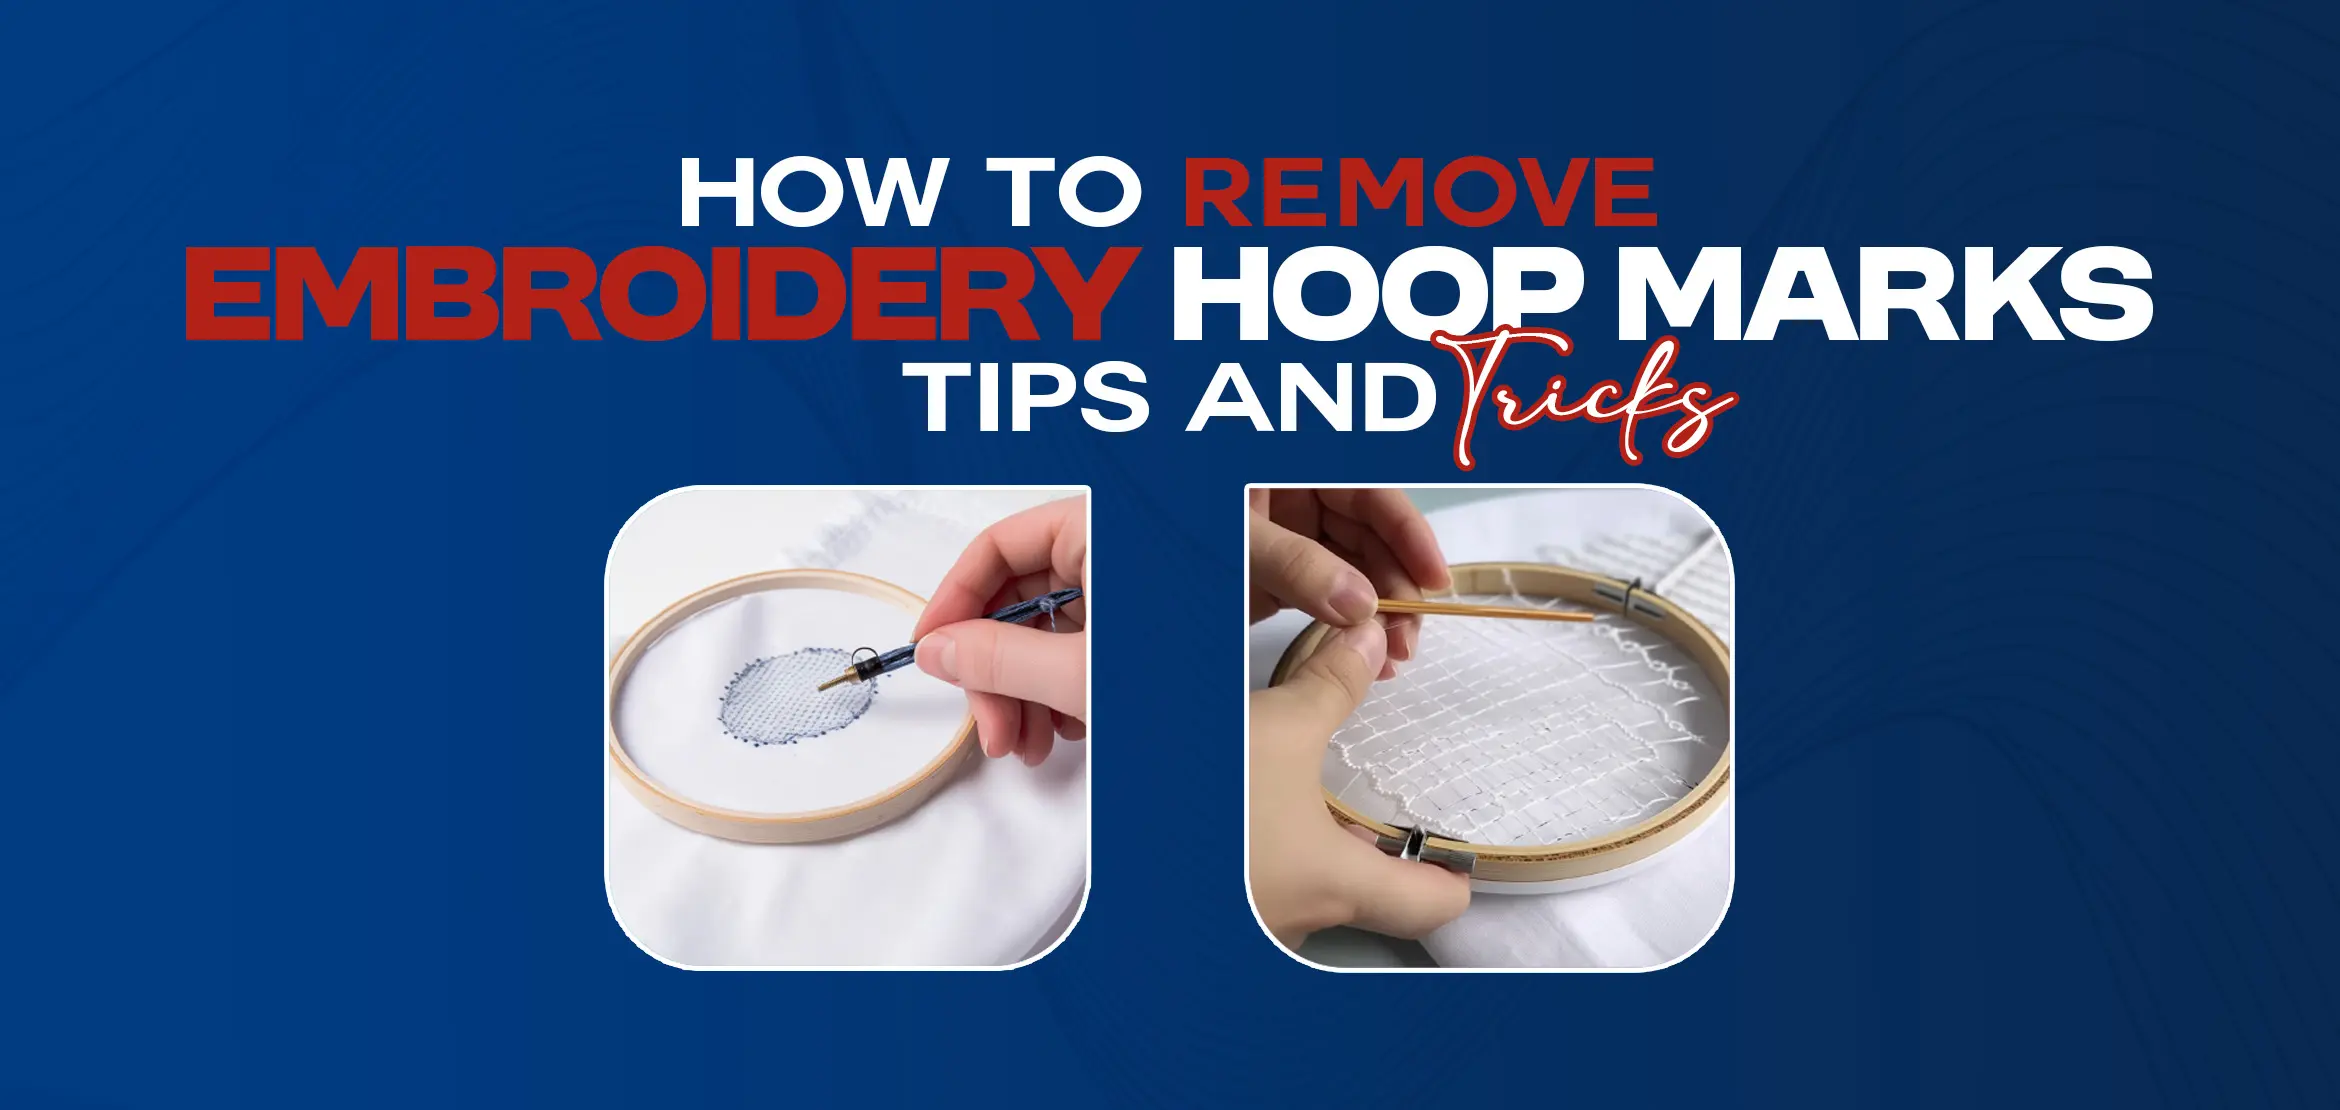
Embroidery hoop marks are impressions left on fabric after it's stretched in an embroidery hoop. These marks can be challenging to remove, but with the right techniques, you can prevent and eliminate them.
How to Remove Embroidery Hoop Marks
1. Rubbing Alcohol
Dampen a cotton ball or cloth with rubbing alcohol.
Gently rub the hoop marks in a circular motion.
It's crucial to practice this method on a small, inconspicuous section of the fabric first to ensure that the rubbing alcohol won't harm or discolor the material.
2. Use Vinegar
Mix equal parts white vinegar and water in a spray bottle.
Spray the vinegar solution directly onto the affected area with hoop marks.
Allow the mixture to si / t for a few minutes to penetrate the marks.
Gently rub the area with a cloth, working in circular motions.
This method is suitable for various fabric types, but testing on a small area is recommended to avoid any adverse reactions.
3. Baking Soda
Create a paste by mixing baking soda with water.
Apply the paste generously over the embroidery hoop marks.
Let the paste sit on the fabric for approximately 30 minutes.
Rinse the fabric thoroughly with cool water, ensuring that all the baking soda residue is removed.
Gently rub the area to lift any remaining marks.
4. Lemon Juice
Apply fresh lemon juice directly to the embroidery hoop marks.
Let the lemon juice sit on the fabric for approximately 10-15 minutes.
Wash the fabric with cool water, either by hand or in a machine, depending on the garment's care instructions.
After washing, gently rub the area to remove any residual marks.
5. Use Salt
Create a paste by mixing salt with water.
Apply the salt paste to the hoop marks, ensuring even coverage.
Let the paste sit on the fabric for 10-15 minutes.
Wipe the area with lukewarm water to remove the salt paste and any remaining marks.
This method is particularly effective for removing older or more stubborn hoop marks.
It's important to note that the success of these DIY remedies may vary depending on the embroidery fabric type. The severity of the marks, and the overall condition of the garment. Always follow care instructions for your specific fabric and conduct a patch test in an inconspicuous area to ensure that the chosen method won't adversely affect the material. Additionally, avoid excessive rubbing or scrubbing to prevent damage to the fabric during the removal process.
Remove Embroidery Hoop Marks Using a Steam Iron
1. Place a damp cloth over marks.
2. Set the iron to the appropriate temperature.
3. Lightly tap the iron over the cloth.
4. Check and repeat if needed.
Professional Cleaners
If DIY methods make you uneasy, consult a professional cleaner for specialized solutions.
Common Causes of Embroidery Hoop Marks
Embroidery hoop marks, often known as hoop burns, are frustrating impressions that can be left on fabric after it's been tightly secured in an embroidery hoop for an extended period. To effectively address and prevent these marks, it's crucial to delve into the common causes behind their formation.
1. Improper Tension Setting
One of the primary culprits behind the occurrence of hoop marks is the improper setting of tension on the fabric within the hoop. Excessive tension, especially when the fabric remains in the hoop for an extended duration, can lead to stubborn marks. The pressure applied by the hoop's inner ring compresses the fabric fibers. Resulting in visible imprints that can be challenging to remove.
2. Type of Fabric
The choice of fabric plays a significant role in the likelihood of hoop marks. Delicate and loosely woven fabrics are more susceptible to these marks compared to sturdier counterparts. Lighter fabrics such as cotton or linen may exhibit more prominent marks. But hoop burns can still occur on heavier materials like denim or canvas.
3. Hoop Material and Size
The material and size of the embroidery hoop can impact the severity of the marks. Metal hoops, for instance, tend to leave more noticeable indentations than their plastic counterparts. Additionally, if the design necessitates stretching the fabric excessively to fit the hoop. It increases the likelihood of developing prominent hoop marks.
4. Lack of Backing Material
Inadequate stabilizing techniques contribute significantly to the problem of hoop marks. Without proper backing or stabilizers, the fabric may shift and bunch up within the hoop. Leaving uneven and lasting impressions. This emphasizes the importance of employing appropriate stabilizing materials and techniques during the embroidery process.
5. Human Errors
Errors and inexperience, particularly during the hooping process, can also lead to the development of hoop marks. Beginners, in particular, may unintentionally over-tighten the hoop, exerting excess pressure on the fabric. Additionally, neglecting the need for periodic repositioning of the fabric can contribute to the formation of marks.
Understanding these underlying causes empowers embroiderers to take preventive measures. Adjusting tension, using appropriate stabilizers, selecting the right hoop size and material, and ensuring proper fabric repositioning are crucial steps to minimize or eliminate the occurrence of embroidery hoop marks. By addressing these factors, crafters can enhance the quality of their embroidery projects and achieve a clean, smooth finish free from unwanted imprints.
Preventing Future Hoop Marks
To avoid hoop marks, follow these pre-embroidery preparation tips:
1. Use a good-quality embroidery hoop with a tight grip.
2. Choose the right stabilizer for your fabric.
3. Use a pressing cloth to protect delicate fabrics from heat.
4. Avoid overstretching the cloth within the hoop.
5. Use a wider embroidery hoop for even pressure distribution.
6. Prewash fabric to remove sizing or starch.
7. Use a hoop protector or additional padding.
8. Explore alternative hooping methods like Q-snap or scroll frames.
Avoid leaving fabric in the hoop for extended periods.
Conclusion
With the right knowledge and techniques, you can eliminate and prevent embroidery hoop marks, ensuring a flawless finish on your fabrics. Remember to use quality equipment, prepare your fabric adequately, and take precautions to keep your projects free from unwanted imprints.
Elevate your stitching projects with our embroidery services—where passion meets precision. Explore the possibilities today!
FAQs (Frequently Asked Questions)
Q1. How can one understand and deal with embroidery hoop marks?
Embroidery hoop marks result from fabric stretching in the hoop. They can be removed by using methods like rubbing alcohol, vinegar, baking soda, lemon juice, or salt. However, it's crucial to test these remedies on a small, inconspicuous fabric area first.
Q2. What are the steps for removing embroidery hoop marks using rubbing alcohol?
Dampen cotton with rubbing alcohol and gently rub marks in circular motions. Ensure to test on a small fabric section before application.
Q3. How does the choice of fabric impact the likelihood of hoop marks?
Delicate and loosely woven fabrics are more susceptible to hoop marks. Light fabrics like cotton may exhibit more prominent marks, while sturdier fabrics like denim can still develop hoop burns.
Q4. What are common causes of embroidery hoop marks?
Causes include improper tension setting, fabric type, hoop material and size, lack of backing material, and human errors during the hooping process. Understanding these factors helps in prevention.
Q5. How can one prevent embroidery hoop marks in future projects?
To prevent hoop marks, use a quality embroidery hoop, choose the right stabilizer, avoid overstretching, use wider hoops, prewash fabric, and explore alternative hooping methods. Following these tips ensures a flawless finish on fabrics.
