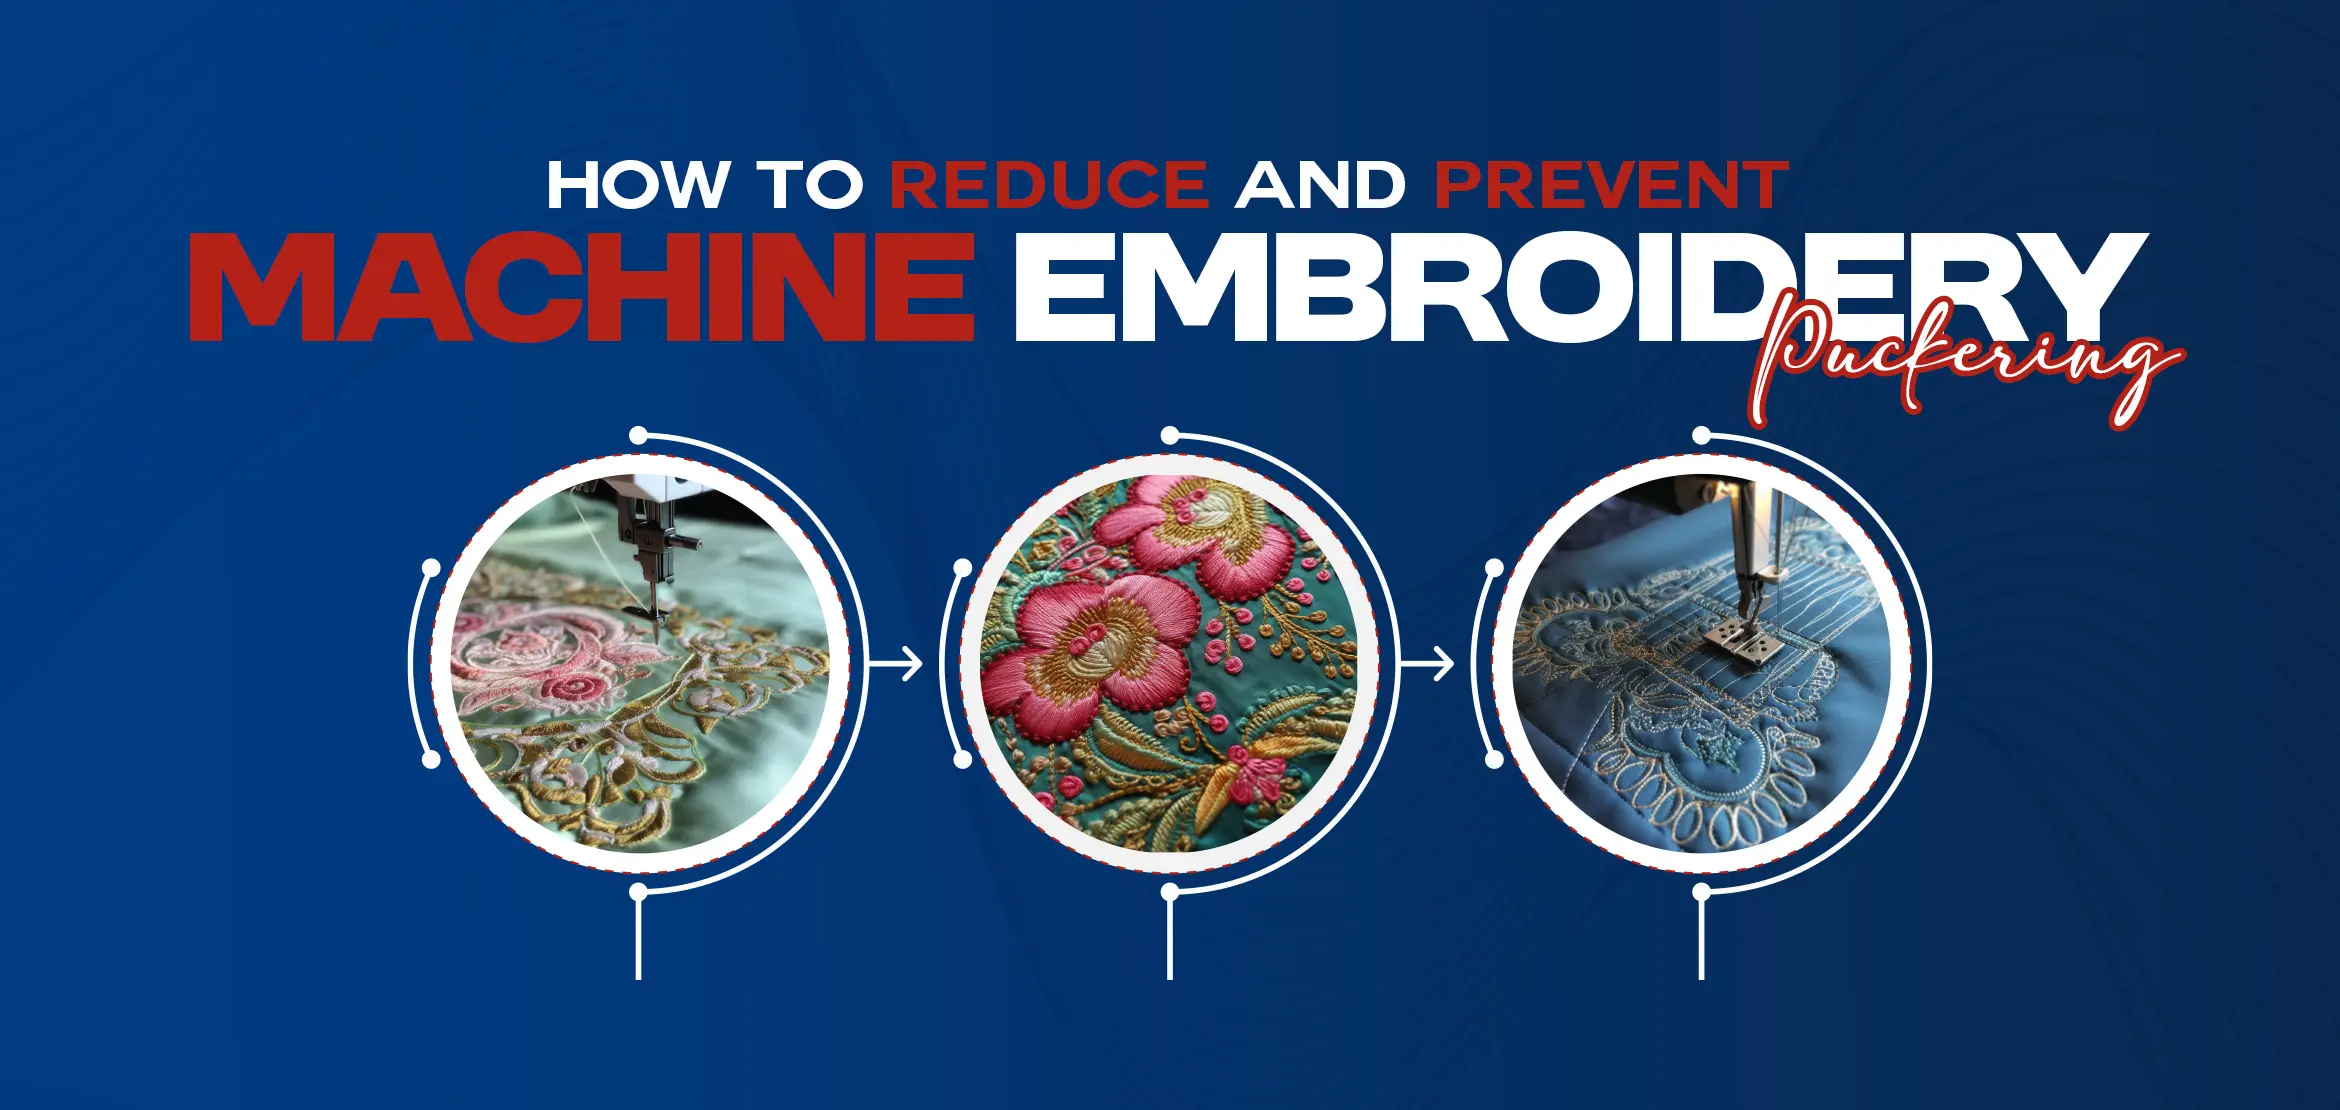
How to Reduce and Prevent Machine Embroidery Puckering
Table Of Content
- What is Puckering in Machine Embroidery?
- A Guide to Fabric more Prone to Puckering
- What Causes Puckering in Machine Embroidery?
- 1- Incorrect Stabilizers
- 2- Improper Hooping
- 3- inappropriate selection of fabric type
- 4- Size of Designs
- 5- Poor Thread Quality
- How to Avoid Puckering
- 1- Use of Appropriate Stabilizers
- Tear away
- Cutaway stabilizers
- Lightwear fabrics
- 2- Proper Hoop
- 3- Use the right tension
- Final words
Machine embroidery is a complex procedure that is filled with numerous challenges. These challenges need to be swiftly handled for clear and precise embroidery results. Among many problems occurring during machine embroidery, puckering is one of the most common problems digitizers face.
Often, freshers digitizers experience this problem as they lack the requirements and conditions to avoid puckering; it would be best to find suitable ways to prevent puckering as it can make the most finished artwork messy and unprofessional.
This month's blog post explores the most common puckering problems faced by digitizers.
Keep reading:
What is Puckering in Machine Embroidery?
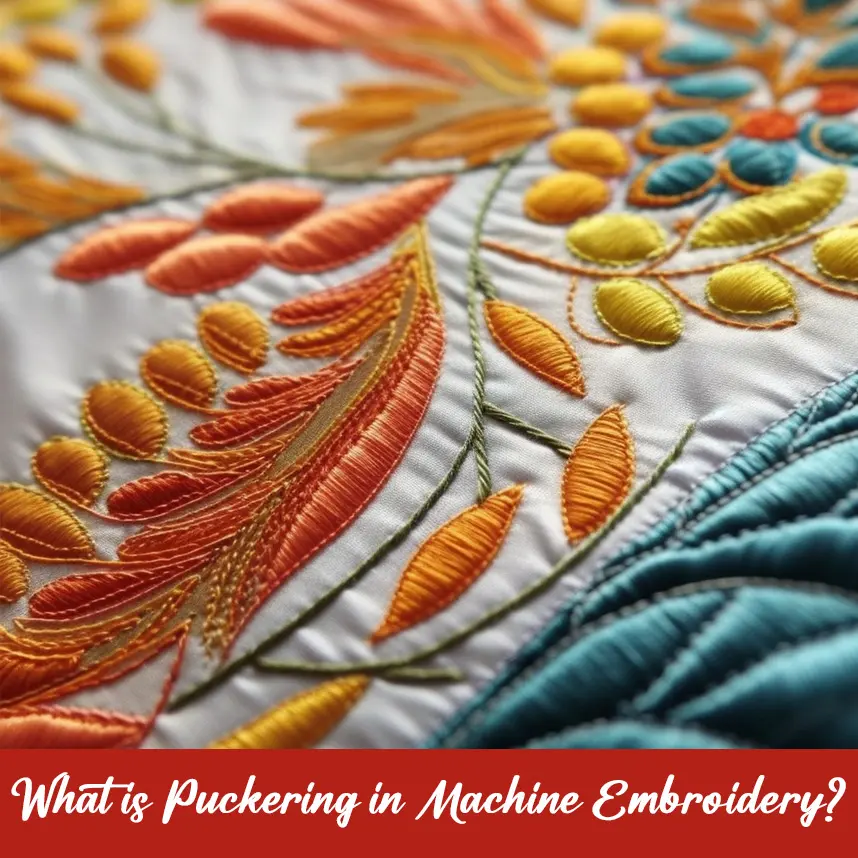
Embroidery puckering refers to the problem in which fabric assembles near the machine embroidery stitches, causing issues in making professional stitches and resulting in distorted stitches. Nylon and satin fabrics are most often prone to puckering. To achieve an ideal result, the puckering problem must be eliminated.
A Guide to Fabric more Prone to Puckering
Different fabrics react differently to machine embroidery. It is commonly suggested that slippery and nylon fabrics are more prone to puckering. This is because slippery stitches are caused by the movement of the fabric. Fabrics with greater thickness are also more likely to suffer puckering.
What Causes Puckering in Machine Embroidery?
Several factors are held to reconcile for puckering. Some of the main factors as the primary cause of machine embroidery puckering are as follows:
1- Incorrect Stabilizers
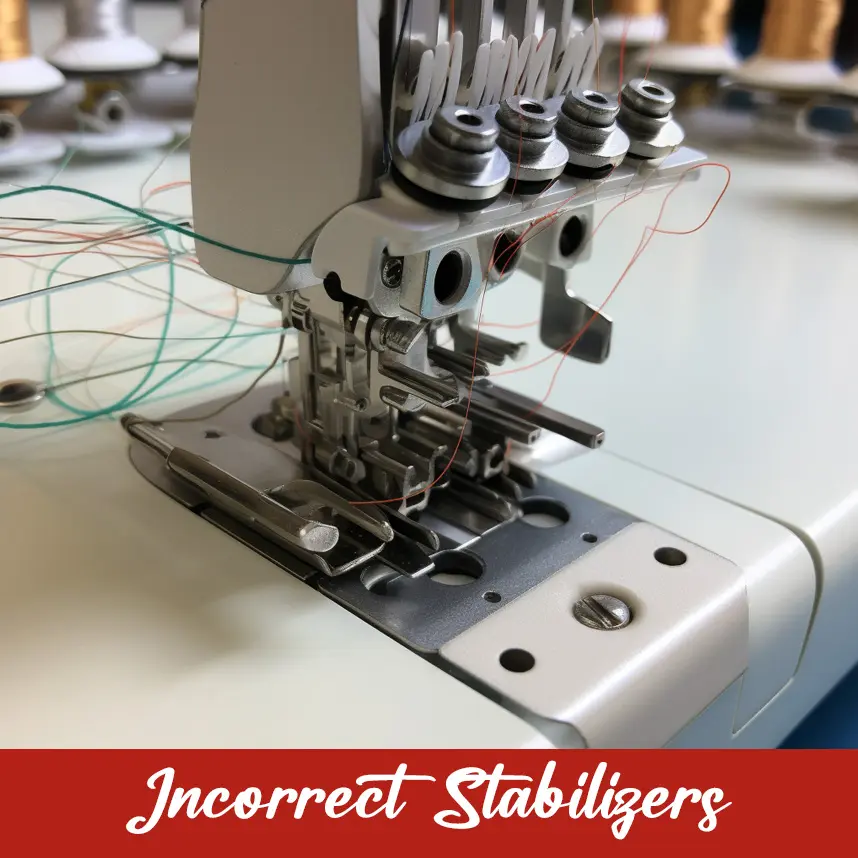
Extensive pressure from thread and bobbin is the leading cause of fabric puckering. This is because loose tension results in loops and three pulls, which result in machine embroidery puckering.
2- Improper Hooping
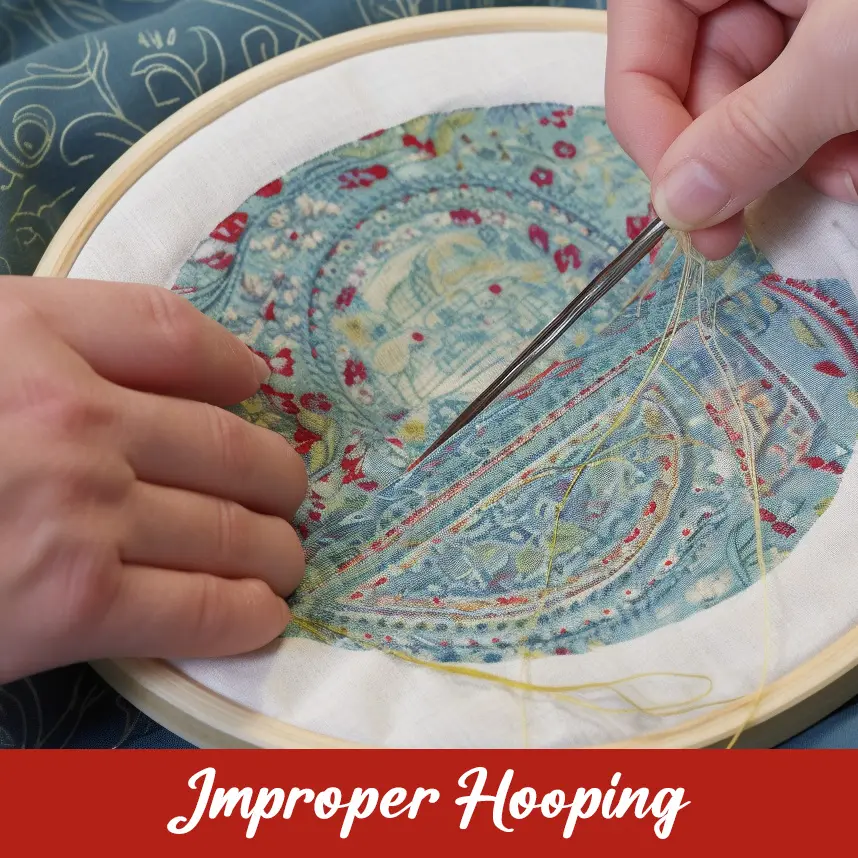
Hooping, such as too much, can cause distortion. When fabric relaxes after embroidery, puckering will occur, causing wrinkles and distortion in stitches.
3- inappropriate selection of fabric type

Silky and light fabrics are more prone to puckering. This is because they have less material to gather up before bunching. To avoid this problem, it is suggested that you choose a fabric with a heavier weight.
4- Size of Designs
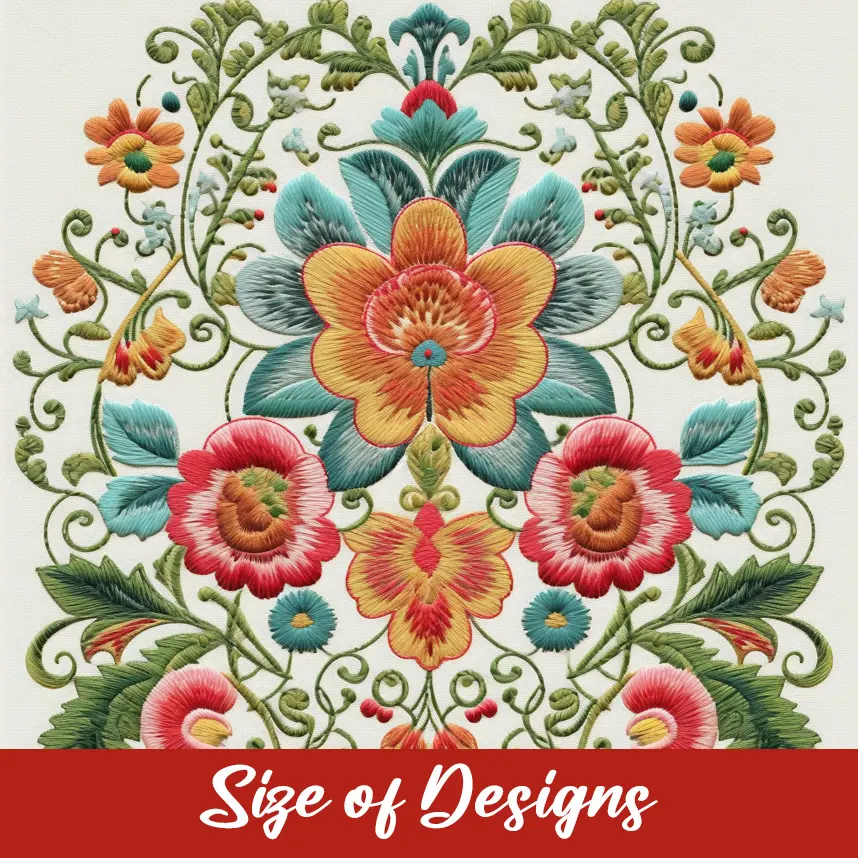
The size of the embroidery design is another important factor in the art of embroidery digitizing. The size of the design significantly impacts puckering. For instance, you can easily stitch tiny, thin, and delicate designs on light fabric. Another limiting factor is that large designs with numerous fills are the main cause of hurdles. It is suggested to go for artwork that requires minimum stitching to avoid puckering.
5- Poor Thread Quality
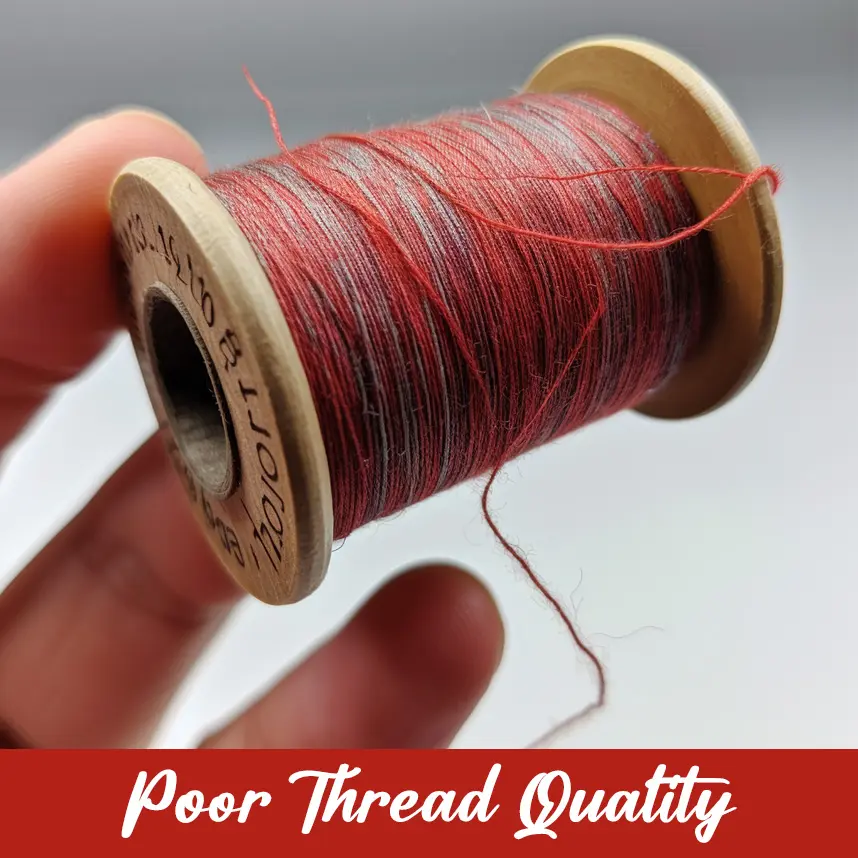
Thread quality directly affects the results of machine embroidery. For instance, low-quality threads are the core reason for puckering, as these threads can easily be broken. Threads like polyester or rayon are the best choice. Polyester threads are turf and difficult to break, while whole rayon threads are shiny and must be dealt with with great care.
One thing to keep in mind is to tailor your thread weight and type to the fabric. Too dense and too light thread are the major hurdles while doing machine embroidery.
How to Avoid Puckering
Puckering is considered the sole reason for distorting the embroidery design. Hence, it means it needs great care and attention for fine and stunning artwork. Here are some tips that will help you a lot in avoiding puckering.
These are the following:
1- Use of Appropriate Stabilizers
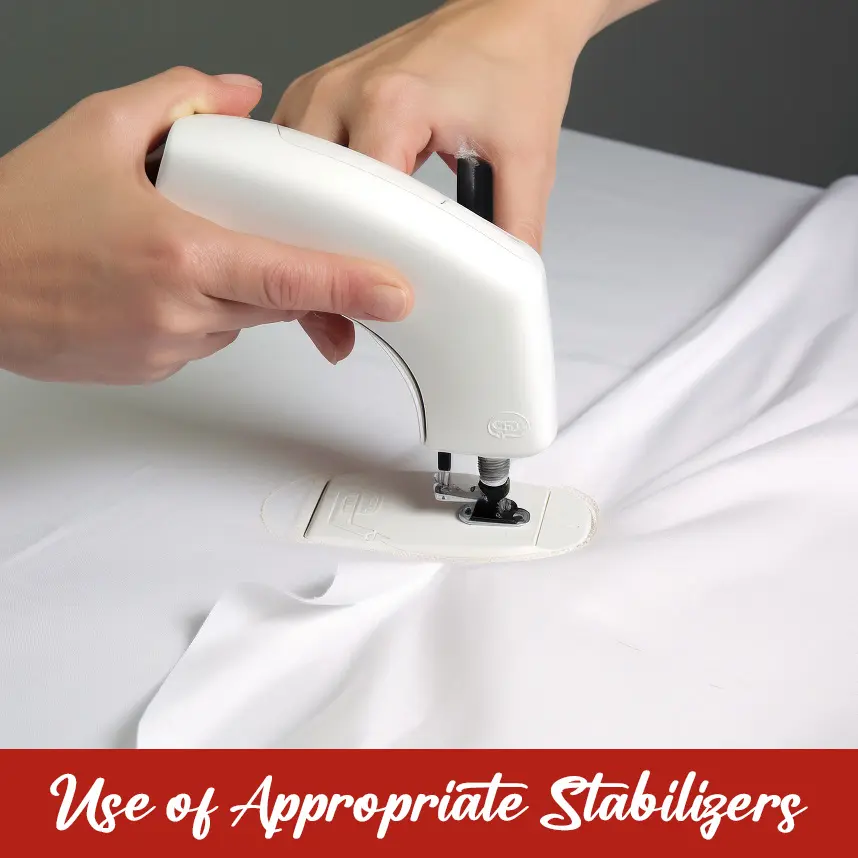
Tear away
The stabilizer works well for cotton-like fabrics. This stabilizer can easily be removed just after one wash.
Cutaway stabilizers
Cut-away stabilizers are the perfect choice for stretchy and delicate fabrics. They stay in the fabric for a long time, helping maintain their stability even after multiple washings.
Lightwear fabrics
Washway stabilizers are the best choice for lightweight fabrics. They are dissolved in water after stitching and leave no residue. This stabilizer is perfect for Materials like lace or sheer curtains as it will not be visible.
2- Proper Hoop
Ensure the hooping is done properly. Loose fabric causes puckering, while tightening the hoop causes distortion. This distortion becomes more apparent when the embroidery is removed from the hoop.
3- Use the right tension
Another solution to puckering is using the right tension tailor to fabric and thread being used. As already mentioned, too much tension causes puckering. To gauge the accuracy of thread tension, it is advised to use thread tension gauges. One thing to keep in mind is to read your machine’s manual to understand how the tension system works and then adjust accordingly.
Final words
In conclusion, machine embroidery is a challenging task. It is not easy, especially if a person lacks proficient digitizing embroidery skills. If embroidery is not your area, it is recommended that you hire reliable digitizing services and provide them with information regarding the fabric you want to embroider.
At Digitizing USA, our expert digitizers leave no stone unturned in delivering reliable embroidery service songs with a quick turnaround to our clients. Leverage our expert's potential to experience the quality of artwork.