How to Digitize Your Own Embroidery Designs [Tutorial]
Table Of Content
- Understanding Embroidery Digitization
- Benefits of Digitizing Your Own Designs
- Tools and Software Needed
- Recommended Software Programs
- Step 1: Choosing the Right Design
- Step 2: Converting Images to Digital Format
- Step 3: Cleaning Up Your Image
- Step 4: Installing and Configuring the Software
- Step 5: Getting Familiar with the Interface
- Step 6: Starting a New Project
- Step 7: Importing Your Design
- Embroidery Digitizing Techniques
- 1. Using Automatic Digitizing
- 2. Manual Digitizing Techniques
- 3. Stitch Types and Their Uses
- 4. Adjusting Stitch Density
- 5. Modifying Stitch Direction
- 6. Adding Details and Textures
- 7. Using the Software’s Preview Feature
- 8. Test Stitching on Fabric
- Saving and Exporting Your Design
- Exporting for Different Embroidery Machines
- Troubleshooting Common Issues
- Fixing Distorted Stitches
- Handling Thread Breaks
- Advanced Tips and Tricks
- 1. Creating Complex Designs
- 2. Using Layers and Color Changes
- 3. Personalizing Clothing and Accessories
- 4. Creating Custom Gifts
- Conclusion
- FAQs (Frequently Asked Questions)
Embroidery digitization has revolutionized the way we create intricate designs on fabric. Gone are the days of manual stitching for hours on end, now you can convert any image into an embroidery pattern with a few clicks. This tutorial will guide you through the process of digitizing your own embroidery designs, making it easier than ever to personalize your projects.
Understanding Embroidery Digitization
Embroidery digitization is the process of converting artwork into a digital file that an embroidery machine can understand and stitch out. This involves transforming a flat image into a series of stitches that replicate the design on fabric.
Benefits of Digitizing Your Own Designs
Digitizing your own designs gives you complete creative control. You can customize patterns to your liking, create unique gifts, and even start a small business offering personalized embroidery services. Plus, it's a fun and rewarding skill to learn!
Tools and Software Needed
To start digitizing, you'll need a computer and an embroidery machine. Ensure your computer meets the software's requirements for smooth operation.
Recommended Software Programs
Several software options are available, each with its features and price points. Popular choices include:
1. Brother PE-Design
2. Embird
3. Hatch Embroidery
4. Wilcom Embroidery Studio
These programs offer various tools to help you digitize your designs efficiently.
Step 1: Choosing the Right Design
Start with a simple design, especially if you're new to digitizing. Avoid overly complex images with lots of small details.
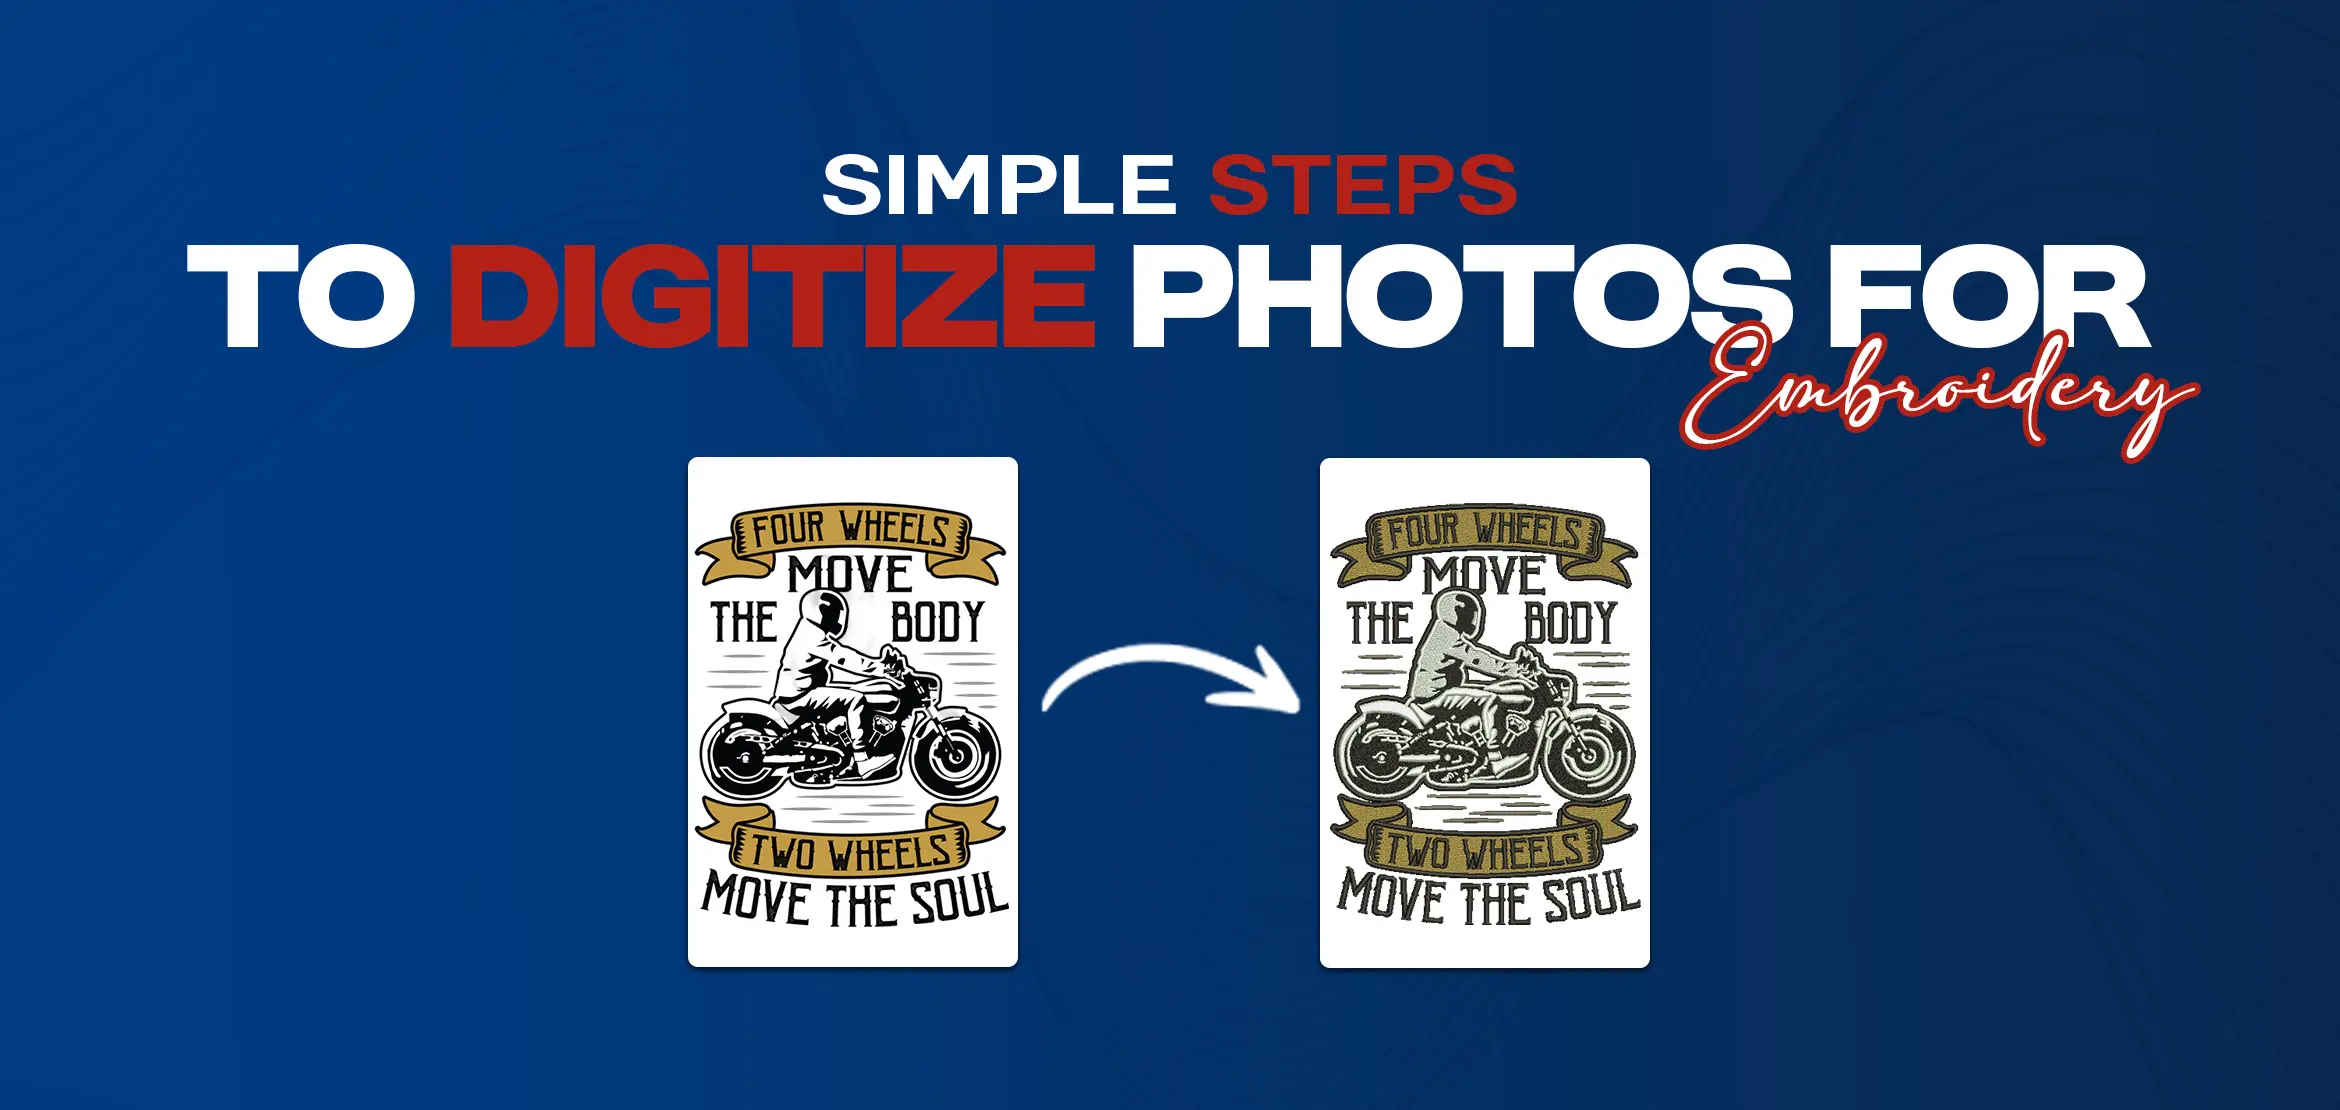
Step 2: Converting Images to Digital Format
Use a scanner or a high-resolution camera to convert physical drawings into digital images. Ensure the image is clear and well-defined.
Step 3: Cleaning Up Your Image
Before importing your image into the software, clean it up using photo editing tools. Remove any unwanted backgrounds, and enhance the contrast to make the lines and shapes more distinct.
Step 4: Installing and Configuring the Software
Download and install your chosen software. Follow the setup instructions to configure it for your embroidery machine and computer.
Step 5: Getting Familiar with the Interface
Spend some time exploring the software interface. Familiarize yourself with the main tools and features, such as the toolbar, stitch types, and design workspace.
Step 6: Starting a New Project
Open the software and start a new project. Set your canvas size based on the embroidery hoop you plan to use.
Step 7: Importing Your Design
Import your cleaned-up digital image into the software. This will serve as the base for your embroidery pattern.
Embroidery Digitizing Techniques
1. Using Automatic Digitizing
Many software programs offer an automatic digitizing feature. This tool can quickly convert your image into a stitch pattern, though it may require some tweaking for optimal results.
2. Manual Digitizing Techniques
Manual digitizing gives you more control over the final design. Use tools like the pen or brush to trace over your image, specifying stitch types and directions as you go.
3. Stitch Types and Their Uses
Different stitch types serve various purposes:
Satin Stitch: Ideal for outlines and borders.
Fill Stitch: Used for larger areas.
Running Stitch: Great for detailing and fine lines.
4. Adjusting Stitch Density
Stitch density affects the coverage and texture of your embroidery. Adjust it to ensure your design is neither too sparse nor too dense.
5. Modifying Stitch Direction
Change the stitch direction to add depth and dimension to your design. This can make your embroidery look more dynamic and professional.
6. Adding Details and Textures
Incorporate additional details and textures using different stitch types and layering techniques. This will make your design stand out.
7. Using the Software’s Preview Feature
Before stitching, use the preview feature to see how your design will look on fabric. This can help you spot any issues that need fixing.
8. Test Stitching on Fabric
Perform a test stitch on a scrap piece of fabric. This allows you to make adjustments before committing to your final project.
Saving and Exporting Your Design
Save your design in a format compatible with your embroidery machine. Common formats include .PES, .DST, and .EXP.
Exporting for Different Embroidery Machines
Ensure your design is correctly exported for your specific machine. Follow the manufacturer’s guidelines for transferring files.
Troubleshooting Common Issues
Fixing Distorted Stitches
If your stitches look distorted, check the stitch density and direction. Adjust as needed and test again.
Handling Thread Breaks
Thread breaks can be frustrating. Ensure your machine is well-maintained, and use high-quality thread to minimize breaks.
Advanced Tips and Tricks
1. Creating Complex Designs
As you gain confidence, experiment with more complex designs. Use layers and color changes to add intricacy to your patterns.
2. Using Layers and Color Changes
Layers can help you manage different parts of your design separately. Color changes allow you to incorporate multiple colors seamlessly.
3. Personalizing Clothing and Accessories
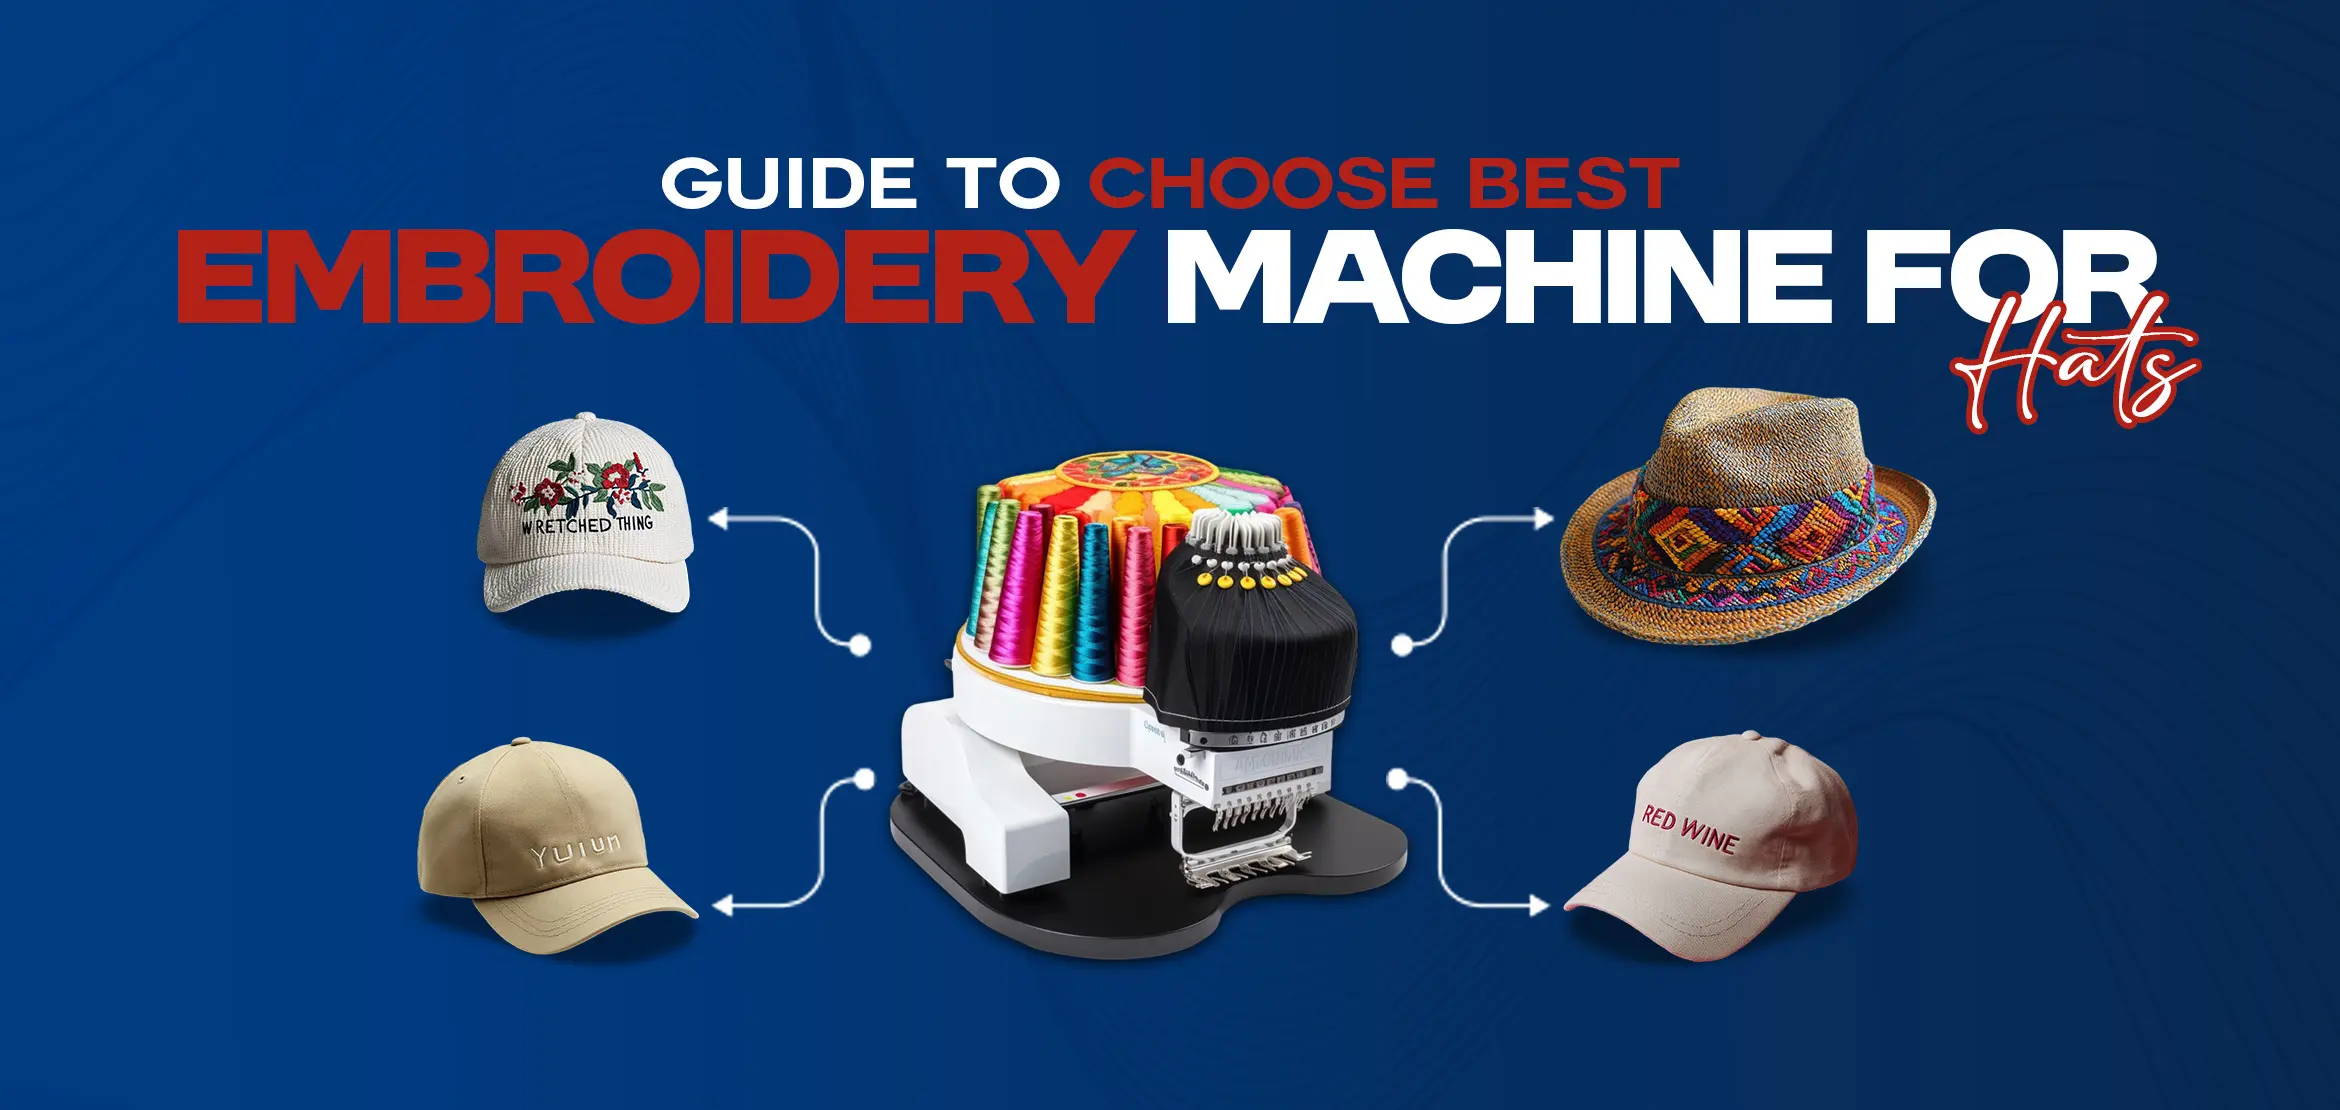
Use your digitized designs to personalize clothing, hats, bags, and more. This adds a unique touch to everyday items.
4. Creating Custom Gifts
Handmade, personalized gifts are always appreciated. Digitize and embroider designs for friends and family to create one-of-a-kind presents.
Conclusion
Digitizing your own embroidery designs is a fantastic way to personalize your projects and unleash your creativity. By following this tutorial, you’ll gain the skills and confidence needed to create stunning embroidered pieces. So, grab your tools, choose a design, and start embroidery digitizing!
FAQs (Frequently Asked Questions)
Q1. What software is best for beginners in embroidery digitizing?
Hatch Embroidery and Brother PE-Design are user-friendly and great for beginners.
Q2. Can I digitize hand-drawn designs?
Yes, you can digitize hand-drawn designs by scanning them and importing the digital file into your software.
Q3. How long does it take to digitize a design?
The time varies based on the complexity of the design and your familiarity with the software. Simple designs can take a few hours, while complex ones may take longer.
Q4. Do I need a special embroidery machine for digitized designs?
Most modern embroidery machines can read digitized files. Check your machine’s compatibility with the file formats.
Q5. Can I edit a digitized design after exporting it?
Yes, most software allows you to reopen and edit your design even after exporting it, as long as you save the project file.