FAQs About Embroidery Stabilizer
Table Of Content
- 1. What is an embroidery stabilizer?
- 2. What are the most common types of stabilizers used?
- 3. How do I select the appropriate stabilizer?
- 4. Can I use more than one stabilizer?
- 5. What is a topping stabilizer?
- 6. How do I apply a stabilizer?
- 7. What happens if I don't use a stabilizer?
- 8. Do eco-friendly stabilizers exist?
- 9. How do I remove the stabilizer after embroidery?
- 10. Where can I get embroidery stabilizers?
- 11. Are there eco-friendly stabilizers?
- 12. How do I remove stabilizers after embroidery?
- Conclusion
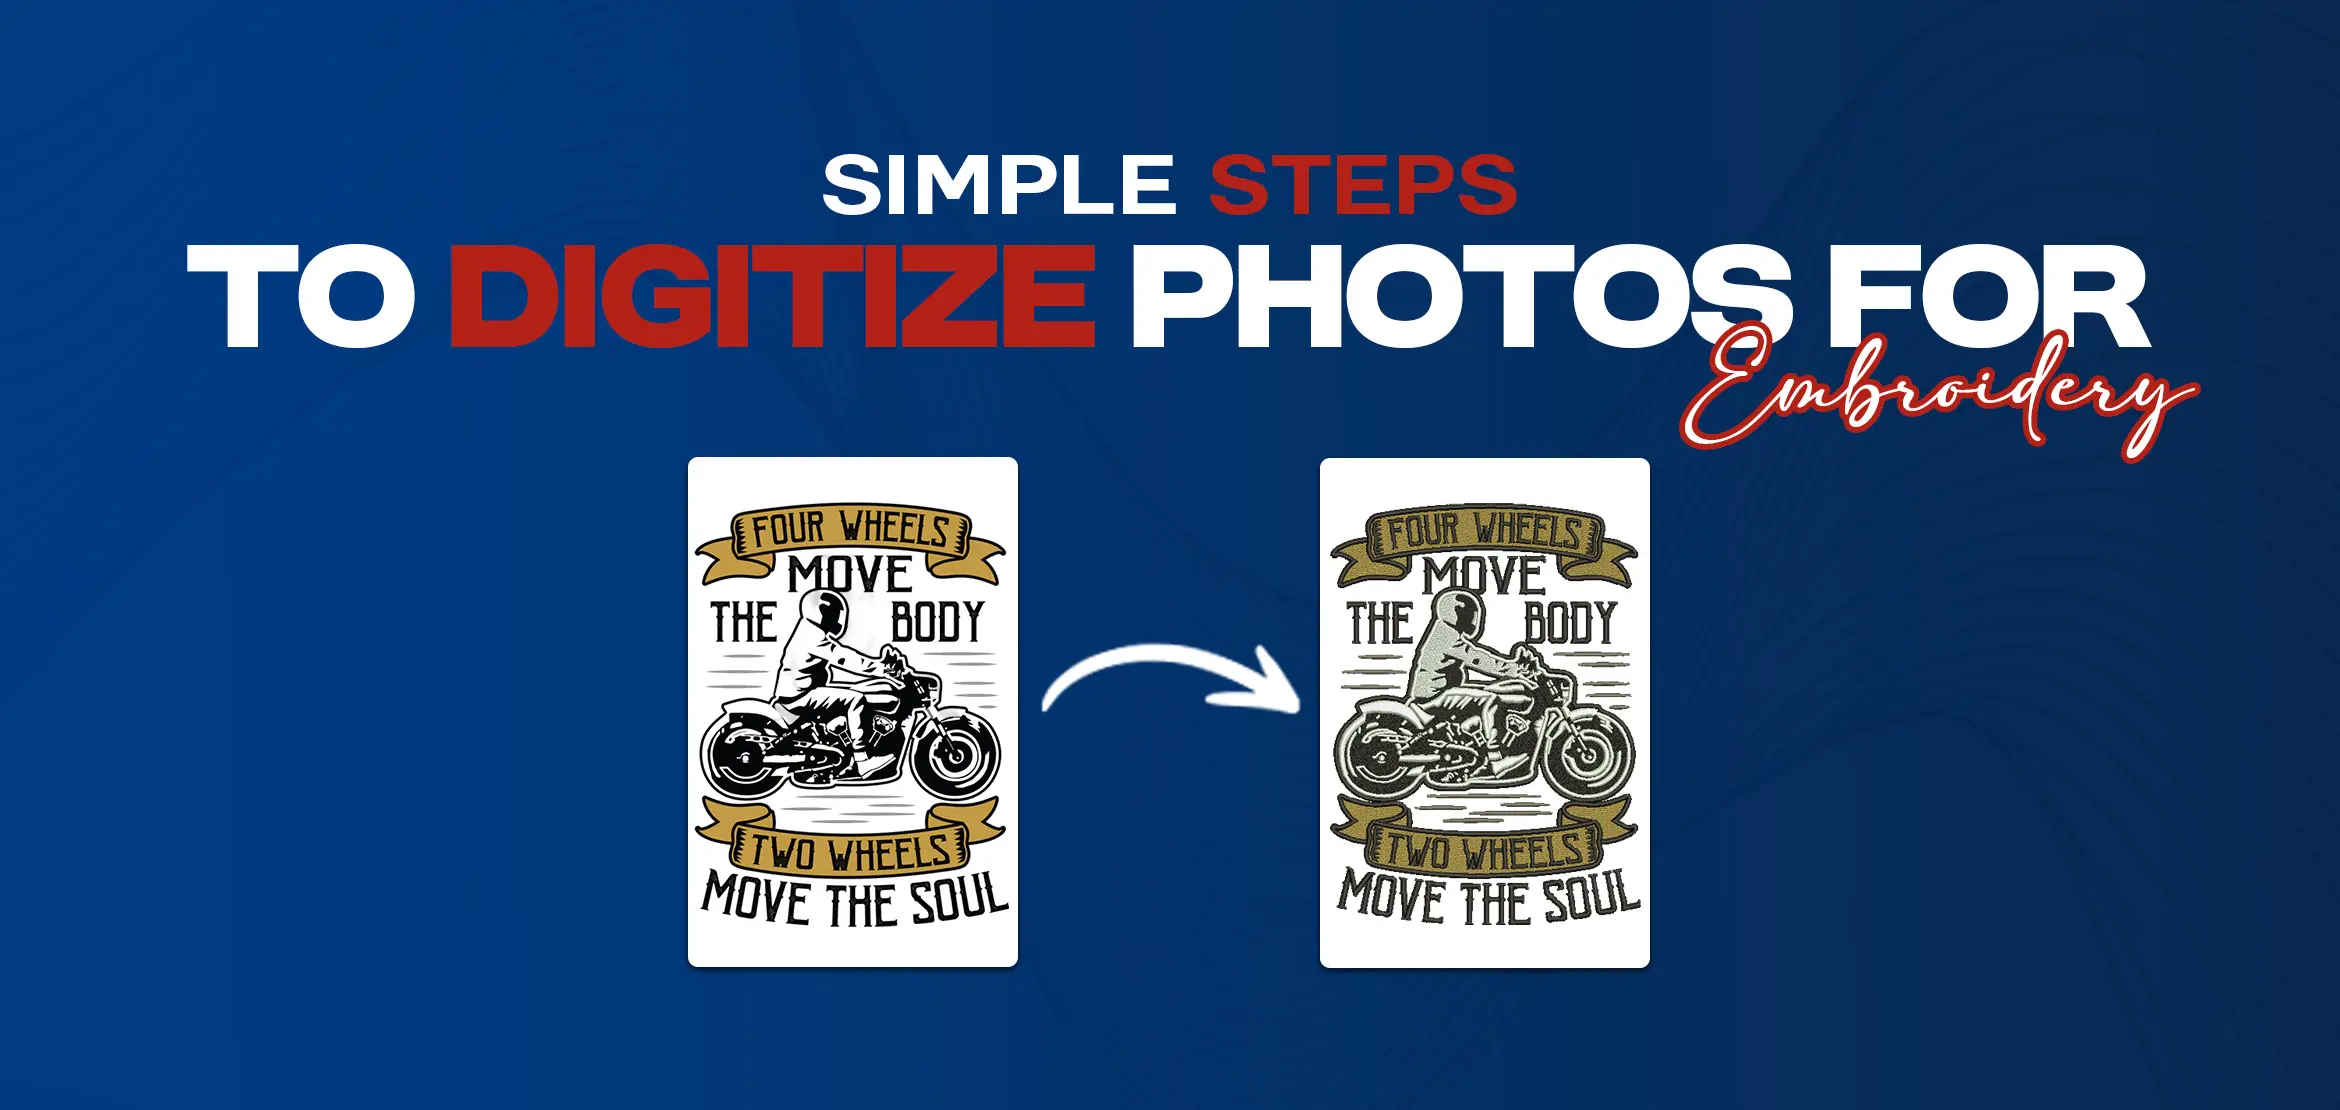
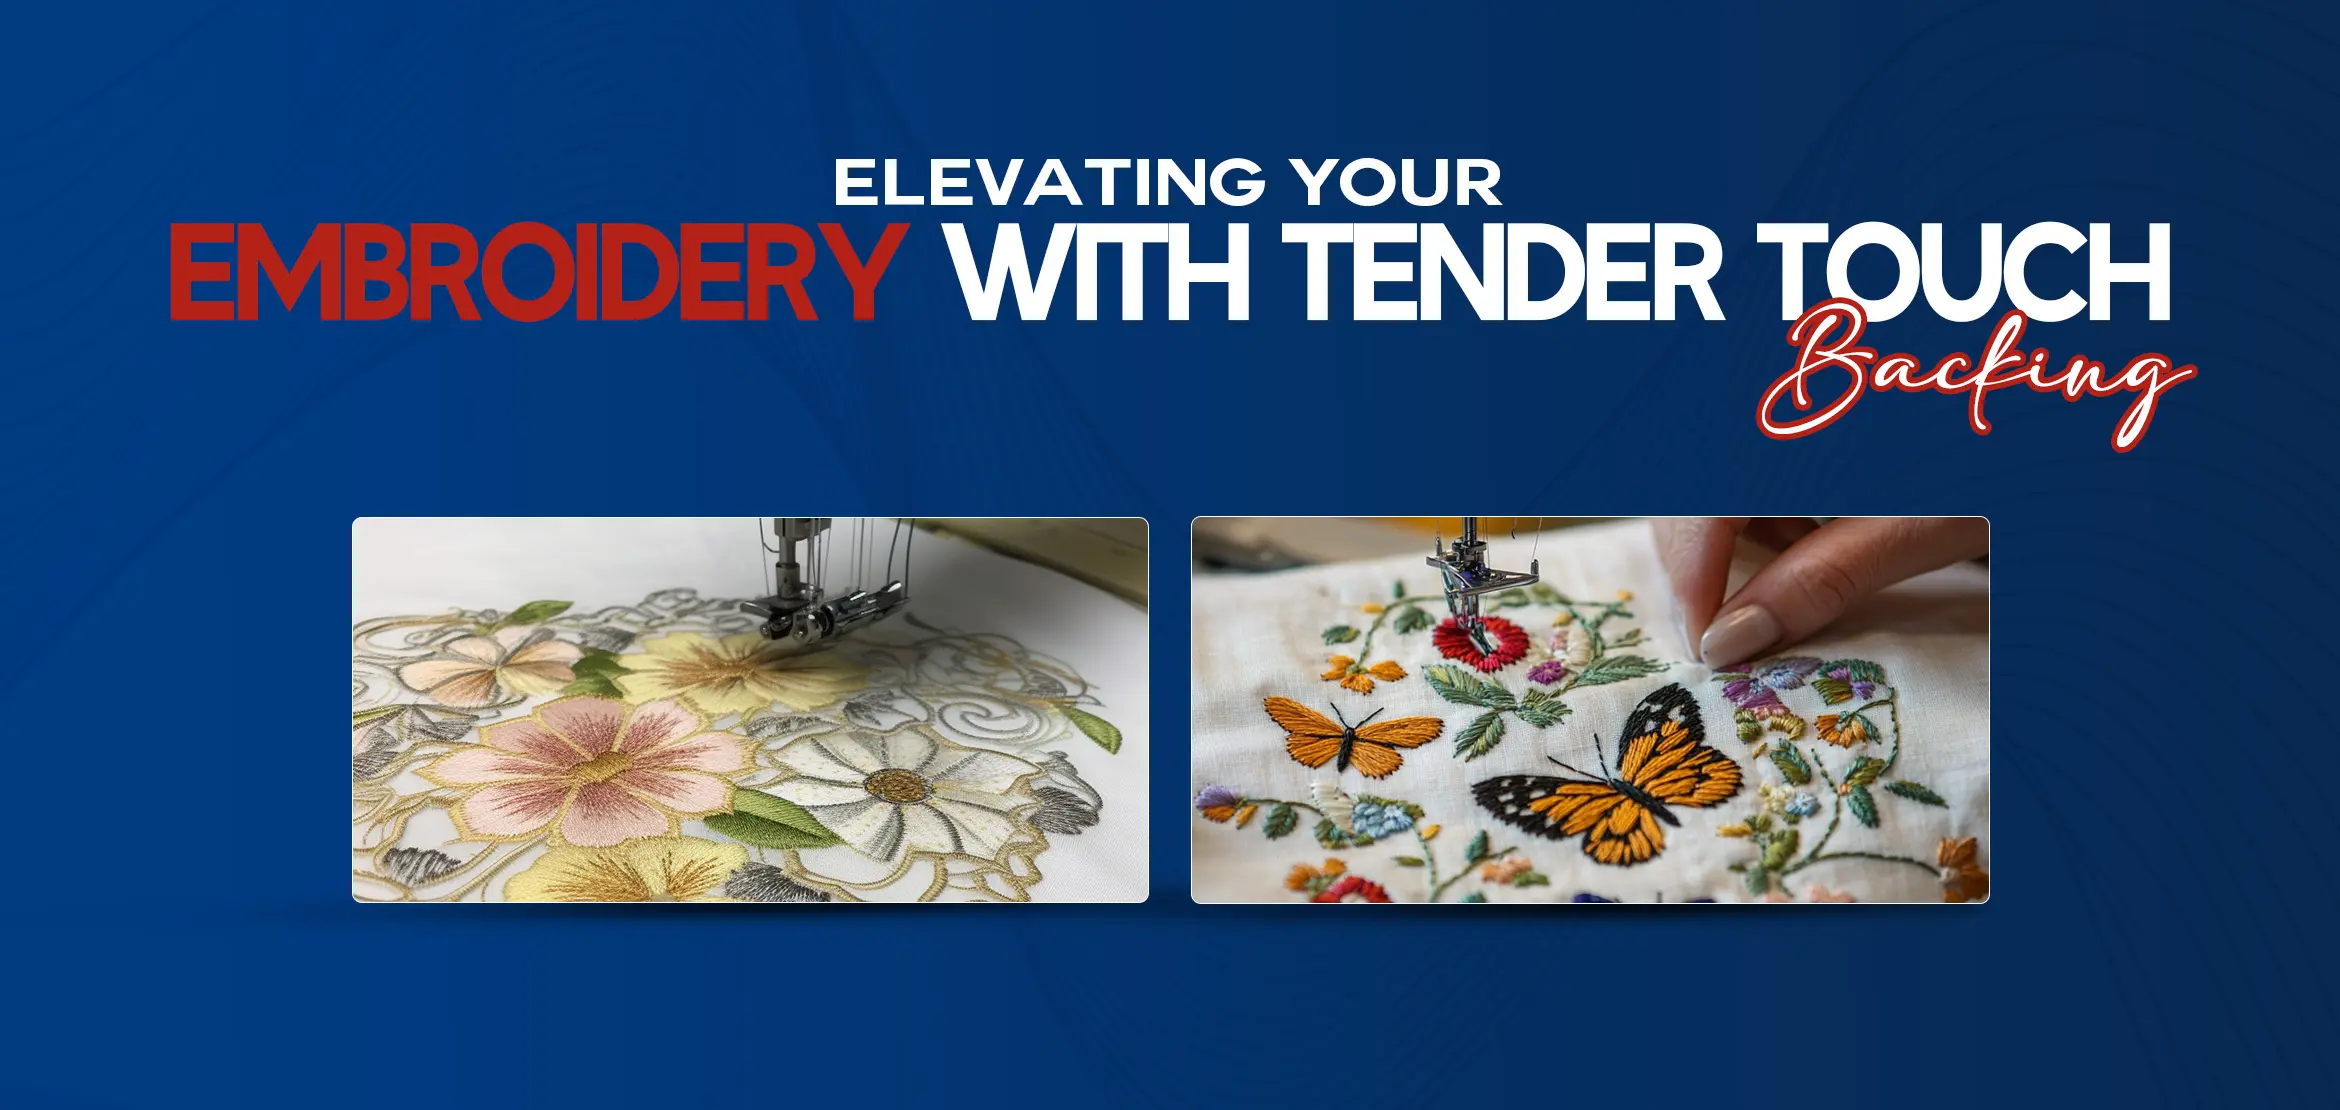
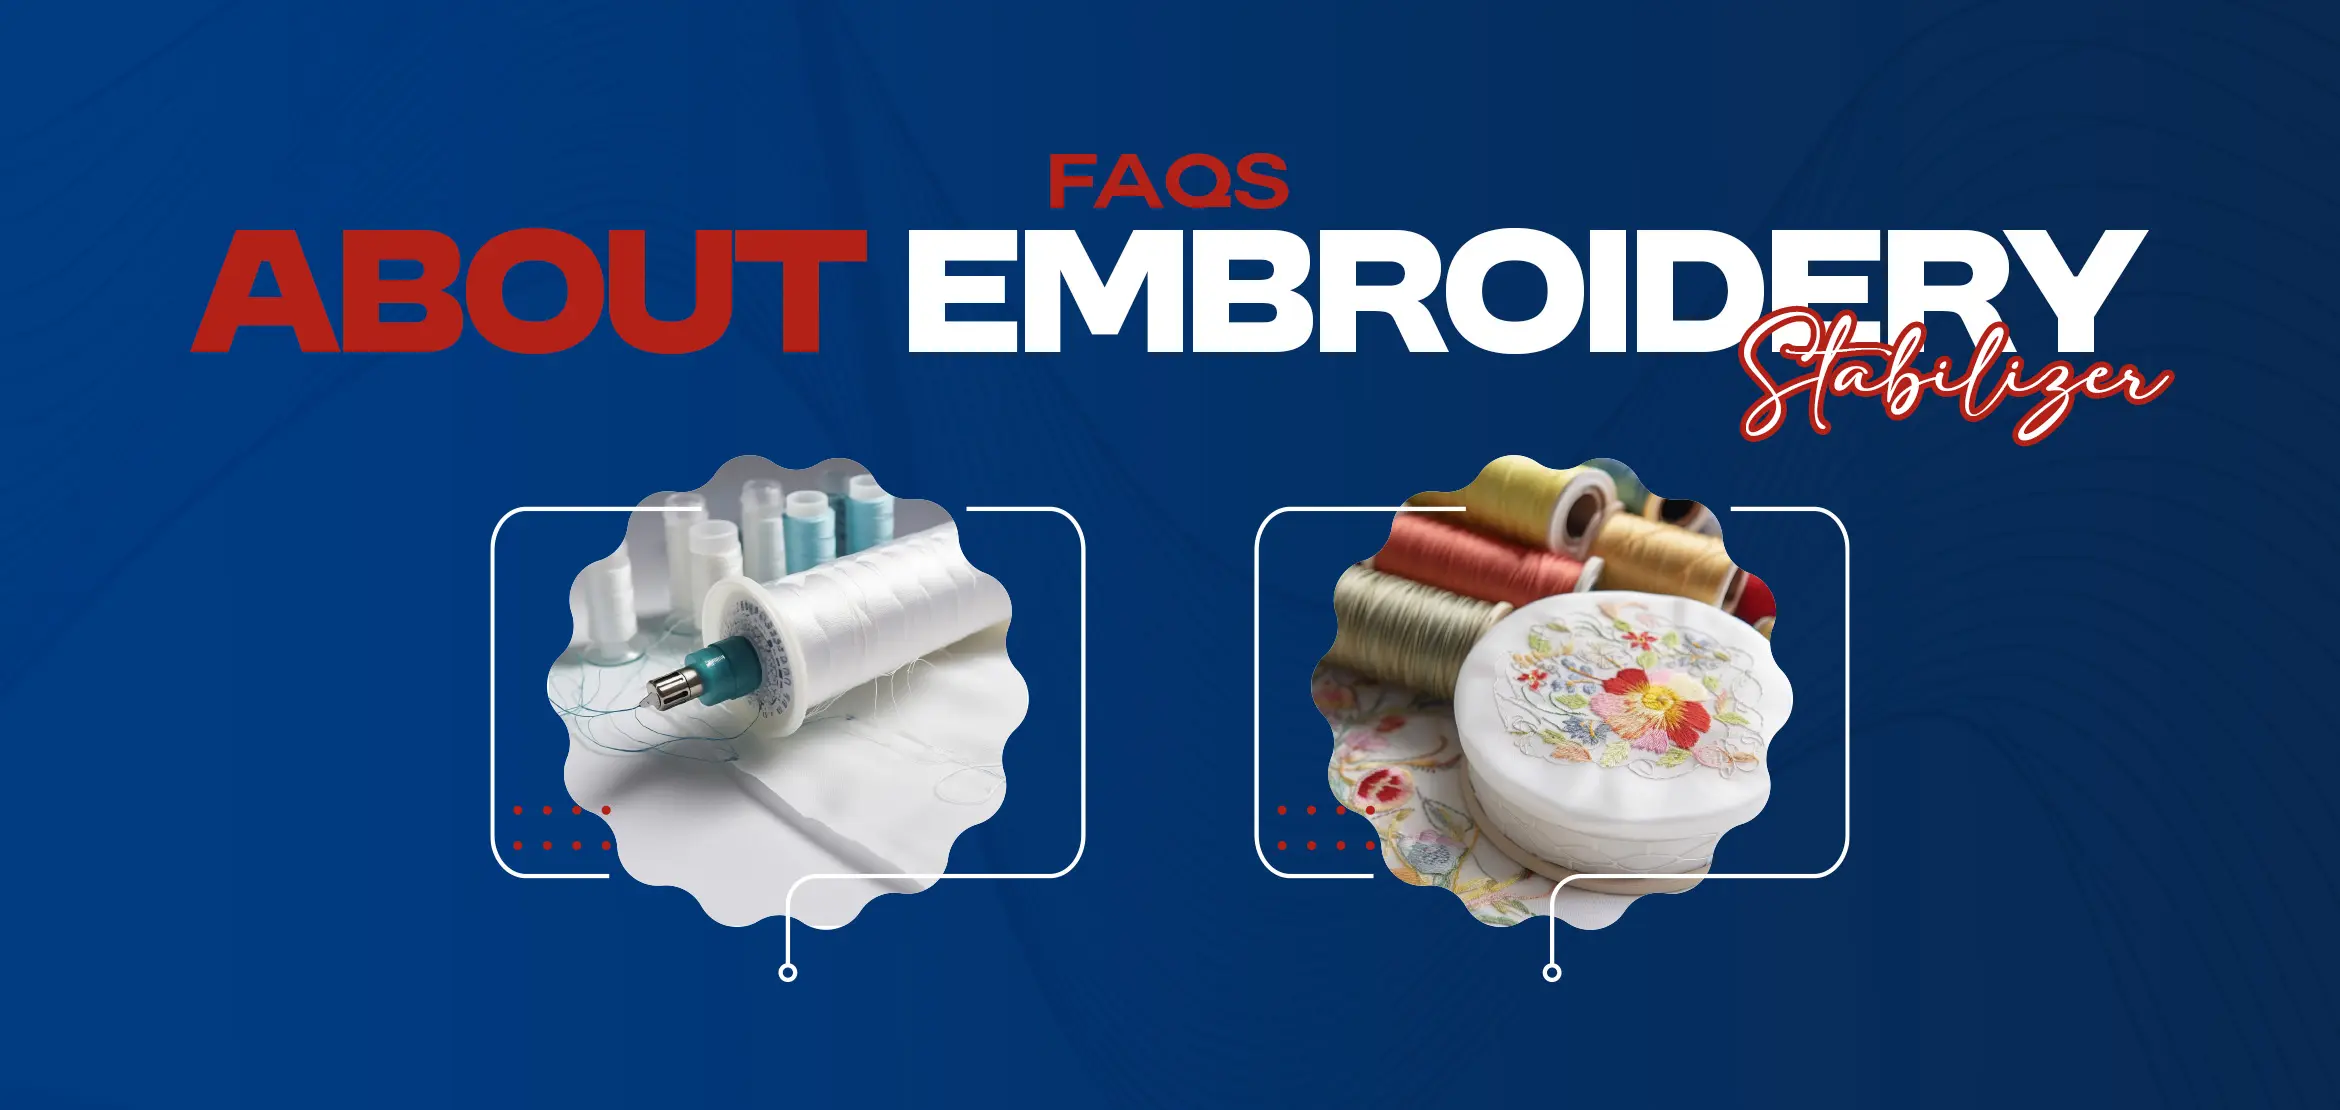
Embroidery stabilizers play a crucial role in elevating your embroidery projects. Whether you're a beginner or an experienced embroiderer, understanding stabilizers can make a significant difference in your work. Here are the answers to some frequently asked questions about embroidery stabilizers: This month’s blog post will help you in understanding the basic complexities of embroidery stabilizers. Stay connected to thoroughly understand each requiremnts of stabilizers. Keep reading: An embroidery stabilizer is a backing or topping material used in embroidery that supports the fabric and maintains its shapes or stops from puckering, stretching, and/or shifting while stitching. There are three primary types of embroidery stabilizers used, namely: Tear-Away Stabilizer: It is torn away easily, leaving the rest of the stabilizer in place for easy removal. The best type of stabilizer for stable fabrics such as cotton or denim. Permanent on the fabric Cut-Away stabilizer It can be used permanently on fabrics like stretchy and delicate fabrics. Dissolves in water, used for lace, or sheer type of fabric Wash-Away Stabilizer. Selecting the correct stabilizer will depend on the type of fabric and design. For instance, Tear-away stabilizer is ideal for robust fabrics. Cut-away stabilizer for knit or stretchy materials Wash-away stabilizers are suitable for delicate projects like free-standing lace Yes! Combining stabilizers can provide additional support to complex designs or challenging fabrics. For example, a cut-away stabilizer and topping can improve stitch clarity when sewing on textured fabric like towels. A topping stabilizer is a layer placed on top of the fabric to prevent stitches from sinking into textured surfaces. Popularly used toppings include water-soluble films for use with velvet or terry cloth. Hooping: Sandwich the fabric and stabilizer between the embroidery hoop to hold it in place. Adhesive Stabilizers: Certain stabilizers are attached with an adhesive on the back that sticks directly to the fabric. Spray Adhesives: For temporary bonding of the stabilizer to the fabric, use a spray adhesive for extra stability. Avoiding the use of a stabilizer may cause poor embroidery output, such as puckering, uneven stitches, or distortion of the design. Yes, eco-friendly stabilizers are made of natural or biodegradable materials. These alternatives minimize waste and are more environment-friendly. Tear-Away: Carefully tear the stabilizer away from the stitches. Cut-Away: Cut away excess stabilizer carefully, close to the design. Just do not cut on the stitches. Wash-Away: Simply just give the fabric a good rinse in water to dissolve the stabilizer completely. Embroidery stabilizers can be found at craft stores, online retailers, and embroidery specialty shops. Be sure to look for high-quality brands offering a variety of stabilizer types. Mastering embroidery stabilizers will always raise your embroidery projects to durability and professional-quality output. Indeed, there are eco-friendly stabilizers made from natural or biodegradable materials, which help save waste and ensure a cleaner environment. Tear-Away: Carefully tear the stabilizer away from your stitches. Cut-Away: Trim excess stabilizer close to the design without cutting the stitches. Wash-Away: Rinse the fabric in water to dissolve the stabilizer completely. To sum up, mastering the use of embroidery stabilizers will elevate your embroidery projects, ensuring durability and professional-quality results. In short, one stabilizer cannot fix the need of distinct stabilizers. You need a combination of all three stabilizers, tailoring to your embroidery requirements. Test before using each stabilizer and go for the one most suitable to your needs. 1. What is an embroidery stabilizer?
2. What are the most common types of stabilizers used?
3. How do I select the appropriate stabilizer?
4. Can I use more than one stabilizer?
5. What is a topping stabilizer?
6. How do I apply a stabilizer?
7. What happens if I don't use a stabilizer?
8. Do eco-friendly stabilizers exist?
9. How do I remove the stabilizer after embroidery?
10. Where can I get embroidery stabilizers?
11. Are there eco-friendly stabilizers?
12. How do I remove stabilizers after embroidery?
Conclusion