How To Use A Multi-Position Embroidery Hoop: A Complete Guide
Table Of Content
- What is a Multi-Position Embroidery Hoop?
- Essential Steps to Prepare Fabric for Embroidery
- Securing Fabric in the Hoop
- Adjusting the Hoop
- Embroidery Design Selection and Transfer Process
- Optimizing Stabilizers and Tension for Embroidery Success
- Troubleshooting Common Embroidery Issues
- Digitizing USA:Your Go-To Expert for Embroidery Needs
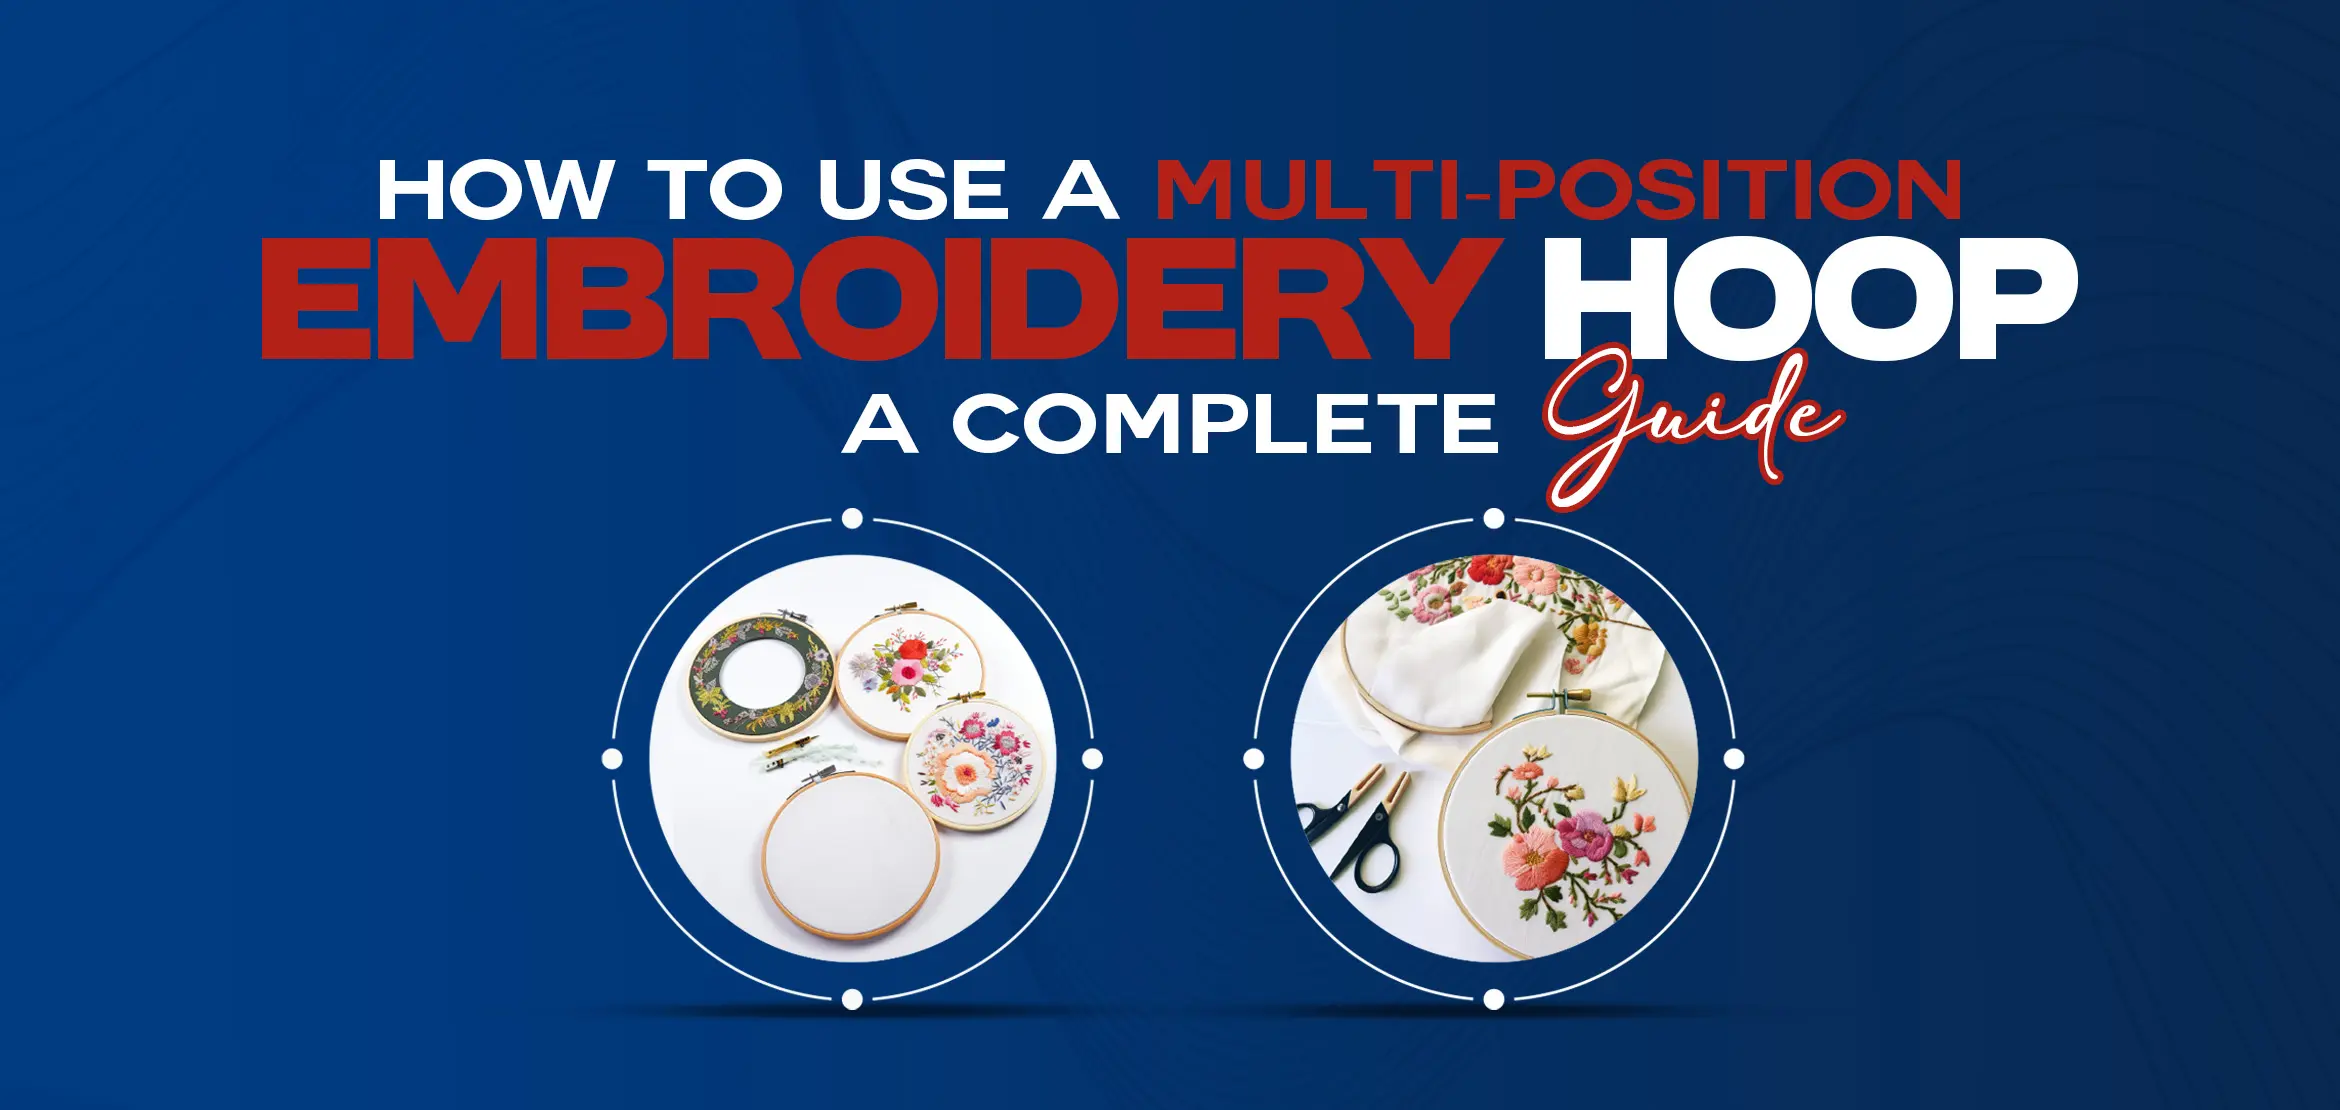
Do you want to stitch an embroidery piece larger than the embroidery hoop? For this, you need to move toward multi-position embroidery hoops. If you are an embroidery enthusiast, this guide will help you to understand all the necessary information about embroidery hoops. Let’s explore how to achieve this seamless process. Multi hoops are similar to regulated hoops. The only thing then sent out is the presence of 3-4 connection parts, which results in 2-3 overlapping stitching areas. Also, they possess more positions to attach. This feature helps you to create a design that is even larger than your maximum embroidery size and inner hoop size. Must follow the following steps before diving into embroidery: Careful selection of fabric aligns with your design and thread Pre-washing the fabric as it reduces the chances of sizing fluctuation Ironing the cloth as it is essential for precision Ensuring grain lines are straight Now, simply center and align your prepped piece of fabric right between the circular frames of your main hoop. Ensure your design is aligned properly to ensure your fabric is also centered correctly. Next, stabilize the hoop by carefully pushing the outer frame over the inner one. For maximum fabric security, tighten the screw or lever slowly. Adjust tautness in small increments while tightening the hoops to maintain even but not overly tight fabric tension. This step ensures your fabric stays stable and secure throughout your embroidery work. Remember, the only way to avoid slippage and compromise integrity in your job is to provide a well-secured fabric, hence precise and professional embroidery results. The final result of embroidery depends on the adjustment of the multi-position hoop. To do this, initiate by ensuring proper hoop alignment to keep your fabric centered. Also, experiment with various stitching angles and depth to add texture to your work. One important aspect is ensuring adjustment to prevent puckering and maintain smooth stitches. For different angles, rotate the hoop. The right design for your project is extremely important for your successful and enjoyable embroidery experience. It should be preceded by the design choice, which must suit your skill level. A beginner should do well with simple designs, while an expert with intricate patterns. Do a compatibility check on the material to avoid issues since some fabrics handle detailed stitches better than others. Use tracing paper or a water-soluble pen to ensure accurate transfer with fewer chances of error in placing your design precisely on the fabric. Pay attention to stitching intricacy, as complex designs require careful planning and execution. Considering these factors, you’ll set yourself up for a smooth and rewarding embroidery process. Now, the focus shifts to using appropriate stabilizers compatible with your fabric. Choosestablizer aligns with your fabric compatibility. Embroidery precision depends on the choice of stabilizer, so be conscious when choosing stabilizers. Similarly, hoop positioning and thread choices are essential. Tension adjustment is crucial as it protects from puking and ensures smooth eighties. So, the essential tensioning tips are as follows: Match stabilizer types to fabric and stitch needs. Position the hoop for the greatest access and comfort. Test to achieve even, fine stitches. Embroidery is a simple problem and is not free from challenges. It depends on how you resolve these intricate problems. For this, begin with Checking the tensioning of your fabric to avoid puckering Avoid loose hoops since they lead to misalignment Thread management is crucial as tangled threads disrupt your work Still, if your stitches don’t look right, seek different stitch realities to achieve the desired result Mastering the multi-position embroidery hoop is a curriculum covering the long embroidery project journey. You don’t need to bother; we are here to serve you. With our commitment to delivering the finest embroidery projects, we remain the top choice of customers. Excel the prowess of our staff and take your stitching projects to new heights of success. Our team will resolve all the problems emerging during embroidery. With digitizing USA, managing intricate designs is no longer a challenge. Give us a chance to work for you. Visit our website for more information.What is a Multi-Position Embroidery Hoop?
.webp)
Essential Steps to Prepare Fabric for Embroidery
Securing Fabric in the Hoop
.webp)
Adjusting the Hoop
.webp)
Embroidery Design Selection and Transfer Process
.webp)
Optimizing Stabilizers and Tension for Embroidery Success
.webp)
Troubleshooting Common Embroidery Issues
Digitizing USA:Your Go-To Expert for Embroidery Needs
