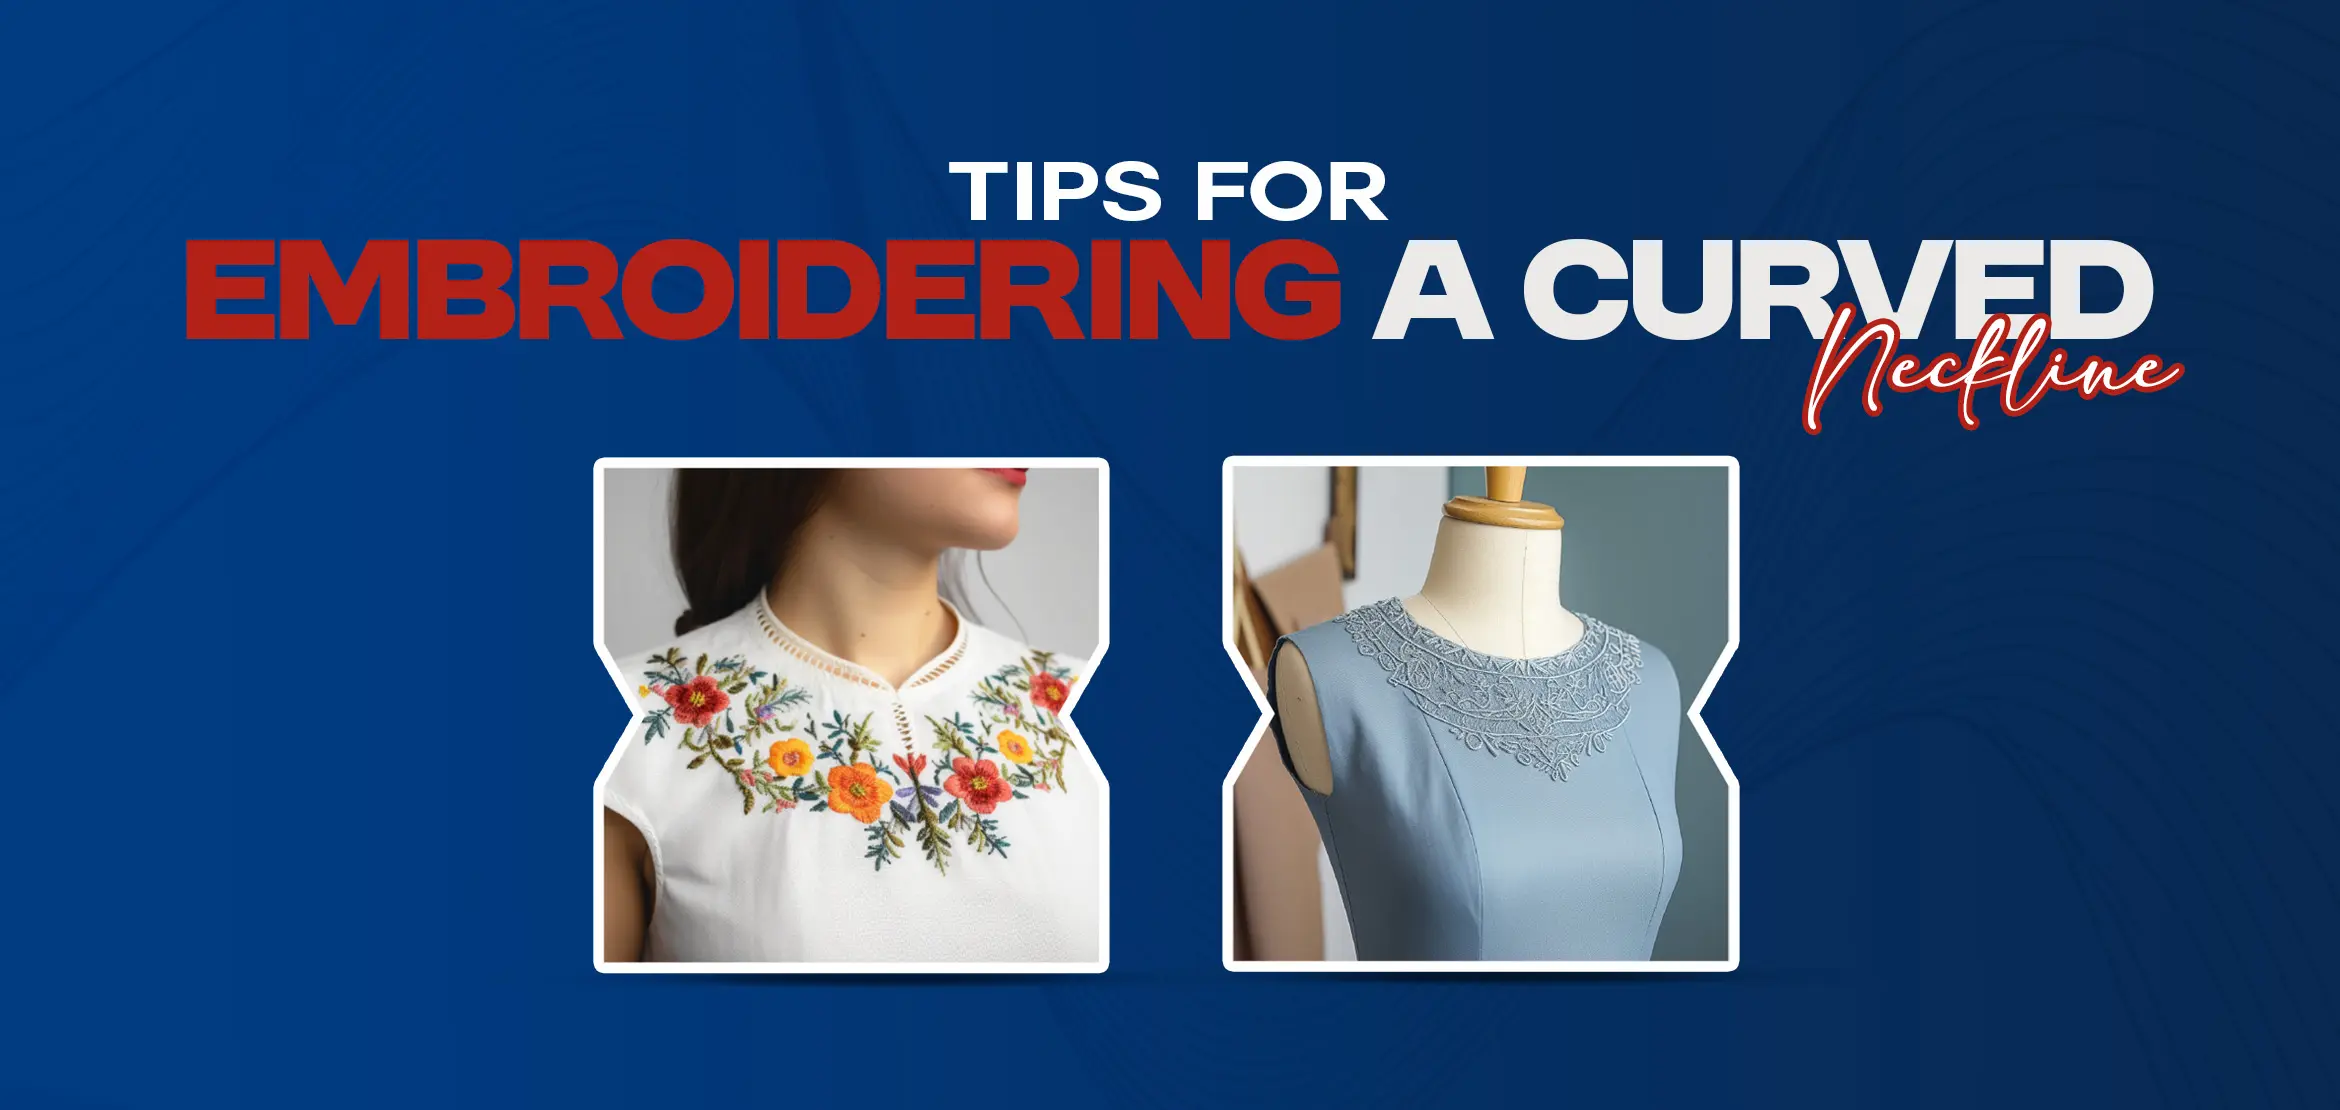
Tips For Embroidering A Curved Neckline
Table Of Content
- Step-by-Step Guide of Embroidering a Curved Neckline
- 1- Selecting the Ideal Material
- 2- Getting the Fabric Ready and Planning the Design Placement
- 3- Begining with Design Placement
- 4- Selecting the Right Stabilizer
- 5- Choosing the Correct Needle and Thread
- 6- Perfecting the Art of Embroidering a Curved Neckline
- The Impact of Embroidery Machine Settings on Your Design
- Stitch Density
- Tension Settings
- Proper Hooping Prevents Shifting
- Team Up with Digitizing USA to Make Your Embroidered Curved Neckline a Reality
Working on curved neckline embroidery is challenging, requiring an in-depth understanding and professional knowledge. However, with the right approach and mindfulness, these challenges can be conquered. This blog piece will take you through choosing the right tricks for curved embroidery. Keep reading! Embroidering curved necklines encompasses numerous steps which must be performed with due care in order to get the desired results. These steps are following: Fabric plays a crucial role in embroidering accurate curved lines. Selecting the appropriate fabric for curved lines is essential and provides optimal results. It is suggested that you choose a fabric with a good amount of stretch to accommodate the curves of the neckline. Fabrics like jersey and knit blends that have natural stretch are good choices. This is because they help embroidery conform to the curves without pulling. Make sure not to choose a stiff fabric like woven, as they can distort designs. Preparing fabric for design placement required a step-by-step procedure. To begin with, wash and iron the fabric to ensure that it is clean and wrinkled. This will offer a smooth surface upon which preceding embroidery becomes easier. Next, consider the design placement. Take the measure from the shoulder seam to the middle of the curved neckline. With its help, you can mark the center point on the fabric. Now, Measure the width of your design. Must ensure alignment with the center points of the fabrics and design for placement. Simultaneously, leaving space around the seeding for the neck curve is essential. The selection of an appropriate stabilizer is key to creating accurate neckline embroidery. Stabilizers hold fabric, reducing the chances of puckering and distortion. For Curved necklines, a cut-away stabilizer is recommended as it provides enough strength and stability. Consequently, it ensures the design will remain in place even after repeated wishes. Cut-away stabilizers are also used for a polished and professional finish. For optimal results, make sure the stabilizer aligns with the weight and stretch of the fabric. Hence, using appropriate stabilizers assists you in choosing appropriate and flawless embroidery designs. Embroldiery's optimal results depend on using appropriate needles. As curved line embroidery is in itself difficult, the selection of the right needle remains crucial. Choosing a fine and sharp needle, preferably a size 75/11 or 80/12, is recommended. With the help of these needles, you can create a more precise and delicate curved neckline. Similarly, you must choose high-quality thread that aligns with the fabric weight. Often, polyester or rayon threads are orl and give smooth fish. Please stay away from choosing heavy thread, as it creates distorted designs. Only practice and precision can make you master the technique of embroidery. Use more miniature embroidery hoops for intricate designs for the beginning level. Also choose the right needle and thread, which is essential as they decide the result of your embroidery project. Start by creating an outline of the curved neckline with a running stitch or back stitch in line with the shape of the neckline. For a smooth stitch, take tiny, even stitches. Take enough time and slowly adjust the tension as needed. Hence, these guidelines will help you to become competent and excel in neckline embroidery. The embroidery machine setting is crucial for creating a well-established curved neckline. Here's a guide on how to set the machine setting: Adjusting stitches according to the thickness of the fabric is essential. Too much stitching makes the fabric pucker, and too few can make your design odd. Proper tension adjustment is needed to enable stitches to lie flat on the fabric. To create a more accurate design, you must test on scrap pieces of cloth, which reduces the chances of error. Remember to use proper hooping to give your fabric a more professional and clean look. Here's a guide on how you can hoop your fabric correctly: Ensure the fabric is tightly held in the fabric. Mark the design with a pen from where the design will be placed. Make sure it is well-aligned and in the center. Make sure not to stretch the fabric too much. Just keep it tight enough to hold your fabric. Curved neckline embroidery is an intricate challenge. It requires thorough pondering of each detail to create a masterpiece. Adapting the above steps will help you achieve optimal neckline embroidery outcomes. Experience the state-of-the-art digitizing service that brings life into your designs! Step-by-Step Guide of Embroidering a Curved Neckline
.webp)
1- Selecting the Ideal Material
2- Getting the Fabric Ready and Planning the Design Placement
3- Begining with Design Placement
4- Selecting the Right Stabilizer
5- Choosing the Correct Needle and Thread
6- Perfecting the Art of Embroidering a Curved Neckline
The Impact of Embroidery Machine Settings on Your Design
.webp)
Stitch Density
Tension Settings
Proper Hooping Prevents Shifting
Team Up with Digitizing USA to Make Your Embroidered Curved Neckline a Reality
