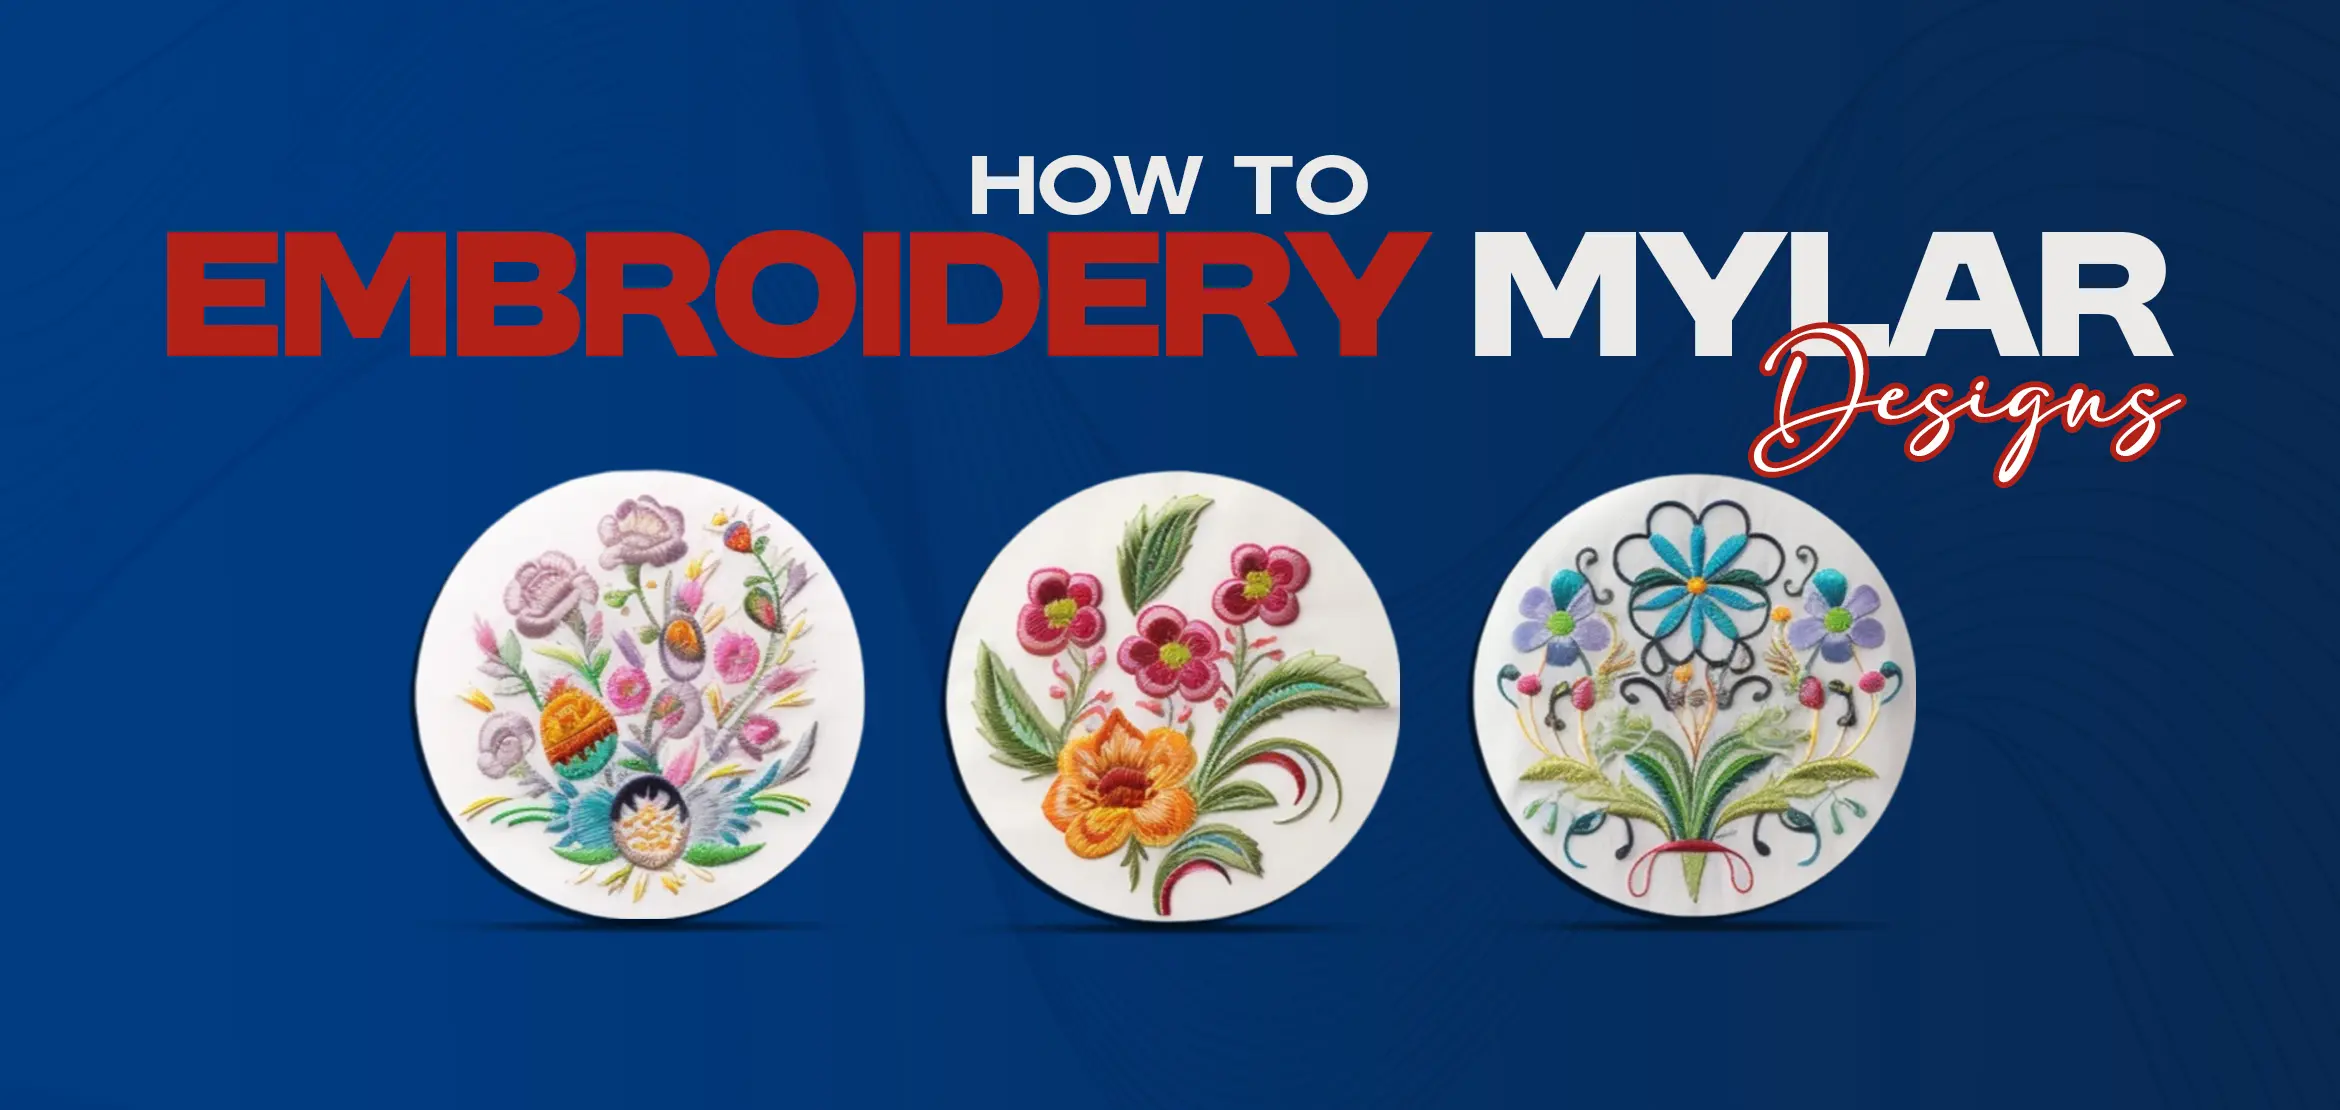
How To Embroider Mylar Designs
Table Of Content
- What is Mylar?
- Materials You'll Need
- Step-by-Step Guide
- 1- Preparing Mylar
- 2- Hooping Your Fabric
- 3- Stitching the Placement Line
- 4- Placing the Mylar
- 5- Securing the Mylar
- 6- Embroidering the Design
- 7- Removing Excess Mylar
- Tips for Success
- Troubleshooting Common Issues
- Creative Uses for Mylar Embroidery
- Choosing the Right Mylar
- 1- Color and Finish
- 2- Thickness
- 3- Size
- Embroidery Mylar Designs Like a Pro with Digitizing USA
As an embroidery enthusiast, you are seeking ways to enhance the overall appearance of creations. In that quest, mylar designs offer brilliant opportunities to add a touch of sparkle to your embroidery. What mylar is and how it will influence your embroidery design are all explored in this blog post. Keep reading: Mylar is known for its durability and reflective qualities. It is a polyester film used in various crafts, including embroidery, to create a glittering, eye-catching effect. Mylar can withstand the stitching process, making it an amazing choice for adding extra sparkle to your design. Gather the following material before starting embroidery with mylar: Embroidery Machine: A reliable machine capable of handling intricate designs. Mylar Sheets: Available in various colors and sizes. Embroidery Thread: Choose colors that complement your mylar. Stabilizer: This is for added support and stability during stitching. Scissors: These are used to trim excess mylar and thread. Embroidery Design: Select or create a design specifically digitized for mylar. This section explores comprehensively of starting embroidery mylar: The first step requires cutting mylar into manageable pieces larger than your design area.This enables effective covering and makes it easier to handle during the stitching process. Hoop your fabric tight and securely with a stabilizer. Your embroidery should be transferred to cloth pulled to prevent every possible shift or wrinkle. Put your mylar design into the embroidery machine. Start with a placement line stitch. This line indicates the placement of the mylar onto the fabric. Carefully place the sheet of mylar over the stitched placement line. Iron it out so that wrinkles and bubbles do not form. Stitch the tack-down line to affix the mylar to the fabric. This line will hold the mylar in place as you embroider the design. Continue the embroidery to follow the design. It will keep punching holes into the mylar and will allow the mylar to shine out of the stitches Once the embroidery is done, carefully tear away the excess mylar around your design. The stitches made by the needle create holes in the paper, so it easily tears away without hurting your work. Testing design on scar pieces is vital as it ensures the mylar behaves as expected. Using appropriate tension is necessary. For this, adjust your machine's tension setting to accommodate the added thickness of mylar. Starting with a simpler design to get the hang of working with mylar before moving on to more complex patterns. Experiment to find the best choice as mylar comes in different colors. For successful results, it is necessary to resolve the common stumbling block in the pathway of Mylan embroidery. Wrinkling Mylar: If the mylar wrinkles while you stitch, then make sure that the fabric and stabilizer have been pulled fairly snugly on the hoop. Smooth out the mylar before tacking it down with the tack-down stitch. Thread Breaks: If the threads break frequently, look at your tension settings and ensure you use a suitable needle for your fabric and mylar. Design Shift: If your design shifts during stitching, re-hoop your fabric to ensure it's secure and taut. Mylar embroidery isn't just for clothing. Here are some creative ways to use mylar designs: Decorative Pillows: Polished Mylar decor with glitters on pillow cutouts for added sparkle within your home decor. Holiday Ornaments: Make these decorative sparkly ornaments to give that sparkle for the holiday look. Tote Bags: Personalized tote bags have glittering designs to make a style statement accessory. Wall Art: Glaze your mylar embroidery for beautiful wall art. Selecting the appropriate mylar for your project is crucial for achieving the desired effect. Here are some factors to consider when choosing mylar: Mylar is available in various colors and finishes, including metallic, holographic, and iridescent; choosing a color and finish that aligns with your embroidery design and fabric is essential. Thick mylar is preferred, but it is also challenging to handle it. In contrast, thinner mylar is quite easy to handle. For this, experiment with different thicknesses to find the best solution for your project. You must ensure that the mylar sheet effectively covers the entire area. However, you can cut the sheet as per the size you need. Embroidery Mylar provides numerous opportunities and possibilities for creative designing and digitizing. At Digitizing USA, we take pride in delivering remarkable embroidery projects to our valuable customers. Our dedication and commitment to deliver the best stand us apart from the rest of the crowd. What is Mylar?
.webp)
Materials You'll Need
Step-by-Step Guide
1- Preparing Mylar
2- Hooping Your Fabric
3- Stitching the Placement Line
4- Placing the Mylar
5- Securing the Mylar
6- Embroidering the Design
7- Removing Excess Mylar
Tips for Success
Troubleshooting Common Issues
Creative Uses for Mylar Embroidery
Choosing the Right Mylar
1- Color and Finish
2- Thickness
3- Size
Embroidery Mylar Designs Like a Pro with Digitizing USA

