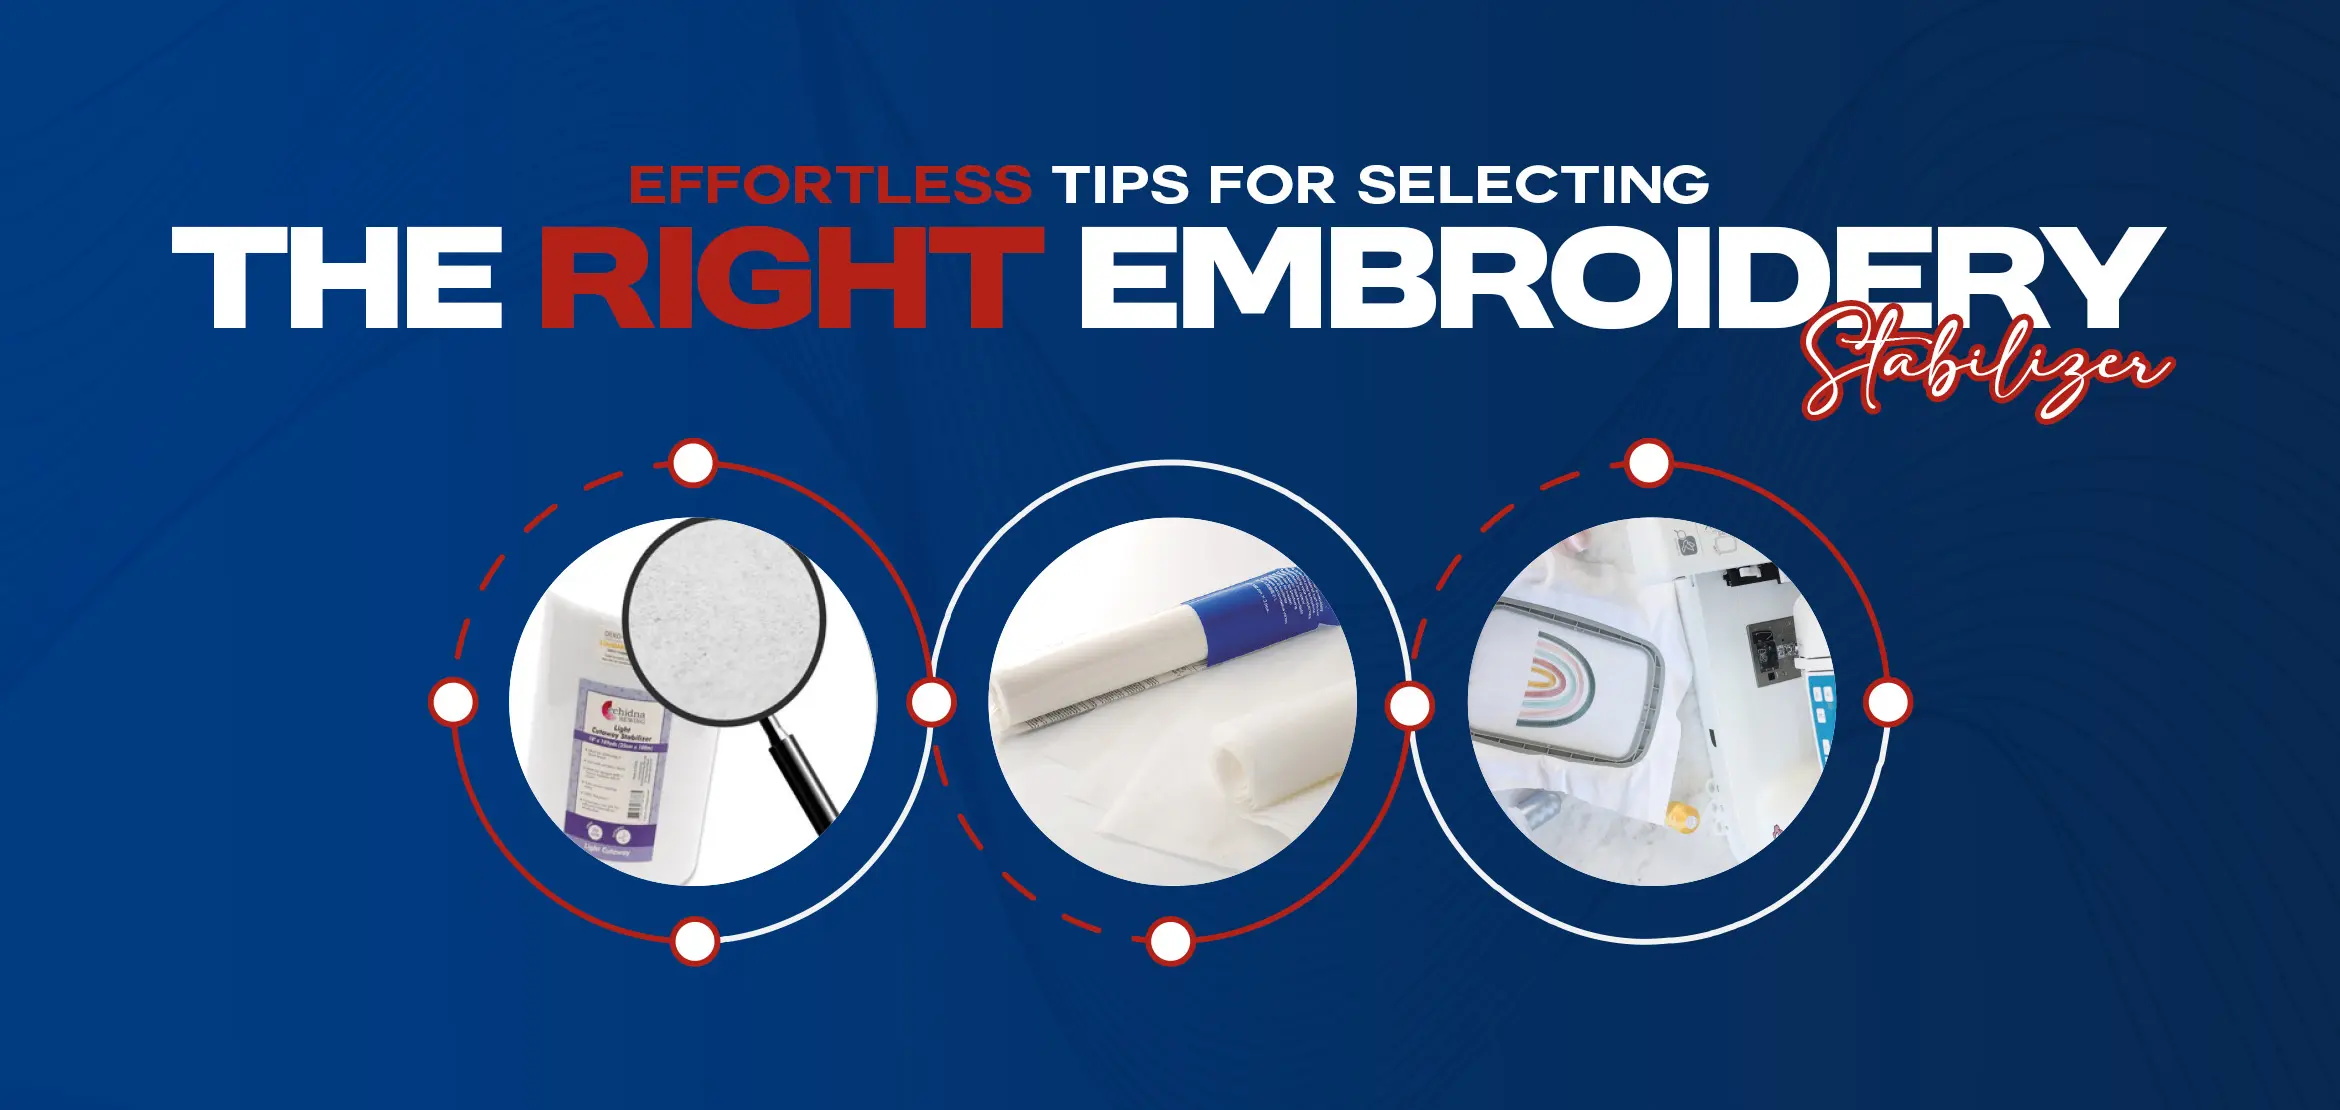
Effortless Tips for Selecting the Right Embroidery Stabilizer
Table Of Content
- What Is an Embroidery Stabilizer, and its Need?
- The lowdown on Stabilizers Types
- Cut-Away Stabilizers
- Tear-Away Stabilizers
- Wash-Away Stabilizers
- Match the Stabilizer to Your Fabric
- Stable, Woven Fabrics
- Stretchy Fabrics
- Delicate or Sheer Fabrics
- Textured Fabrics
- Evaluate the Design Density and Stitch Count
- Light Designs
- Dense Designs
- 3D Puff Embroidery
- Select Right Stabilizer Weight
- Lightweight Stabilizers
- Medium-Weight Stabilizers
- Heavy-Weight Stabilizers
- Remember to Use Toppers
- When to Use a Topper
- Types of Toppers
- Always Test Before You Start Stitching
- Comparison Table
- Work with a Trusted Digitizing Service
- Make Choosing Your Stabilizer Easy
- Frequently Asked Questions
- What is the difference between cut-away, tear-away, and wash-away stabilizers?
- How do I choose a stabilizer for stretchy fabrics like knits?
- When do I apply a topper to my stabilizer?
- How does design density affect my stabilizer choice?
- Why is testing a stabilizer important before starting a project?
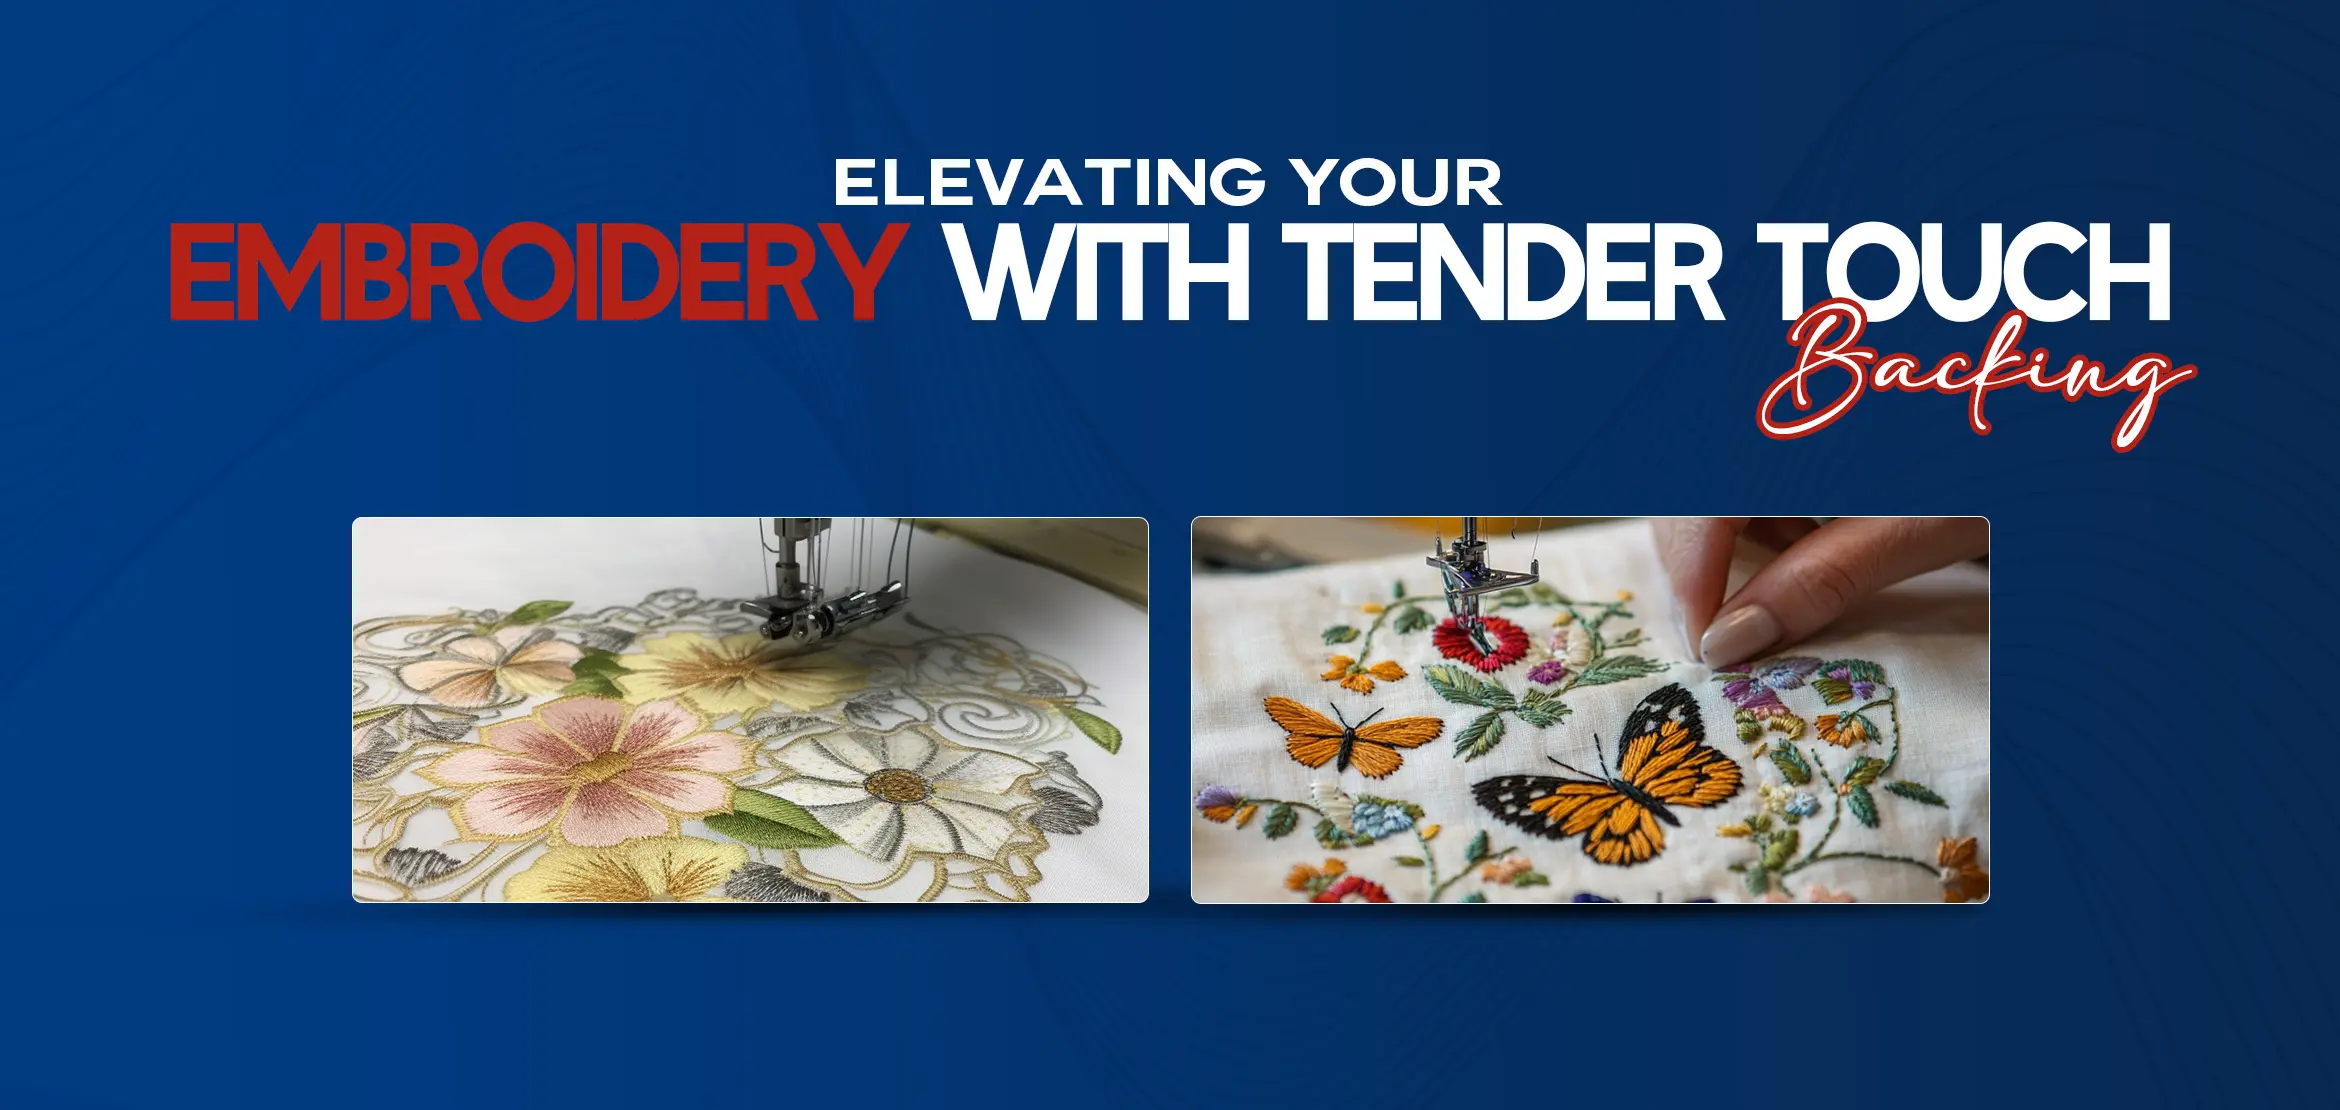
Embroidery can turn a boring piece of fabric into a work of art, whether you’re jazzing up a quilt. But let me tell you a tip: even the best stitchers. Think of stabilizers as the scaffolding that holds your project together.
What Is an Embroidery Stabilizer, and its Need?
Imagine you’re stitching a detailed monogram on some silk. That’s where stabilizers save the day. They’re like an invisible backbone, keeping your fabric steady while your machine works.
The lowdown on Stabilizers Types
The Lowdown on Stabilizer Types. Stabilizers aren’t available in all sizes, they come in a few varieties, each with its own superpower. Here’s the scoop on the main three.
Cut-Away Stabilizers
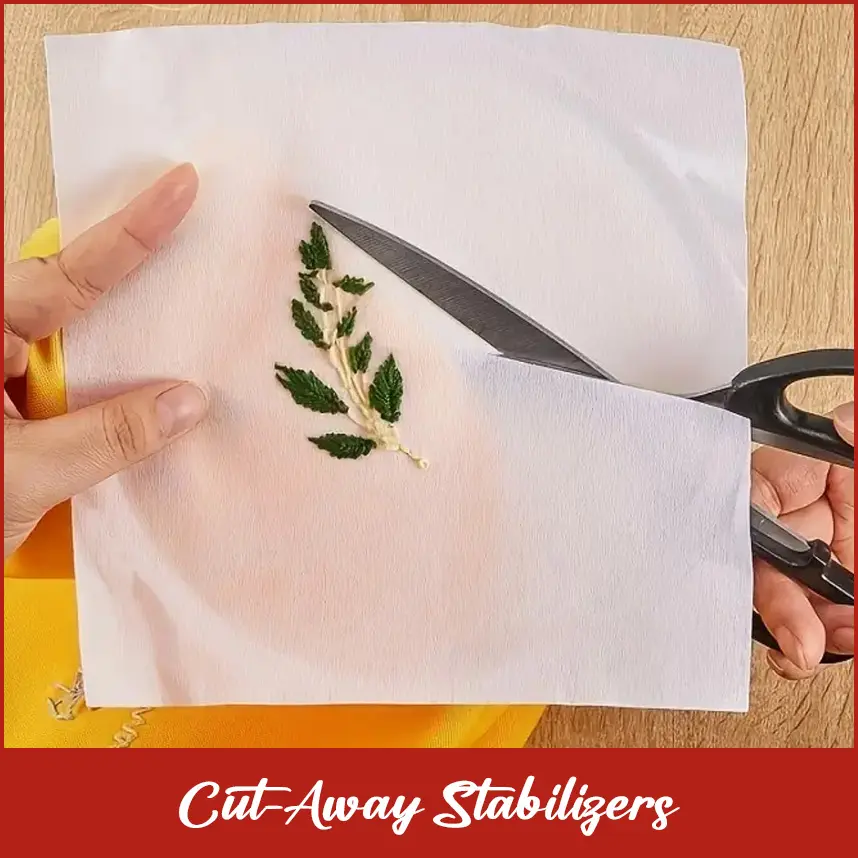
These are the tough guys of the stabilizer world. It snips off the excess after stitching. I learned this the hard way when I tried embroidering a hoodie without a cut-away after one wash, my design looked like it had been through a funhouse mirror.
Tear-Away Stabilizers
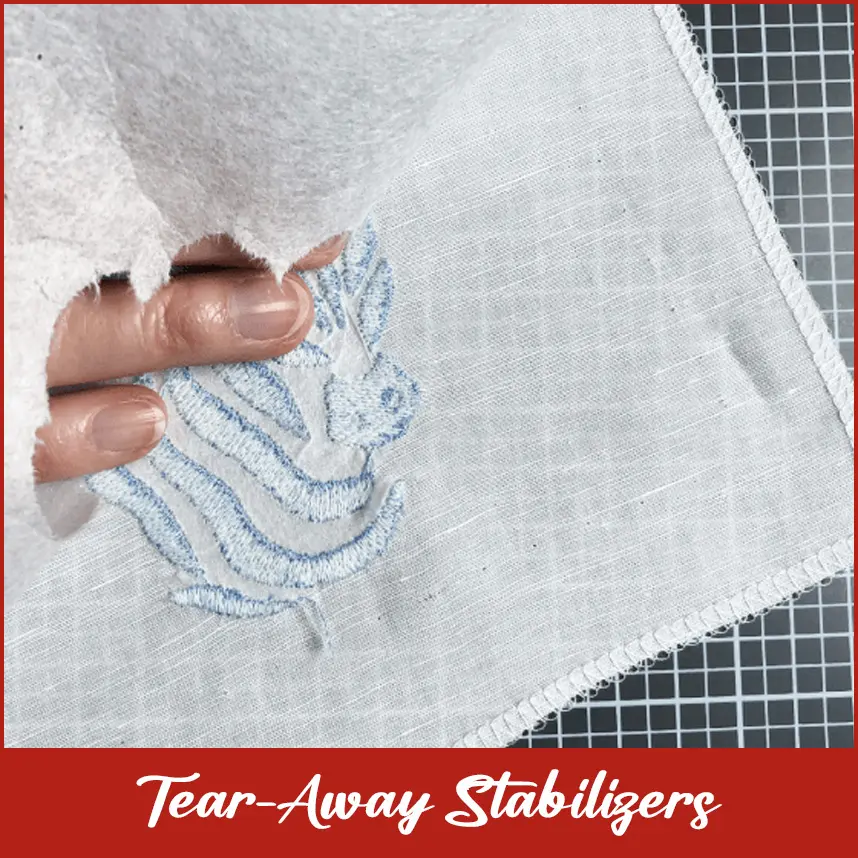
As the name suggests, these stabilizers are torn away after embroidery is complete. They're perfect for stable, woven fabrics like cotton, denim, or canvas, where permanent support is not important. Tear-away stabilizers are easy to use and work well for lighter designs, but they're not good enough for stretchy fabrics or heavy stitch counts, as the fabric may twist once the stabilizer is removed.
Wash-Away Stabilizers

These stabilizers dissolve in water after embroidery, leaving no trace. They're perfect for fabric materials such as organza, lace, or lightweight materials. Wash-away stabilizers also function as toppers to prevent stitches from sinking into napped materials such as velvet.
Match the Stabilizer to Your Fabric
Picking the Right Stabilizer for Your Fabric. Your fabric is the boss when it comes to choosing a stabilizer… Cotton, Denim, or Other Sturdy Fabrics. These fabrics are chill and they don’t stretch much.
Stable, Woven Fabrics
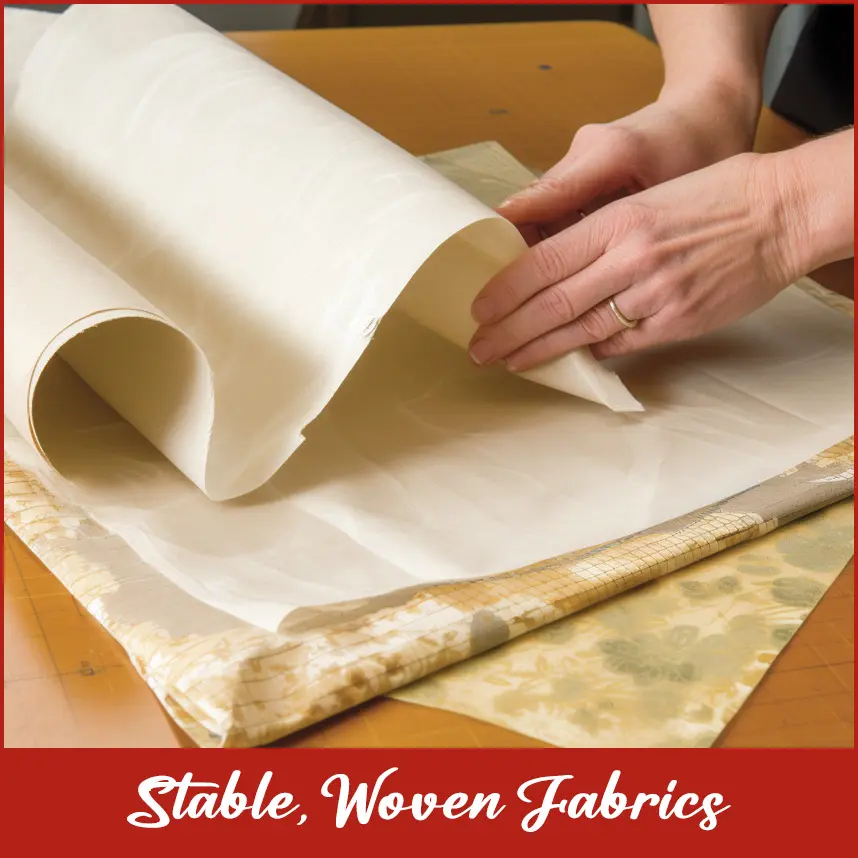
As these fabrics don’t stretch much, so a tear-away stabilizer is enough. For heavy designs, choose a medium-weight cut-away stabilizer to halt the stitches from pulling the fabric.
Stretchy Fabrics
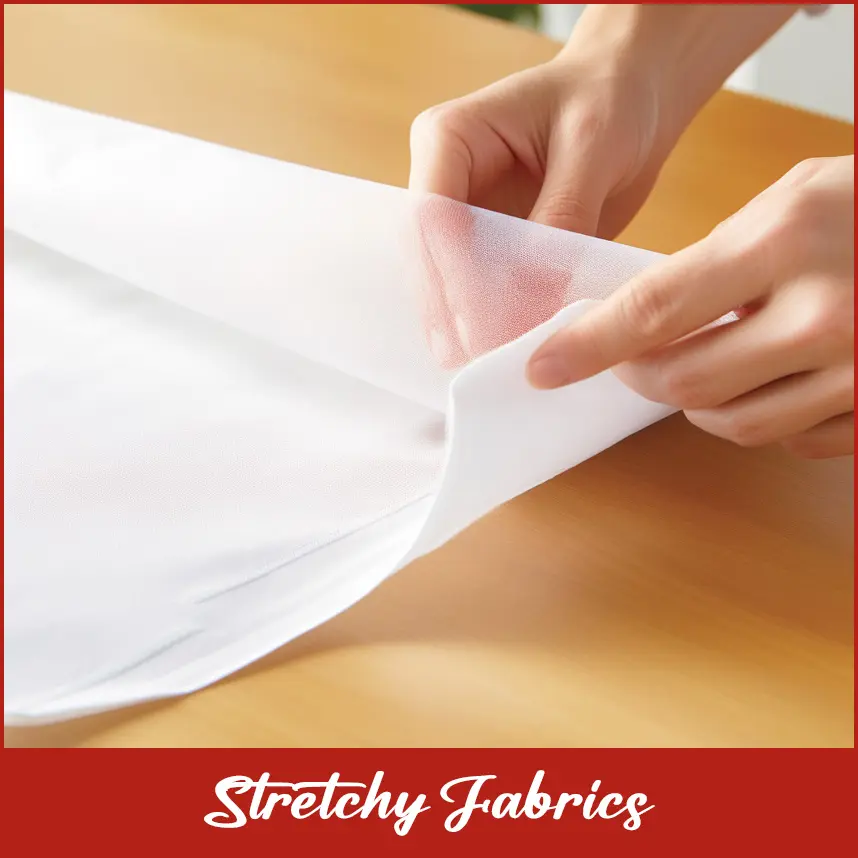
Stretchy materials require a stabilizer that manages movement without distorting the design. Opt for a cut-away stabilizer, which delivers permanent support and stops stretching during embroidery and wear. For lightweight knits, select a soft cut-away stabilizer to prevent adding bulk.
Delicate or Sheer Fabrics
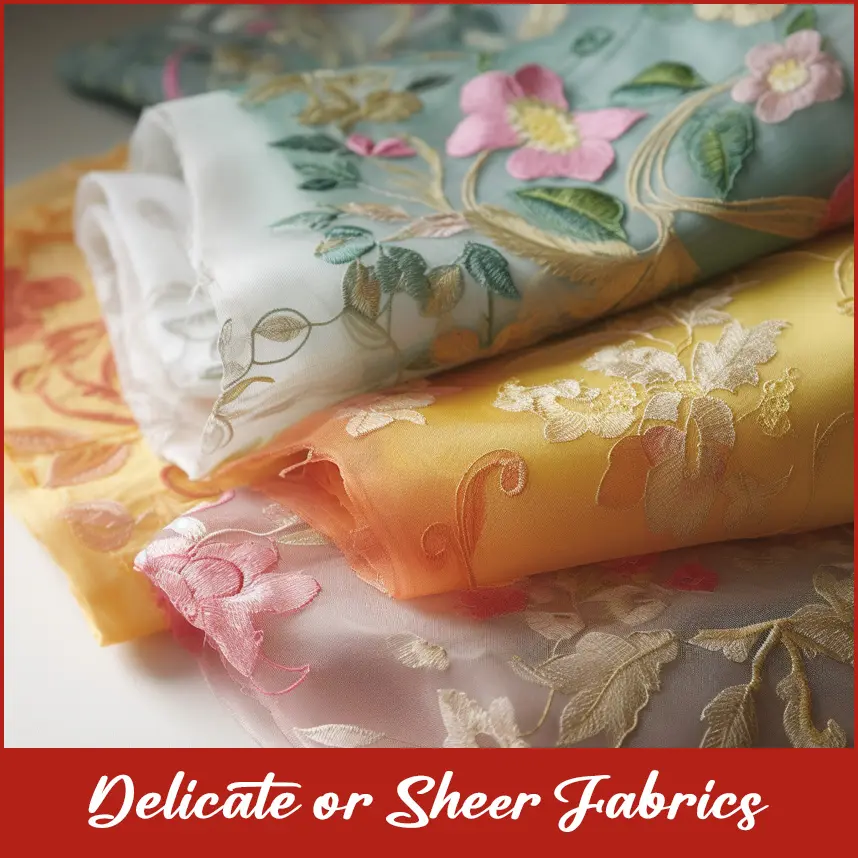
These fabrics demand a gentle touch. So it is better to have a wash-away stabilizer, which dissolves completely and leaves no leftovers to impact the fabric’s appearance. For extra support, cover lightweight tear-away stabilizer underneath and carefully remove it after embroidery.
Textured Fabrics
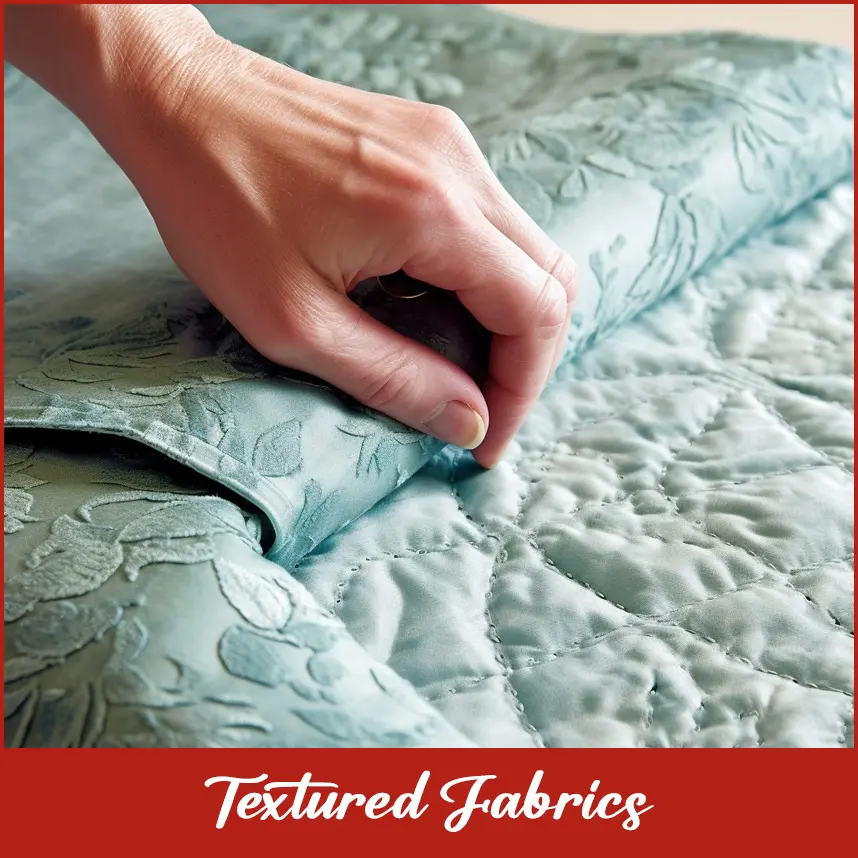
Textured fabrics may lead stitches to sink into the pile, causing the design to appear uneven. Apply a wash-away or heat-away topper (a stabilizer placed on top) to make a smooth stitching surface. Combine this with a tear-away or cut-away stabilizer under it, based on the fabric’s stability. Match the stabilizer to your fabric to make your design stitches out clean and the fabric remains its integrity throughout the process.
Evaluate the Design Density and Stitch Count
The complexity and density of your embroidery design also affect which stabilizer you choose. Designs with high stitch counts or dense fills place more stress on the fabric, demanding stronger support.
Light Designs
For designs with low stitch counts or open, airy patterns, choose a lightweight tear-away stabilizer, especially on stable fabrics. It delivers sufficient support without adding unnecessary bulk.
Dense Designs
High stitch counts may lead to puckering or fabric distortion, particularly on lightweight or stretchy materials. Select a medium to heavy-weight cut-away stabilizer to manage the tension. For very dense designs on stable fabrics, a medium-weight tear-away stabilizer could suffice, but test it first to confirm the fabric doesn’t distort after removal.
3D Puff Embroidery
When a 3D puff design (like those on hats) is being worked on, a firm stabilizer will be needed to support the raised foam and dense stitching. A medium to heavy-weight cut-away stabilizer is typically recommended, as the design is ensured to stay in place without shifting during stitching.
Select Right Stabilizer Weight
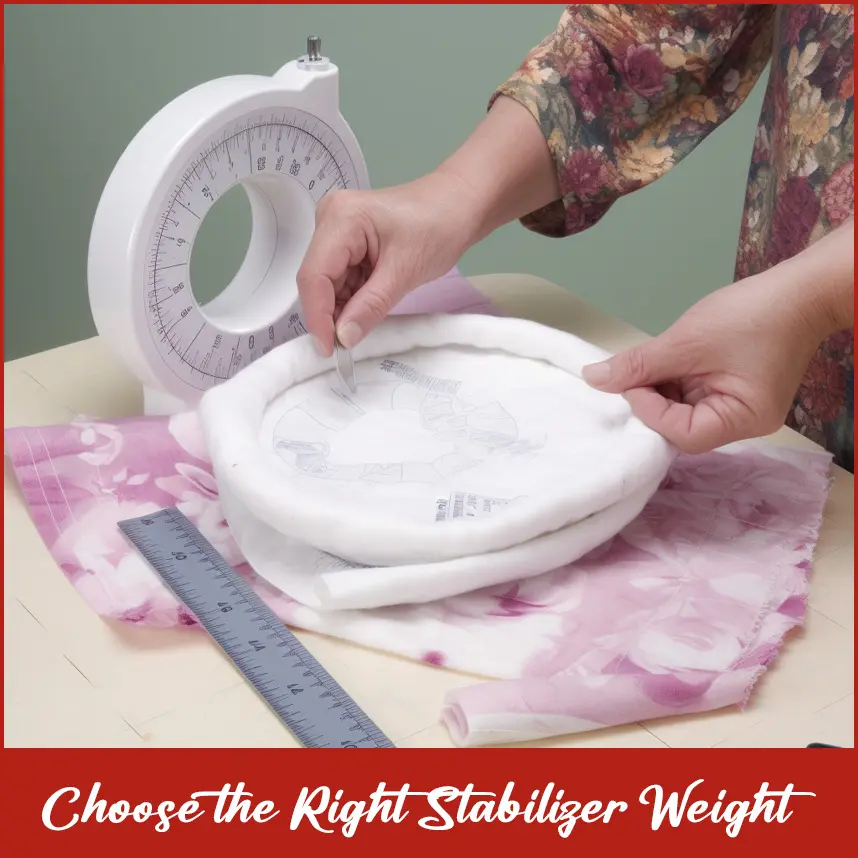
Stabilizers exist in various weights; light, medium, and heavy, and you should choose one that supports your fabric as well as design. If you choose a stabilizer which is too heavy, it may turn the embroidery rigid and uncomfortable to wear. On the contrary, a stabilizer which is too light may provide insufficient support.
Lightweight Stabilizers
These work best for delicate fabrics or light designs. They’re soft and flexible, so they keep the fabric’s flowy look. Use them on silk, lightweight cotton, or for small, open designs.
Medium-Weight Stabilizers
These are a great all-around choice for most projects. They suit stable fabrics like denim or medium-weight cotton. You can also use them for medium-density designs on stretchy fabrics if you’re using a cut-away type.
Heavy-Weight Stabilizers
These are perfect for solid designs, stretchy fabrics, or projects like 3D puff embroidery. They give the most support but might make the piece stiffer, so save them for structured items like hats or bags.
Remember to Use Toppers
For some fabrics, just having a stabilizer underneath isn’t enough; you might also need a topper. A topper is a thin stabilizer you place on top of the fabric to make a smooth surface for stitching. It stops the stitches from sinking into textured/fuzzy fabrics.
When to Use a Topper
You need toppers for fabrics like terry cloth, velvet, fleece, or anything with a fuzzy or nappy surface. They also help with knits by keeping stitches from getting stuck in the fabric’s loops.
Types of Toppers
The most common toppers are wash-away (they dissolve in water) and heat-away (they break apart with heat, like from an iron). People prefer wash-away toppers because they’re simple to remove and don’t leave any mess behind. Heat-away toppers work well for fabrics that can’t get wet.
Always Test Before You Start Stitching
This step is super important because every fabric, design, and machine combo acts differently. Testing helps you spot issues like puckering, stretching, or stitch quality problems before you start on your final project.
While testing, make sure to check:
- If the fabric puckers or stretches while stitching.
- Whether the stabilizer gives enough support for your design.
- If you can easily remove the stabilizer (for tear-away or wash-away types).
- How the embroidered design looks and feels overall.
Comparison Table
Below is a comparison table summarizing the key aspects of the three main types of embroidery stabilizers Cut-Away, Tear-Away, and Wash-Away. Based on their characteristics, ideal fabrics, design suitability, and other relevant factors. This table is made to help you select the right stabilizer for your embroidery project.
Work with a Trusted Digitizing Service
Your embroidery quality doesn’t just rely on the stabilizer it also depends on how well your design is digitized. A badly digitized file can cause uneven stitches, puckering, or thread breaks, even if you pick the right stabilizer. That’s why you should team up with a professional digitizing service like DigitizingUSA.
Make Choosing Your Stabilizer Easy
Picking the right embroidery stabilizer doesn’t have to feel tricky. Get to know the different stabilizer types, match them to your fabric and design, think about the weight, and add toppers when you need them to make sure your embroidery projects look awesome. Always test your setup to double-check your choices, and don’t overlook the value of good digitizing to support your stabilizer pick.
Frequently Asked Questions
What is the difference between cut-away, tear-away, and wash-away stabilizers?
Cut-away stabilizers are permanent, trimmed after stitching, and ideal for stretchy fabrics or dense designs. Tear-away stabilizers are removed by tearing and suit stable, woven fabrics for lighter designs. Wash-away stabilizers dissolve in water, perfect for delicate or sheer fabrics where no backing should remain.
How do I choose a stabilizer for stretchy fabrics like knits?
For stretchy fabrics, use a cut-away stabilizer to provide permanent support and prevent distortion during embroidery and wear. Opt for a lightweight or soft cut-away for thinner knits to avoid adding bulk.
When do I apply a topper to my stabilizer?
Employ a topper for knit fabrics such as terry cloth, velvet, or fleece to keep stitches from sinking into the fabric. Toppers, often wash or heat away, provide a smooth surface for stitching and are also useful for knits to prevent stitch snagging.
How does design density affect my stabilizer choice?
Light designs with low stitch counts work well with lightweight tear-away stabilizers on stable fabrics. Dense designs with high stitch counts require medium to heavy-weight cut-away stabilizers to manage tension and prevent puckering, especially on stretchy or lightweight fabrics.
Why is testing a stabilizer important before starting a project?
Testing on a scrap of the same fabric makes sure the stabilizer supports the design without puckering, stretching, or stitch issues.