Simple Steps to Digitize Photos for Embroidery
Table Of Content
- Selecting the Right Photo for Embroidery
- Image Preparation for Digitizing
- Choosing Digitizing Software for Image Embroidery
- Importing the Image for Digitizing
- Setting Parameters in Image Digitizing
- Manual Digitization vs Auto Digitization
- Editing and Refinement
- Previewing the Design after Image Digitizing
- Exporting the Image Embroidery Design
- Embroidery Process after Image Digitizing
- Conclusion
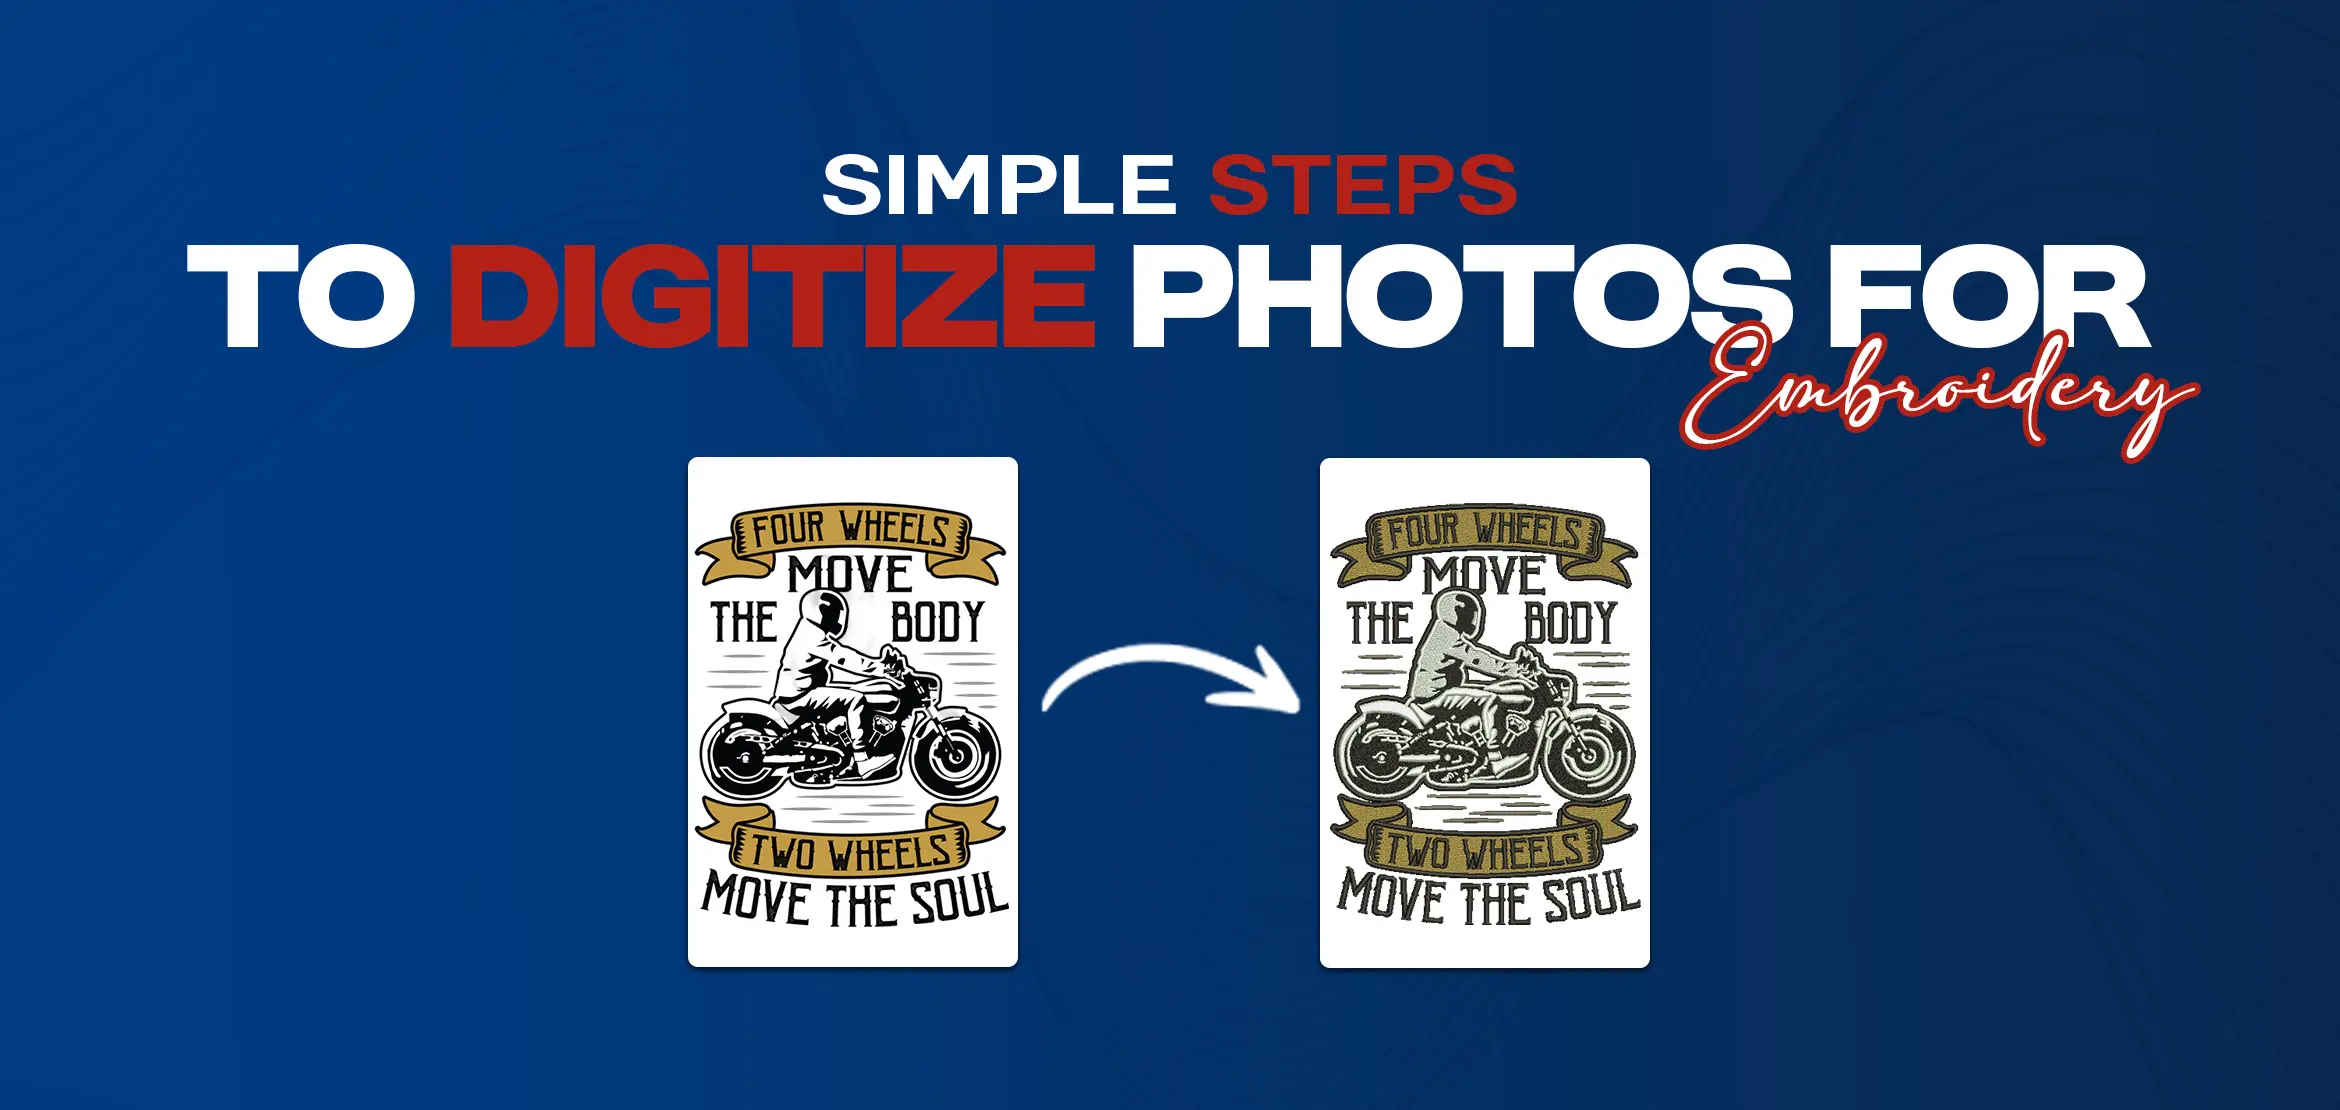
Turning your favorite photos into embroidery designs is a great way to preserve memories in a creative and lasting form. With the help of digital tools, you can now transform any photo, such as a family picture, pet portrait, or special moment, into an embroidery file that can be stitched onto fabric. This process is called photo digitizing. It allows your image to be read by an embroidery machine. If you’re new to this and want to learn how it works, here are some simple steps to help you start. The first step in digitizing photos for embroidery is selecting the right image. Opt for a clear, high-resolution image with well-defined details. Keep in mind that simpler images with distinct shapes and clear contrasts often convert better into embroidery designs. Before diving into digitization, it's crucial to prepare the image for the process. This involves adjusting the brightness, contrast, and sharpness of the photo to enhance clarity and detail. Additionally, consider converting the image into grayscale or black and white to simplify the design and make it easier to convert into stitches. Invest in quality digitizing software designed specifically for embroidery. There are several reputable programs available, each offering a range of tools and features to facilitate the digitization process. Popular options include Wilcom, Embrilliance, and Hatch Embroidery. If you find the process too complex or don’t have the right software or skills, don’t worry. Digitizing USA is here to help. We provide custom embroidery digitizing services across the USA at very affordable prices. Whether you want to turn a photo into an embroidery design for personal use or commercial projects, our experts handle everything for you. You won’t need to spend on expensive digitizing software or embroidery tools, just send us your image and let us do the work. Once you've selected your digitizing software, import the ready image into the program. Most digitizing software allows you to import images in various file formats, including JPEG, PNG, and BMP. Before you start digitizing, it's essential to set the parameters for your embroidery design. This includes selecting the desired size of the design, the type of fabric you'll be embroidering on and the number of stitches per inch (SPI) for optimal results. Depending on your skill level and preferences, you can choose between manual digitization and auto digitization. Manual digitization involves manually tracing the outlines of the image and assigning stitches to create the embroidery design. This method offers greater control and precision but requires more time and expertise. On the other hand, auto digitization uses advanced algorithms to automatically convert the image into stitches. While this method is quicker, it may not always produce the desired results, especially with complex images. Once the initial digitization is complete, take the time to review and refine the design as needed. Pay attention to details such as stitch density, underlay stitches, and thread colors to ensure a high-quality result. Most digitizing software offers tools for editing and fine-tuning the design, allowing you to make adjustments until you're satisfied with the outcome. Before proceeding with embroidery, it's advisable to preview the design using the software's simulation feature. This allows you to visualize how the design will look once embroidered and make any final adjustments if necessary. At Digitizing USA, we focus on delivering high-quality digitized embroidery designs that are machine-ready and tailored to your needs. Our goal is to save you time and effort while providing professional-level results. From photo digitizing to complex embroidery design, we ensure clean, precise, and accurate designs that run smoothly on your machine. Place your order today and experience the convenience and quality that Digitizing USA proudly delivers nationwide. Once you're happy with the digitized design, export it in the appropriate file format supported by your embroidery machine. Common file formats for embroidery include.DST, .EXP, .PES, and .VP3. Be sure to save the file to a compatible USB drive or transfer it directly to your embroidery machine if supported. Finally, it's time to bring your digitized image to life through embroidery. Load the design file onto your embroidery machine, select the appropriate thread colors, and prepare the fabric for stitching. Follow the machine's instructions for setting up the embroidery process, including hooping the fabric and starting the stitching sequence. By following these simple steps, you can successfully digitize photos for embroidery and transform your favorite images into timeless embroidered creations. Whether you're enjoying special events, personalizing gifts or adding a unique touch to your crafts, the art of embroidery digitization gives unlimited opportunities for creative expression. So, unleash your imagination, embrace the digital age of embroidery and embark on a journey of artistic exploration and innovation. Embroidery has always been an art of patience and precision but with the advent of digitization, it has become even more accessible to enthusiasts and professionals alike. By embracing technology and honing your skills in digitization, you can transform ordinary images into extraordinary embroidered works of art, adding a unique and personal touch to your creations. So, unleash your creativity, delve into the world of embroidery digitizing, and let your imagination soar as you breathe new life into timeless traditions.Selecting the Right Photo for Embroidery

Image Preparation for Digitizing
Choosing Digitizing Software for Image Embroidery

Importing the Image for Digitizing
Setting Parameters in Image Digitizing
Manual Digitization vs Auto Digitization
Editing and Refinement
Previewing the Design after Image Digitizing
Exporting the Image Embroidery Design
Embroidery Process after Image Digitizing
Conclusion
