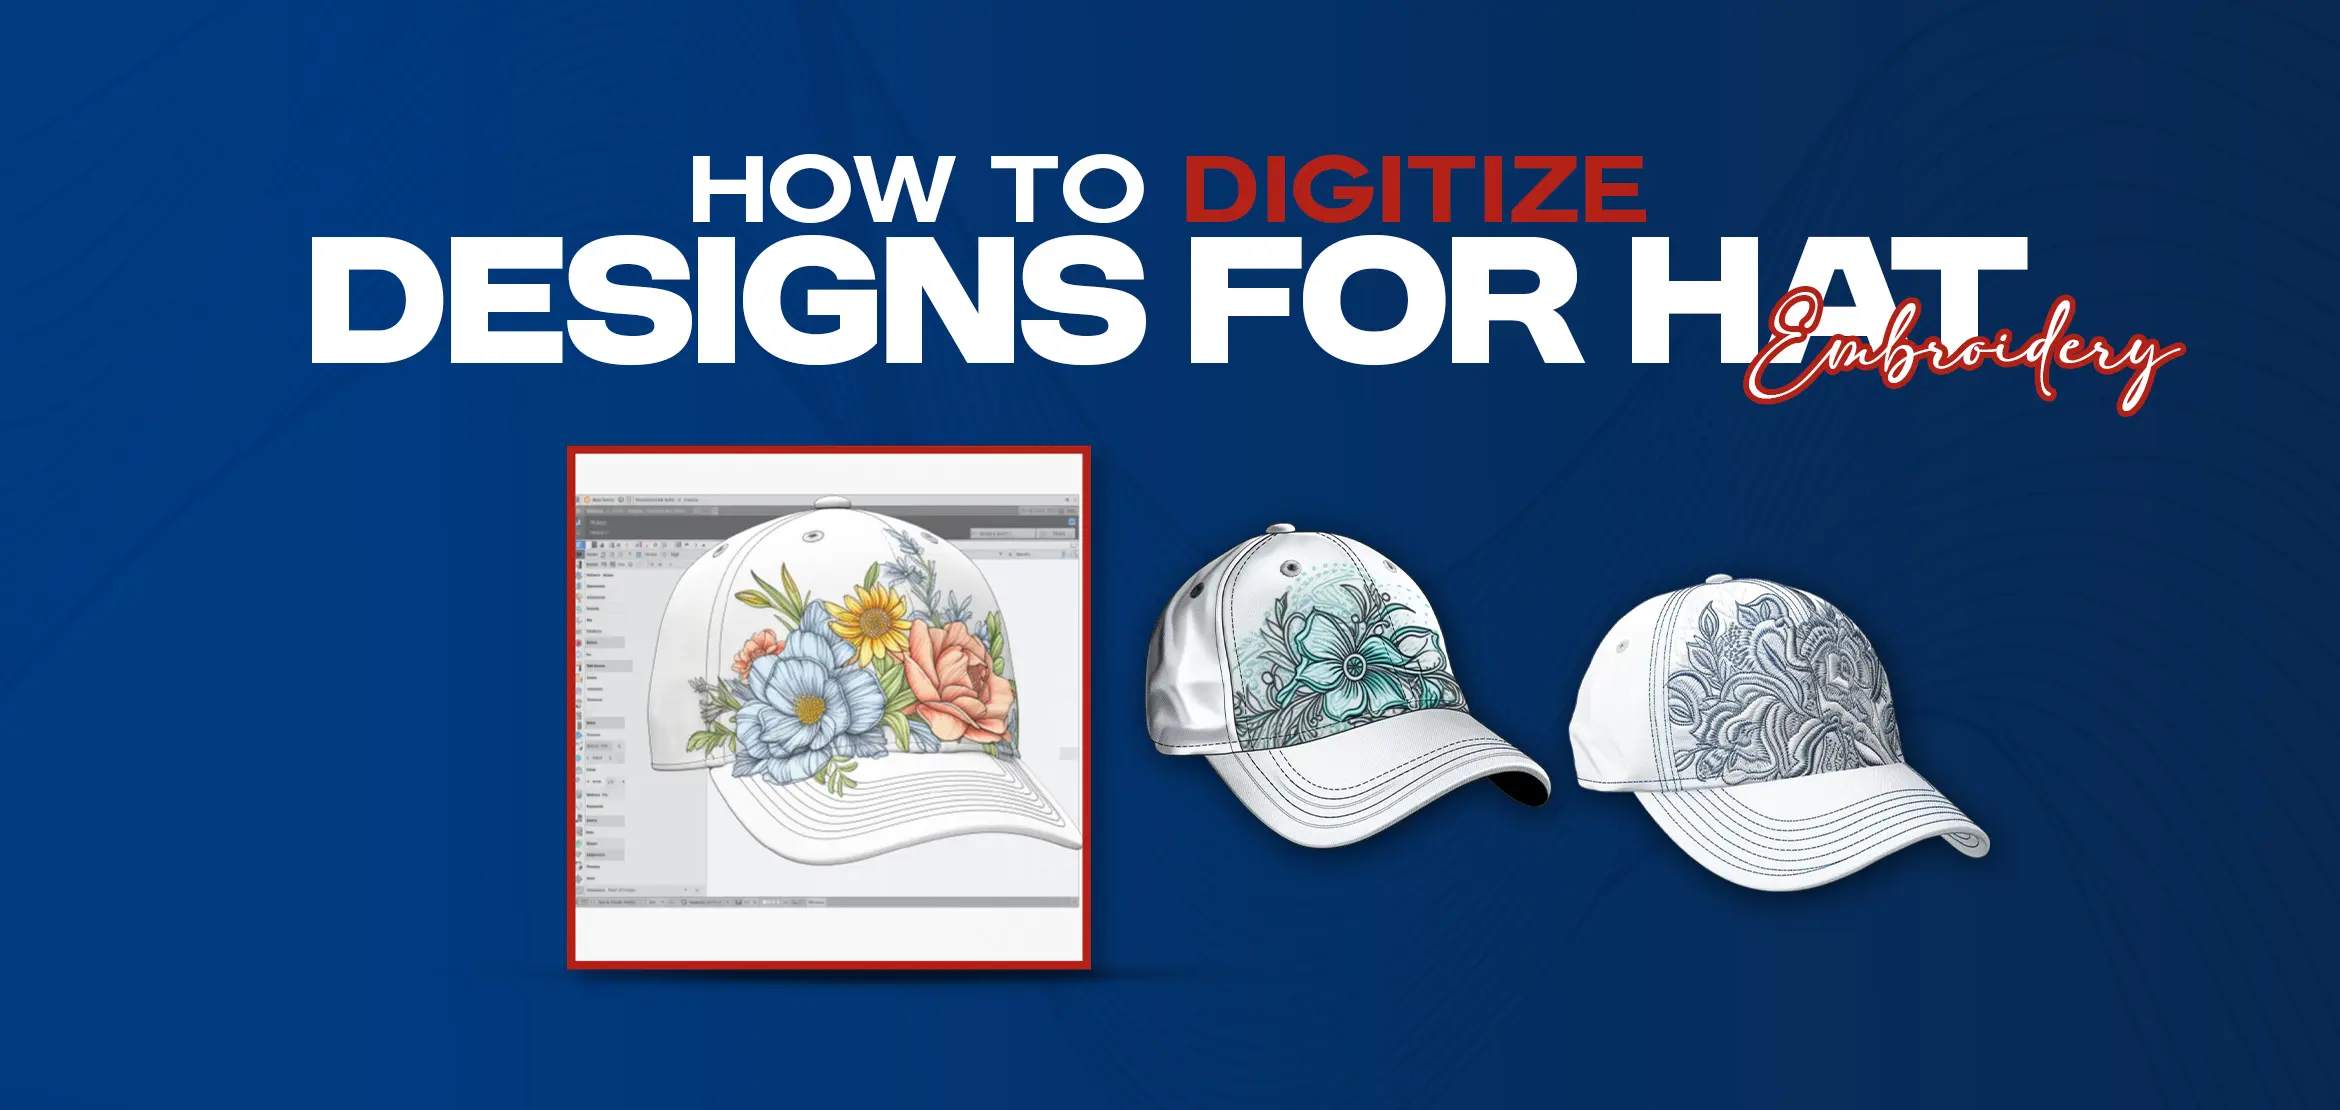
How to Digitize Designs for Hat Embroidery
Table Of Content
- Essential Tools for Digitizing Designs
- Transforming Artwork into Embroidery-Ready Designs
- 1. Prep Your Art
- 2. Import to Digitizing Software
- 3. Design Outline
- 4. Tweak and Fine Tune
- 5. Setting Up the Embroidery Workspace
- 6. Proper Hooping Techniques
- 7. Testing and Adjusting the Design
- Tips for Elevating Your Digitizing Skills
- Final Thoughts
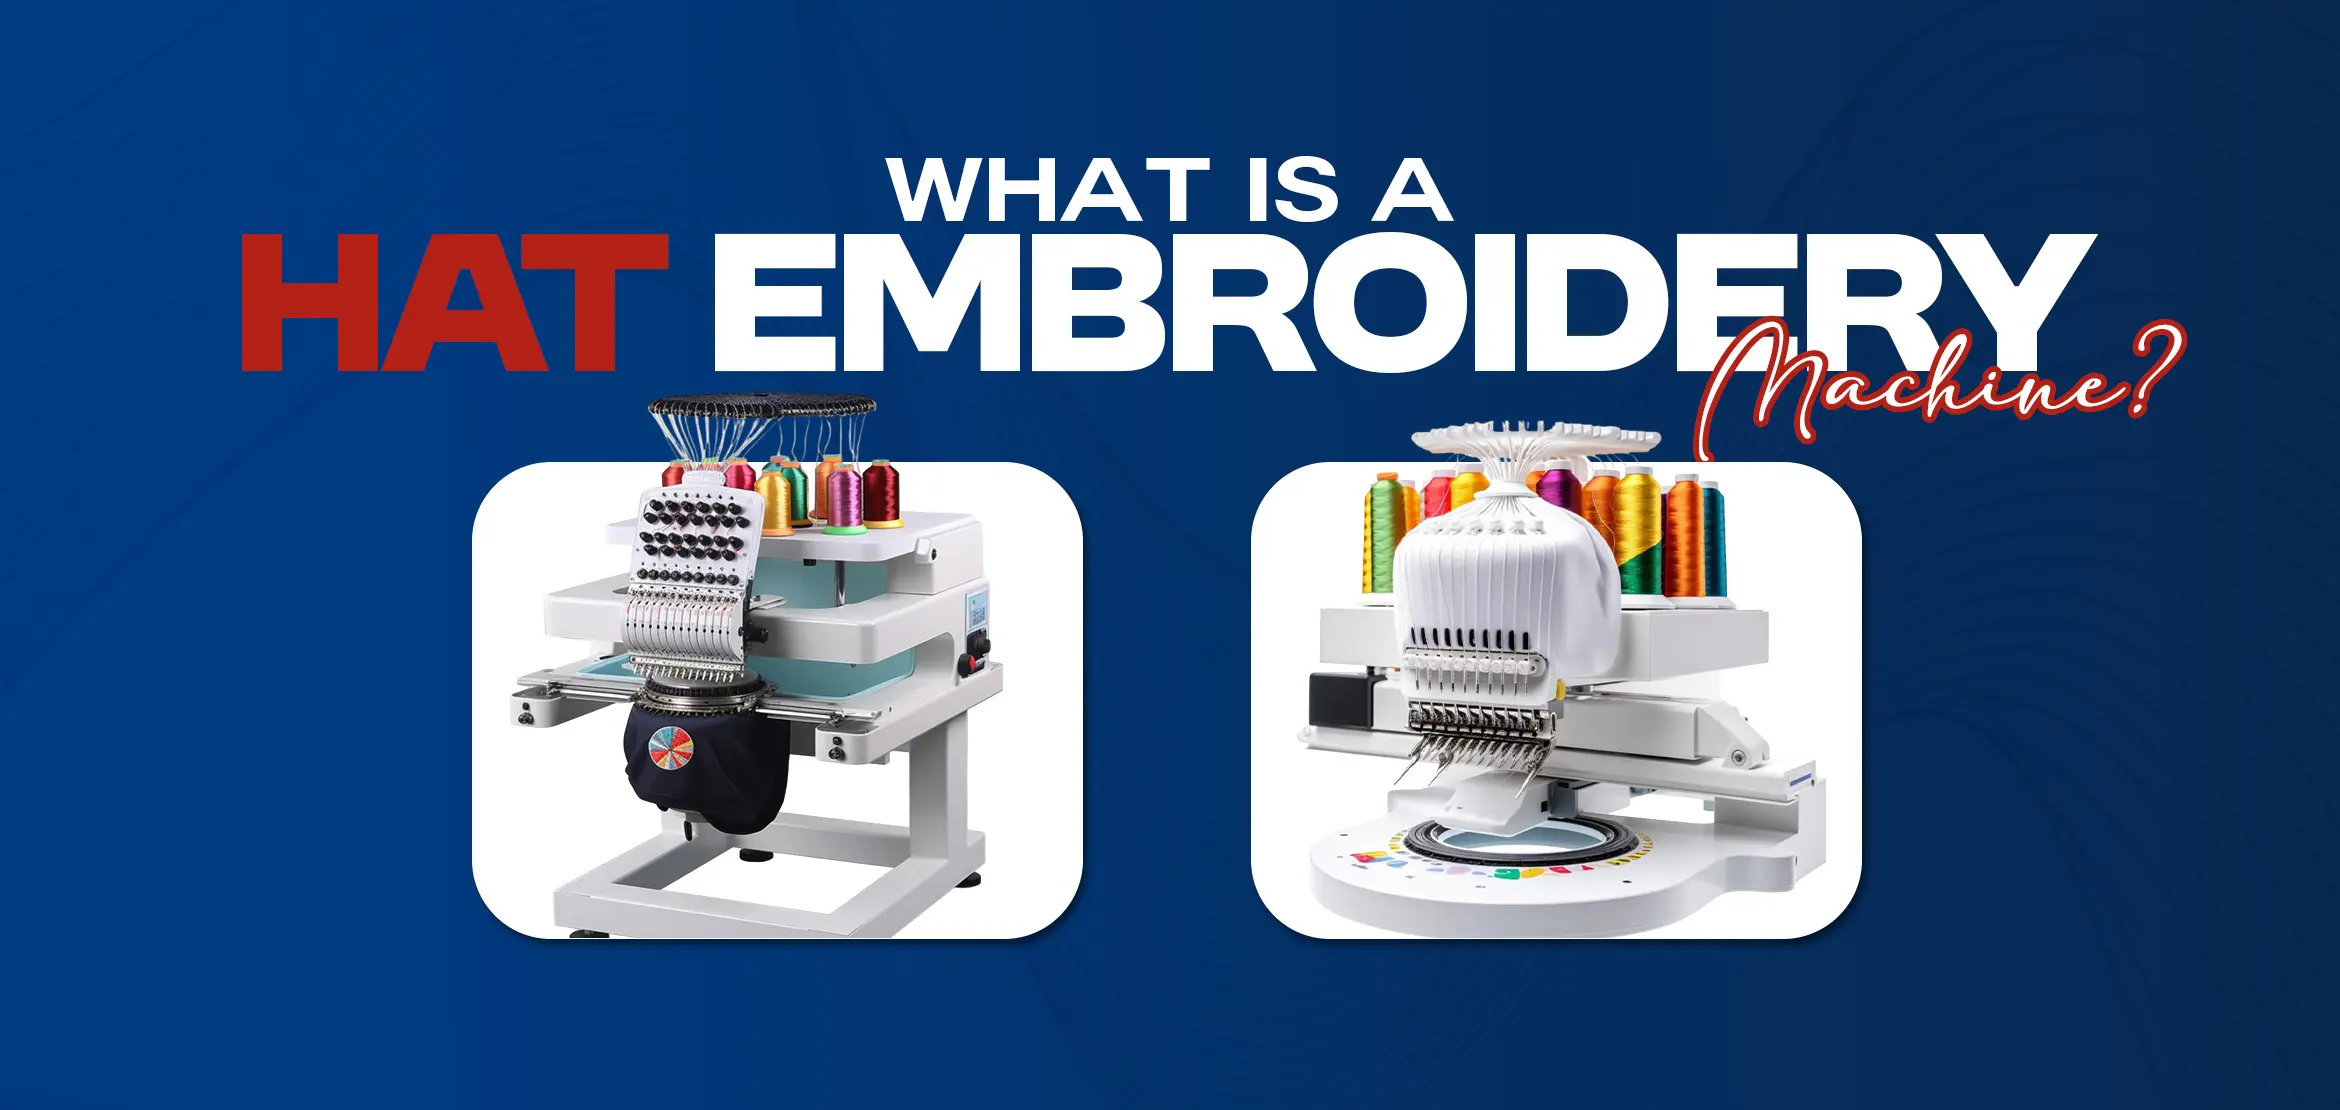
Custom embroidery hats have long since come out of the accessory wars of the fashion world and are now an unmistakable expression of individuality and branding. For hobbyists out there looking to immortalize their unique art or business people wanting to add flair to brand identity, it is pretty important to learn how to digitize designs for embroidery on hats. This process takes the original artwork that you may have created. It transforms it into a format that can be interpreted and translated by the embroidery machine so that stitch after stitch can be completed exactly as you envisioned. Digitization masters: You will find ways to bring your ideas to life, one thread at a time.
Essential Tools for Digitizing Designs
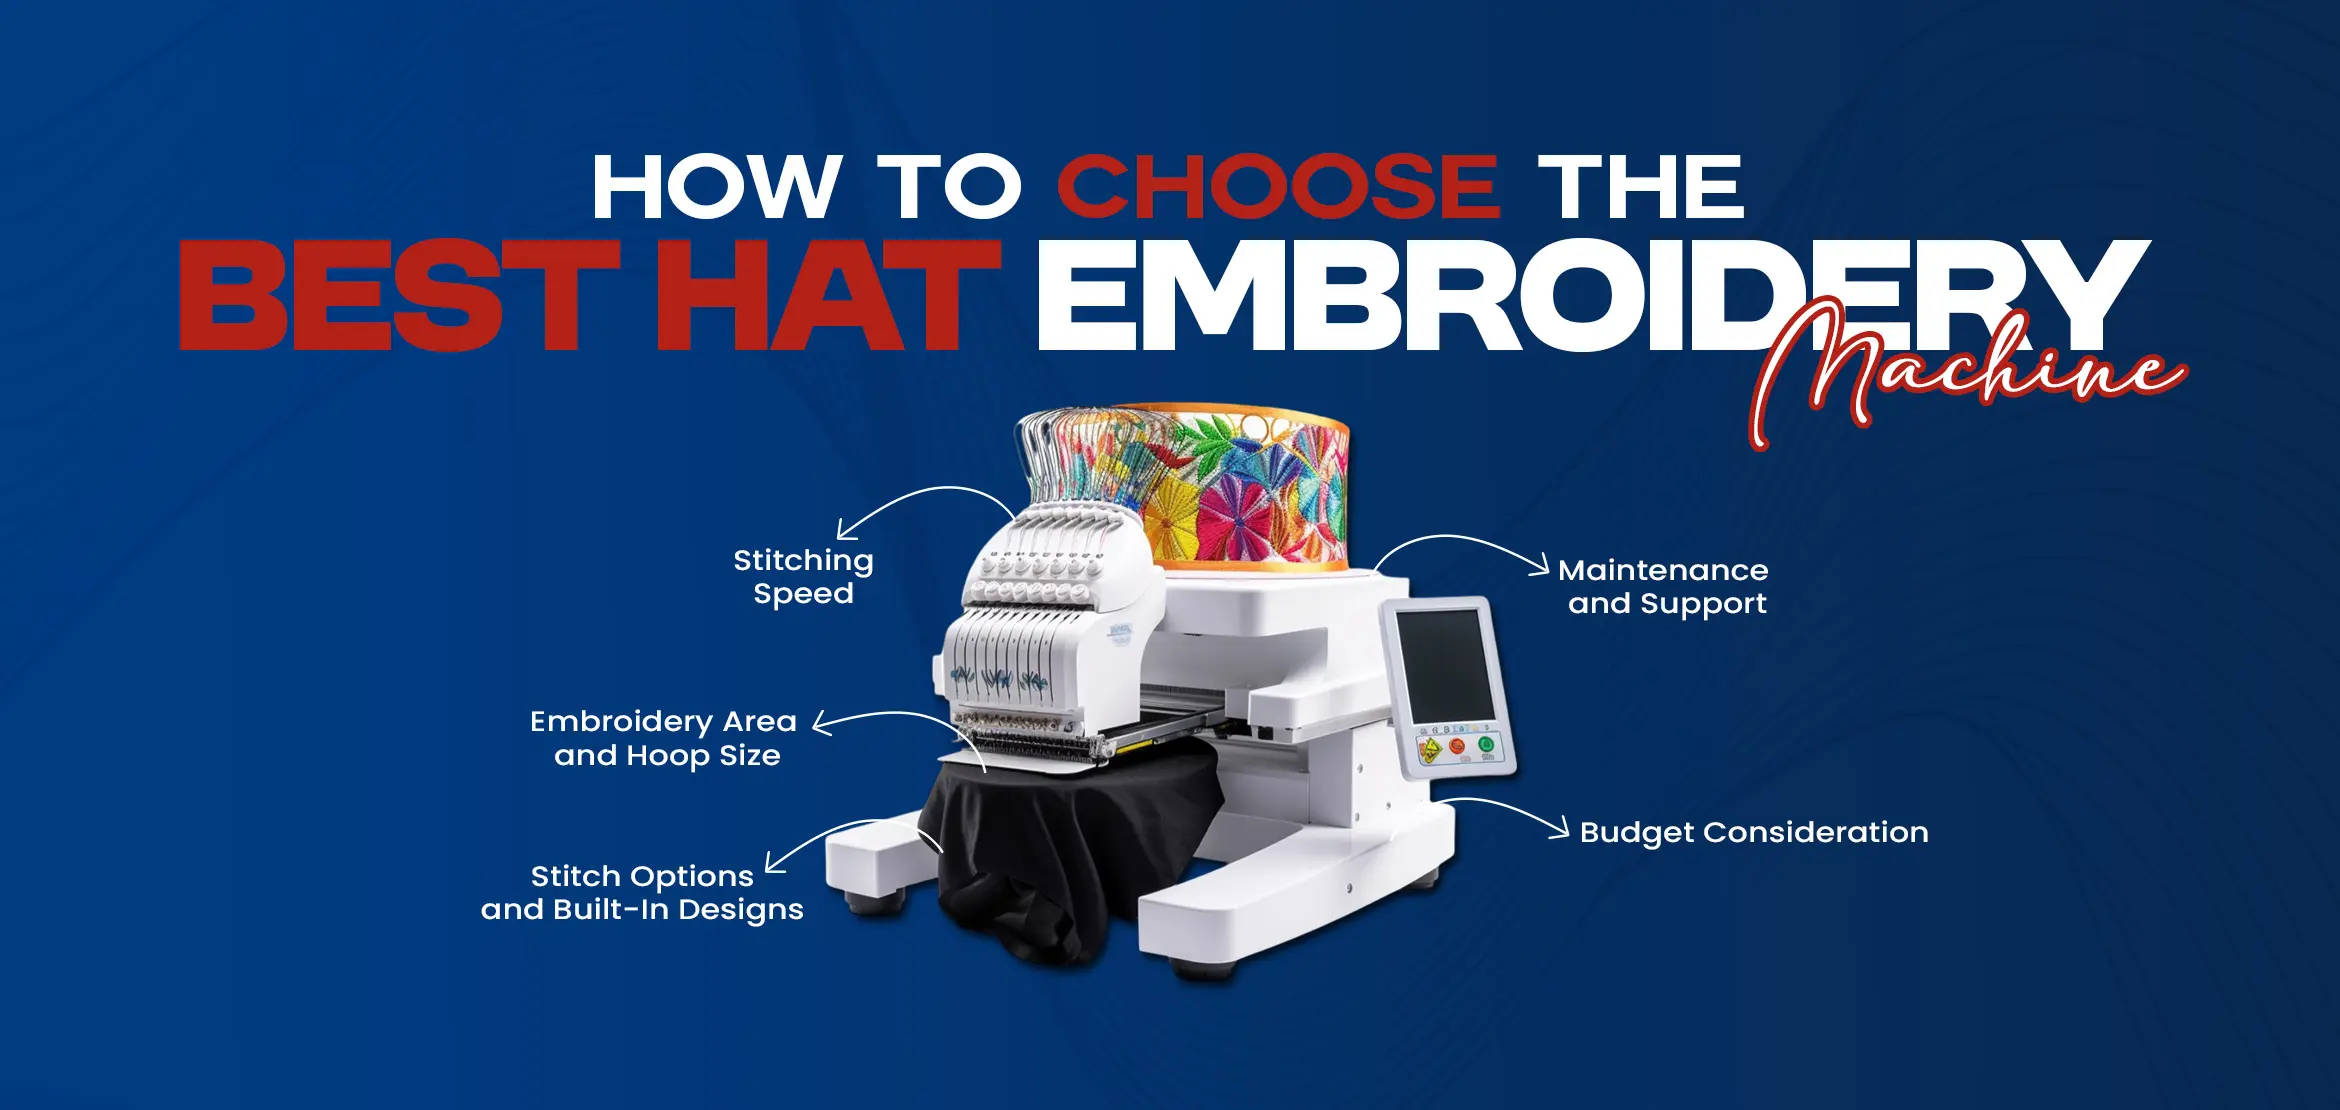
First, you will need a few 'must-haves' to start digitizing: a good quality scanner or extremely high-resolution camera to capture your design in digital form; then, you need digitizing software such as Wilcom and Hatch Embroidery, while programs like Brother PE-Design offer many customized, upgraded features for embroidery digitization. Moreover, good computer processing power with a graphics tablet will help your fine accuracy and control for work. With this setup, you can now convert your artistic ideas into embroidery files that machines can read.
Transforming Artwork into Embroidery-Ready Designs
1. Prep Your Art
.webp)
Begin with a clear, high-resolution image of the design. Make the detailed images simple enough to carry over well to the material. Focus on those details that are absolutely crucial and avoid patterns that can be too complicated to look good when embroidered. Sometimes, the size and the placement of the design need to be taken into account regarding how it will appear once embroidered on the hat for visibility and impact. Designing a clean, solid idea is the beginning toward successful digitization.
2. Import to Digitizing Software
.webp)
Determine what software settings you need to configure knowing your hoop size and the type of stitch your embroidery machine will be using.
3. Design Outline
.webp)
Using your software, you will use their drawing tools to trace out the edges of your design, creating a vector shape which the embroidery machine will trace.
4. Tweak and Fine Tune
.webp)
Run a number of simulations within the computer software so that you know exactly how your design would look once embroidered. Tweak stitch density, stitch direction, and stitch order to get the best outcome .
Adding underlay stitches stabilizes the fabric, and hence improves the quality of the embroidery.
5. Setting Up the Embroidery Workspace
.webp)
The settings of your software should be customized according to the requirements for hat embroidery. The settings include the hoop size, stitch type, and stitch density. A hoop meant for hats can greatly facilitate keeping the design in a straight line. Keep your workspace clean and free of dust and debris for non-interference during the embroidery. Proper setup minimizes the chances of errors and ensures a smooth flow of work.
6. Proper Hooping Techniques
.webp)
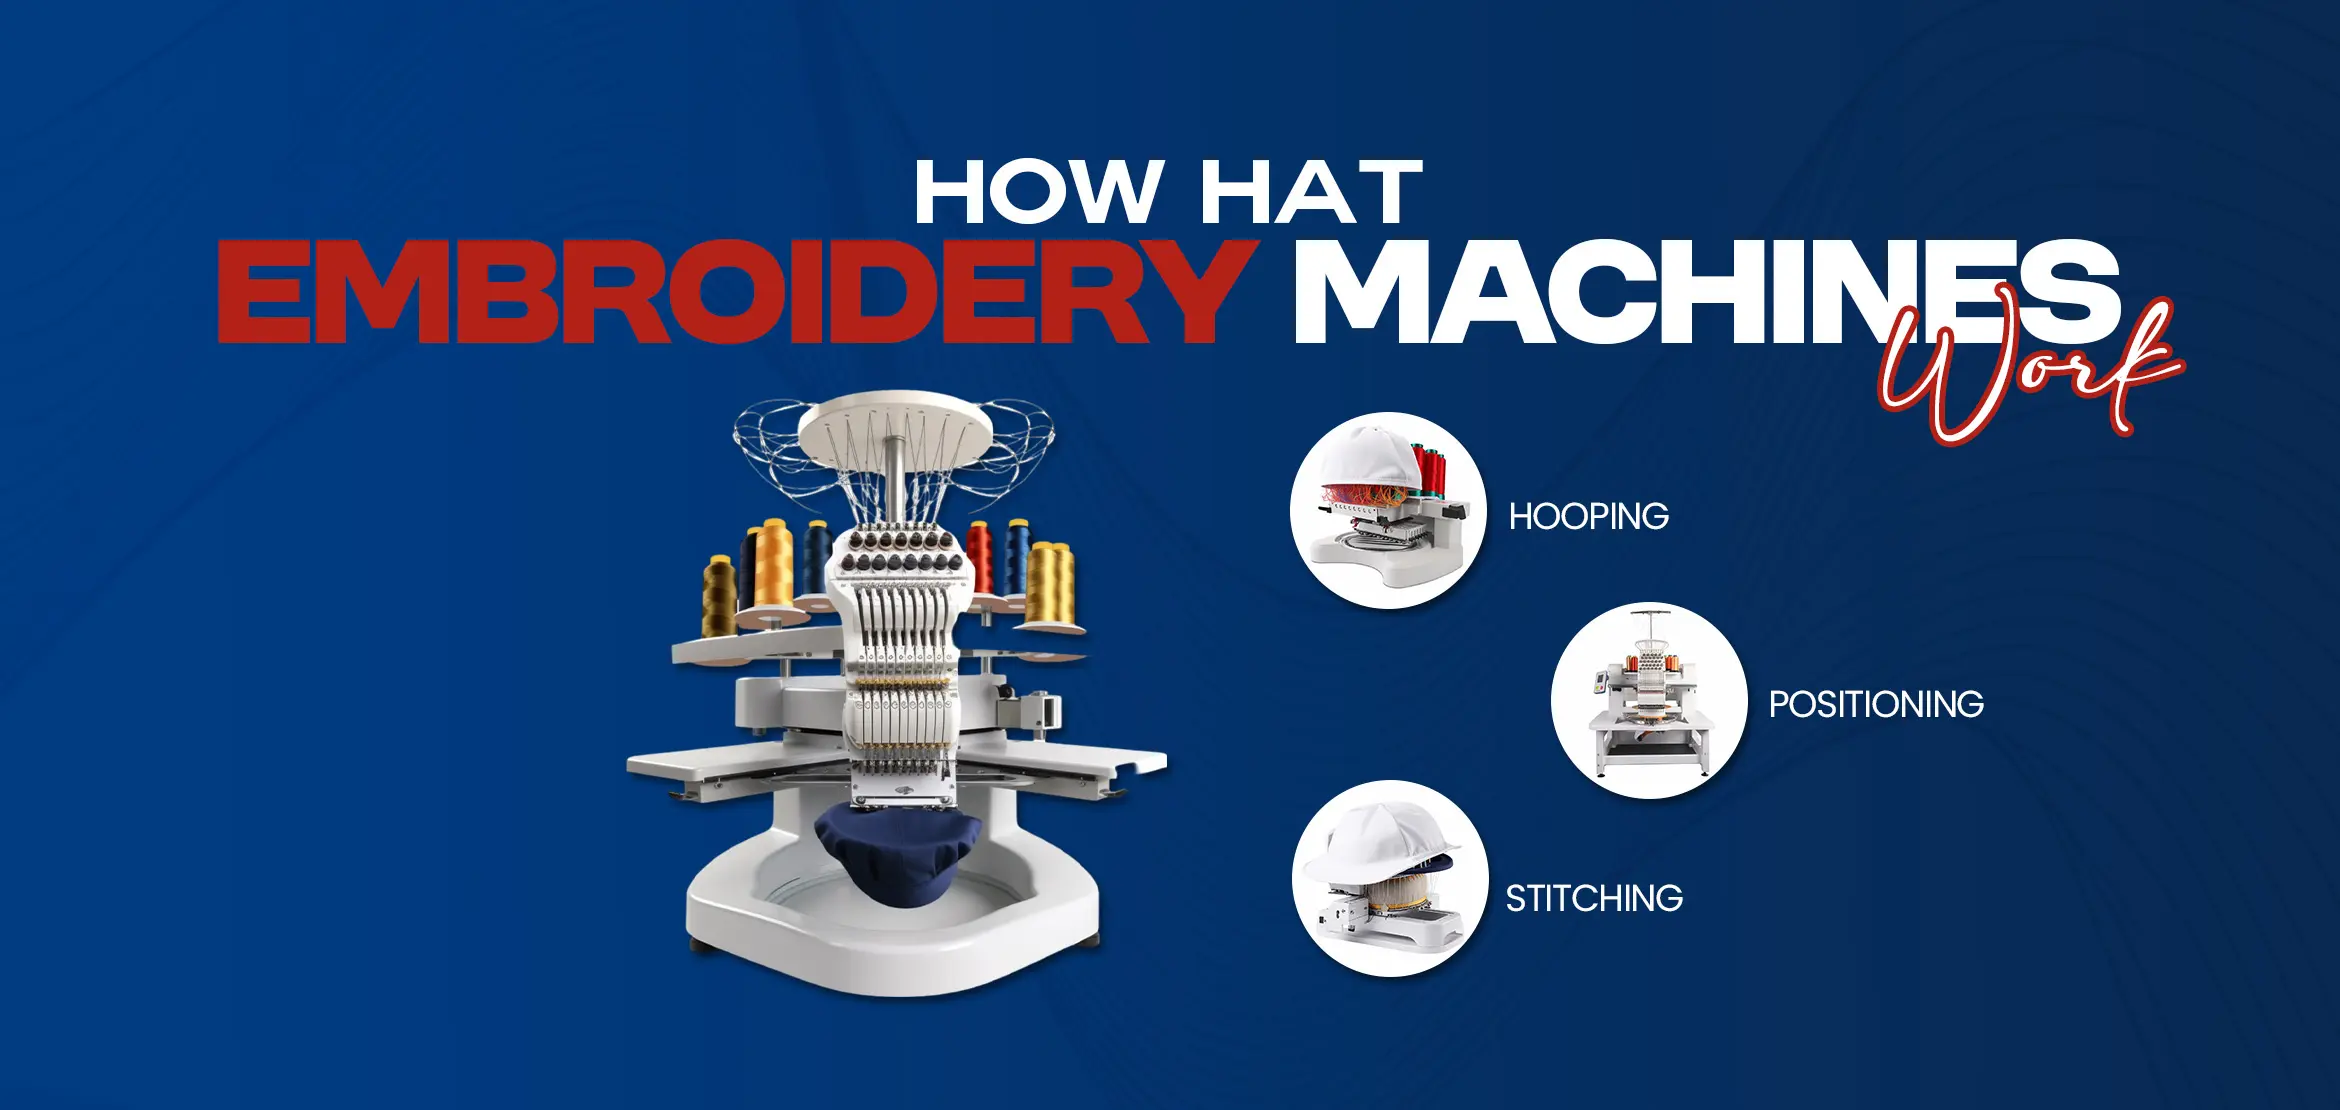
Correct hooping is necessary for consistent results. A cap frame or hoop is used to keep it steady; this is designed for caps. The hat has to be placed perfectly so that when you stitch, it does not shift. It should be taut but not so tight as to affect the integrity of your design. If the hooping techniques are sound, there are minimal distortions, and stitches are placed precisely.
7. Testing and Adjusting the Design
.webp)
Do a test on a similar material before finalizing the work. This helps one recognize mistakes with stitch direction, density, or even location of design. Refine the design in your computer. Testing also enables the appearance of the design against the fabric of the hat and form of the hat. These will all come out best when one tests the fabric over and over and gets back to tweaking until finalizing.
Tips for Elevating Your Digitizing Skills
Begin with simple design in order to avoid any intricate problem.
Pay significant attention to small details in your design. It improves the overall quality of the final product.
Stay up to date on new online forums,tutorials for new techniques.
Final Thoughts
Digitizing designs for hat embroidery is the art, in addition to a technical skill, which requires not just patience but also a lot of practice and attention to details. As you work your way through this guide and continue practicing, you will be able to produce fantastic, high-quality embroidered hats epitomizing your creativity and craftsmanship.
Undoubtedly embroidery elevates the final look of your objects as it is a blend of modern and conventional designs. Though, its trend will remain in the list. Digitizing USA, is renowned for its remarkable hat embroidery works. Give us the opportunity to work for you.
