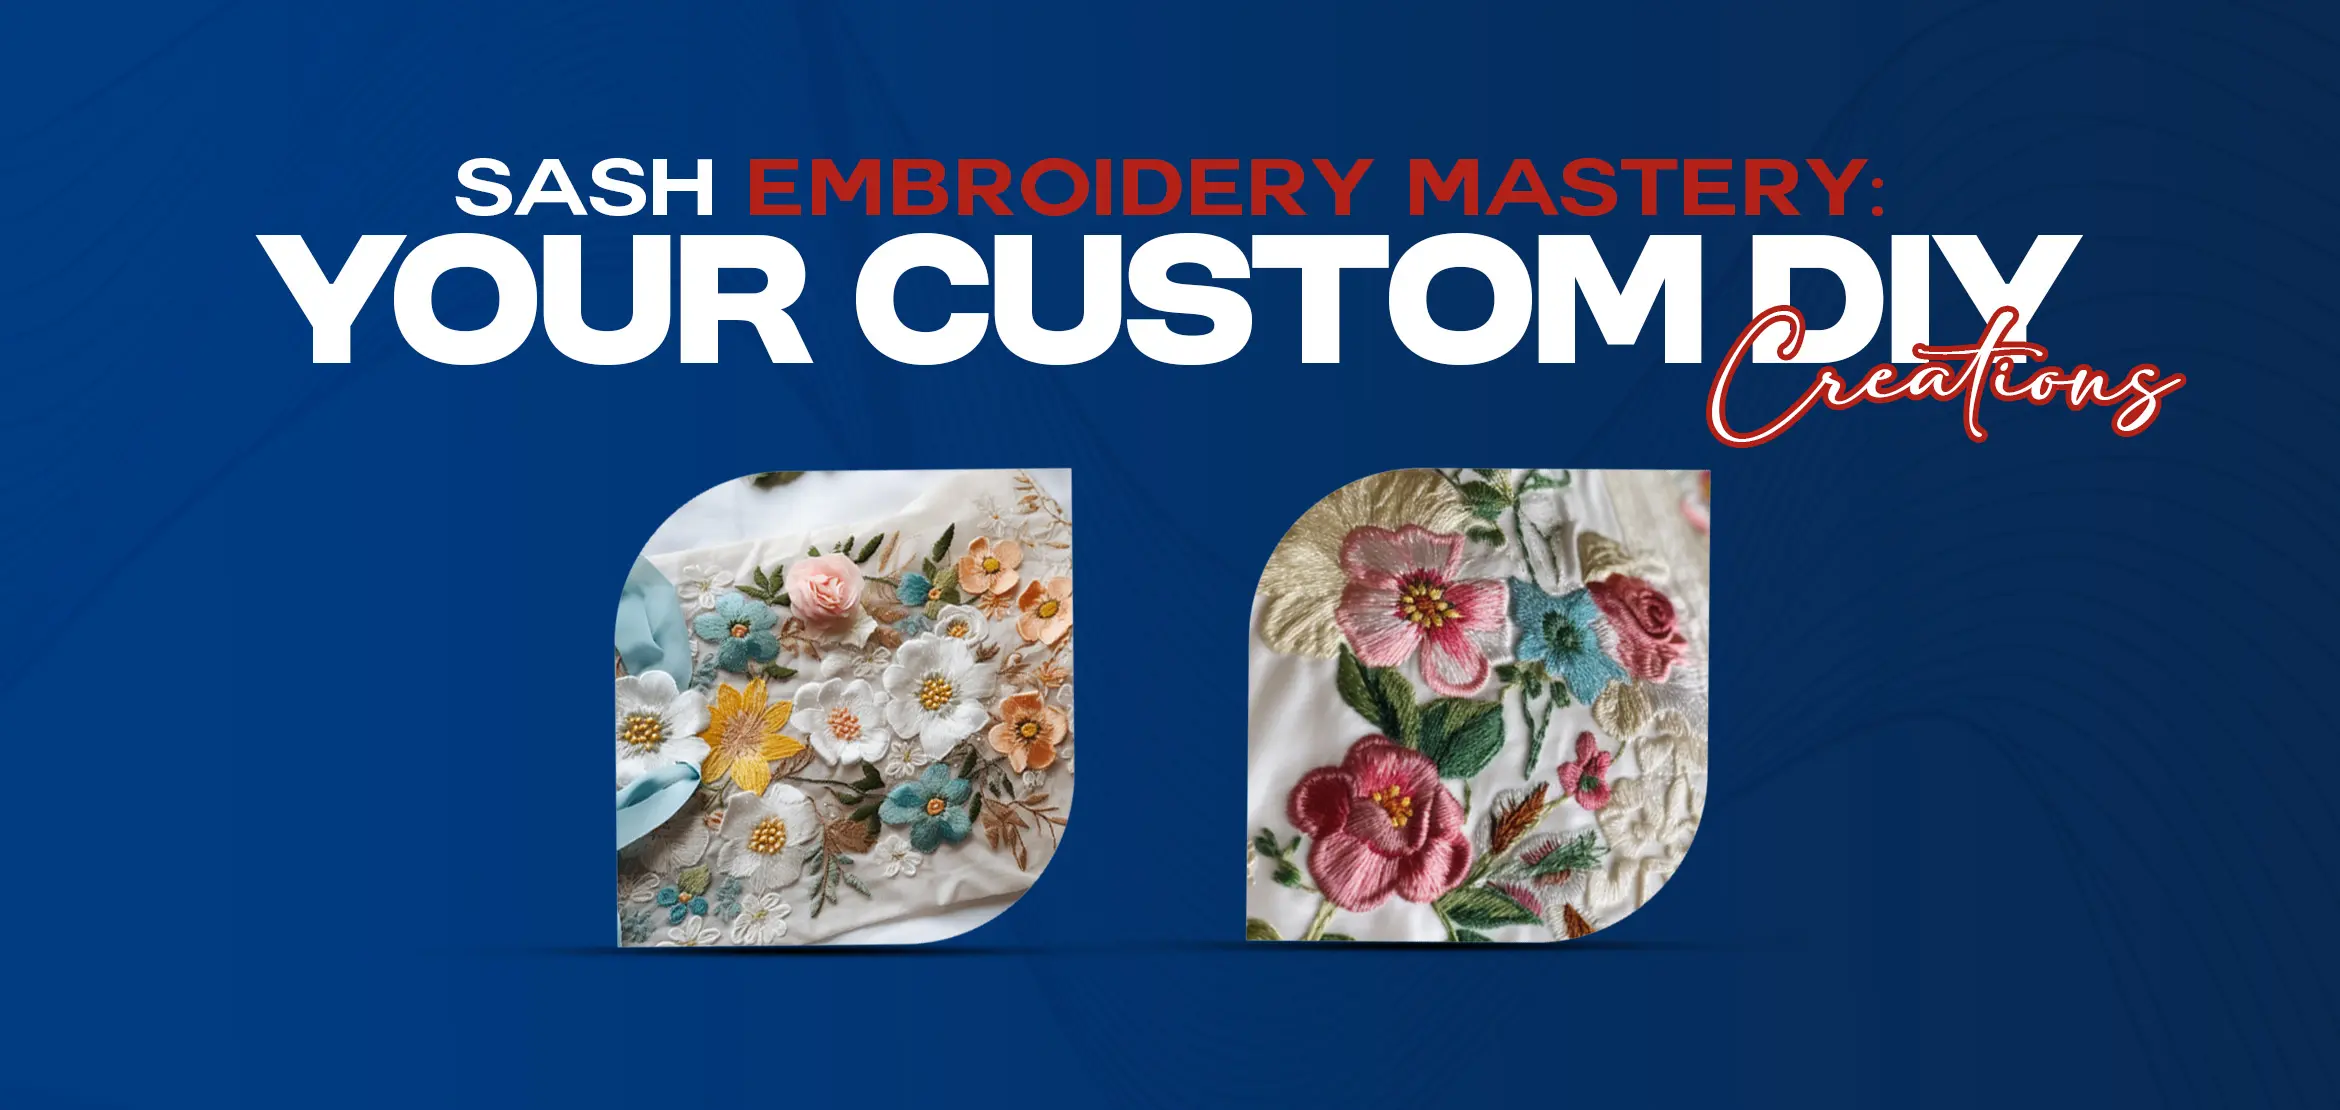
Sash Embroidery Mastery: Your Custom DIY Creations
Table Of Content
- 1. Getting Started with Sash Embroidery
- 2. Materials for Sash Embroidery
- 1. Types of Sashes and Fabrics:
- 2. Embroidery Threads and Needles:
- 3. Tips for Selecting the Right Embroidery Design
- Design Complexity:
- 4. Essential Sash Embroidery Techniques
- 1. Running Stitch
- 2. Backstitch
- 3. Satin Stitch
- 5. Customizing Your Sash Embroidery
- Creating Personalized Embroidery Designs
- Sketch Your Design:
- Digitize Your Design:
- 6. Font Styles and Lettering Techniques
- 1. Script Fonts:
- 2. Block Fonts:
- Embroidery Hoops:
- 7. Transfer Methods (e.g., Iron-on Transfers)
- 8. Sash Embroidery Patterns and Templates
- 9. Troubleshooting Common Sash Embroidery Issues
- 1. Thread Tension
- 2. Puckering
- 10. Solutions and Tips for Overcoming Common Issues
- Knotting and Tangling:
- Uneven Stitches:
- 11. Expert Advice for Achieving Professional Results
- 12. Inspirational DIY Sash Embroidery Projects
- 1. Wedding Sash with Intricate Floral Motifs
- 2. Birthday Celebration Sash
- 3. Graduation Achievement Sash
- 4. Sash Embroidery as Personalized Gifts
- 5. The Significance of Handmade, Personalized Gifts
- 13. Ideas for Using Sash Embroidery in Thoughtful Gifts
- Anniversary Sash:
- Baby Shower Sash:
- Memorial Sash:
- Conclusion
- FAQs (Frequently Asked Questions)
Sash embroidery is an exquisite and versatile craft that allows you to create personalized and meaningful DIY creations. Whether you're a seasoned embroiderer or a complete beginner, sash embroidery offers a unique way to express your creativity and make one-of-a-kind items for yourself or as heartfelt gifts. In this comprehensive guide, we will explore the world of sash embroidery, from the basics to advanced techniques. Enabling you to master this craft and create beautiful custom DIY creations. Sash embroidery, often known as decorative stitching on sashes, has a rich history dating back centuries. It is a form of embellishment that involves stitching intricate designs on fabric sashes, ribbons, or bands. To embark on your sash embroidery journey, it's essential to gather the right materials and gain an understanding of the craft. Before diving into embroidery techniques, it's crucial to assemble the necessary materials: Sashes can be made from various materials, including silk, satin, and cotton. Choose a sash material that suits your project's purpose and your personal style. Select high-quality embroidery threads in a range of colors. Ensure you have the appropriate embroidery needles, as different fabrics may require different needle sizes. Choosing the right embroidery design is the first step towards creating a stunning sash. Consider the following tips: Beginners should start with simpler designs and gradually progress to more intricate patterns as their skills improve. Size and Placement: Determine the size of your sash and where you'd like to place the embroidery. This will help you choose or adapt a design that fits perfectly. Now that you have your materials ready, let's dive into the core sash embroidery techniques that you'll need to master: The running stitch is one of the most basic embroidery stitches, and it serves as a foundation for many other embroidery techniques. Step-by-Step Instructions for Running Stitch: Thread your needle and knot the end of the thread. Insert the needle from the back of the fabric to the front, pulling it through. Create evenly spaced stitches by inserting the needle back into the fabric and pulling it up again a short distance away. Continue this process, creating a continuous line of stitches. The backstitch is a sturdy and versatile stitch that is often used for outlining and creating fine details in embroidery. Step-by-Step Instructions for Backstitch: Start by bringing the needle up through the fabric, then insert it a short distance ahead. Bring the needle back up through the fabric at the starting point. Insert the needle ahead again, this time a short distance beyond the first stitch. Repeat the process, making stitches that overlap slightly to create a solid line. The satin stitch is used to fill in shapes and create smooth, shiny surfaces in embroidery. Step-by-Step Instructions Satin Stitch: Begin by outlining the shape you want to fill with a backstitch or running stitch. Bring the needle up at the edge of the shape. Insert the needle on the opposite side of the shape, pulling it through to the front. Repeat this process, stitching closely together to cover the entire shape. One of the most exciting aspects of sash embroidery is the ability to create personalized designs that hold special meaning to you or the recipient of your gift. Here's how you can add a personal touch to your embroidery: Designing your own embroidery patterns allows you to express your creativity and tailor your sash to your unique style. Consider these steps: Start by sketching your design on paper. This will help you visualize the final result and make necessary adjustments. Use design software or online tools to digitize your sketch. This step is crucial for translating your design into a format suitable for embroidery machines or hand stitching. When it comes to sash embroidery, text can be a powerful addition, conveying personal messages and adding a unique touch to your creations. Here are some font styles and lettering techniques to consider: Elegant and flowing script fonts are a perfect choice for sashes designed for romantic or formal occasions, such as wedding or anniversary sashes. Script fonts bring a sense of sophistication and timeless beauty to your embroidery. Making them well-suited for events that celebrate love and commitment. If you're creating sashes for more casual or contemporary events, like birthdays or graduations, bold block fonts are the way to go. These fonts are characterized by their strong, clear lines and make a statement with their simplicity. They add a modern and vibrant touch to your sashes, aligning perfectly with the celebratory spirit of these occasions. Embroidery hoops are indispensable tools for sash embroidery. They play a crucial role in maintaining fabric tension and preventing wrinkles during the stitching process. These hoops come in various sizes, allowing you to select the one that best fits the dimensions of your project. Ensuring that your embroidery work remains precise and neat. The process of transferring your embroidery design to the fabric is explained. Iron-on transfers are a widely used method for achieving this. First, you print your digitized design onto special iron-on transfer paper. Then, you place the transfer paper face down onto your chosen fabric and use an iron to apply heat. As a result, the design is effectively transferred from the paper onto the fabric, making it ready for you to start stitching. This method simplifies the process of getting your desired design onto the fabric surface with ease. To enhance your sash embroidery experience. We offer a selection of downloadable sash embroidery patterns and templates suitable for various occasions. These templates serve as valuable starting points for your projects, saving you time and simplifying the design process. Whether you're crafting a sash for a wedding, birthday, or any special event, these templates provide a foundation to build upon. Making it easier to bring your creative vision to life. Embroidery, like any craft, can sometimes pose challenges, but with the right knowledge, you can overcome them and ensure that your sash embroidery projects turn out beautifully. Here are solutions to two common issues you may encounter: Achieving the correct thread tension is crucial for producing even, well-defined stitches in your embroidery. To address thread tension issues, start by consulting your machine's manual for guidance on adjusting thread tension. As different machines may have unique tension adjustment mechanisms. Begin with the recommended tension settings from the manufacturer and make minor adjustments as needed. Testing your stitches on a spare piece of fabric to ensure they are neither too tight nor too loose. Patience is key when aiming for the perfect tension, as it may require some trial and error. Take the time to fine-tune the settings until you achieve smooth, consistent stitches. Additionally, fabric puckering, where the material bunches or wrinkles during embroidery, can be frustrating. To prevent this issue, select an appropriate stabilizer or interfacing for your fabric to provide support and prevent distortion during embroidery. Following the manufacturer's recommendations for the type of embroidery stabilizer to use. When hooping your fabric, ensure it is taut but not overly stretched, avoiding excessive tightness that can lead to puckering. The fabric should lay flat and smooth within the hoop. When your thread knots or tangles, check for burrs on your needle or rough spots in the thread. Smooth any imperfections before continuing. Uneven stitches can result from inconsistent tension. Practice stitching at a steady pace and experiment with different thread tensions until you achieve uniform results. For those aiming for professional-level sash embroidery, consider seeking advice and guidance from experienced embroiderers. Joining embroidery communities, online forums, or local clubs can provide valuable insights and support. Now that you've learned the essential techniques and troubleshooting tips, let's explore some inspirational DIY sash embroidery projects. These real-life examples showcase the beauty and versatility of sash embroidery: This exquisite wedding sash features intricate floral motifs in a mix of satin and backstitch. The soft pastel color palette complements the bride's gown, adding a touch of elegance to her special day. A personalized birthday sash adorned with the celebrant's name and age in bold block letters. The vibrant colors and festive embroidery make this sash perfect for a memorable birthday celebration. This graduation sash celebrates academic achievement with a mix of running stitch and satin stitch. The university's emblem is beautifully embroidered, making it a treasured keepsake for the graduate. Sash embroidery isn't just about creating beautiful items for yourself; it's also an excellent way to craft heartfelt, personalized gifts for loved ones. Here's why handmade, customized embroidery gifts hold a special place in people's hearts: Handmade gifts are cherished because they reflect the thought, effort, and love put into creating them. Personalized gifts go a step further by showing that you've considered the recipient's tastes and preferences. Create a romantic anniversary sash for your partner, embroidered with your names and a special date. Craft a baby shower sash for an expectant mother, featuring adorable baby-themed designs and the baby's name. Design a memorial sash to commemorate a loved one's life, featuring their name, dates, and meaningful symbols. In conclusion, sash embroidery offers a captivating and rewarding creative outlet, enabling you to craft personalized DIY creations rich in both creativity and significance. Armed with the expertise gained in mastering fundamental embroidery techniques, honing your design customization skills, and troubleshooting common challenges, you're well-prepared to begin your sash embroidery journey. If you're looking to take your embroidery to the next level, consider exploring professional embroidery digitizing services to transform your unique designs into impeccable embroidered creations. The possibilities are endless, and your sash embroidery adventure awaits! Q1. What is sash embroidery, and why is it a valuable craft for DIY enthusiasts? Sash embroidery is a versatile craft involving intricate designs stitched onto fabric sashes, ribbons, or bands. It allows DIY enthusiasts to express their creativity and create unique, meaningful items. Whether you're a beginner or an experienced embroiderer, sash embroidery offers a captivating way to craft personalized creations for yourself or as heartfelt gifts. Q2. What materials are essential for sash embroidery? To start with sash embroidery, you'll need materials such as various fabric types (silk, satin, cotton), high-quality embroidery threads, and appropriate needles. Choosing the right sash material is crucial because it affects the project's purpose and style, ensuring that your embroidery looks and feels just right. Q3. What are some tips for selecting the perfect embroidery design for your sash? When choosing an embroidery design for your sash, consider its complexity and size, aligning them with your skill level and project's dimensions. Starting with simpler designs and gradually progressing to intricate ones is recommended. Additionally, determining the placement of the embroidery on your sash helps you select or adapt a design that fits perfectly. Q4. What are the fundamental sash embroidery techniques? Sash embroidery relies on several fundamental techniques. The running stitch, for instance, is a basic stitch where you create a continuous line of stitches. To perform it, you thread your needle, insert it from the back to the front, and continue stitching evenly spaced stitches. The backstitch is another technique used for outlining and fine details, while the satin stitch fills in shapes, creating smooth surfaces. Instructions for these stitches are provided step by step. Q5. How can you personalize your sash embroidery? Personalizing sash embroidery involves designing your own patterns and incorporating text when necessary. For special occasions like weddings, elegant script fonts work beautifully, while bold block fonts are ideal for more casual events like birthdays. Digitizing your design, selecting appropriate font styles, and utilizing embroidery hoops for precision are essential steps in adding a personal touch to your embroidery projects.1. Getting Started with Sash Embroidery
2. Materials for Sash Embroidery
1. Types of Sashes and Fabrics:
2. Embroidery Threads and Needles:
3. Tips for Selecting the Right Embroidery Design
Design Complexity:
4. Essential Sash Embroidery Techniques
1. Running Stitch
2. Backstitch
3. Satin Stitch
5. Customizing Your Sash Embroidery
Creating Personalized Embroidery Designs
Sketch Your Design:
Digitize Your Design:
6. Font Styles and Lettering Techniques
1. Script Fonts:
2. Block Fonts:
Embroidery Hoops:
7. Transfer Methods (e.g., Iron-on Transfers)
8. Sash Embroidery Patterns and Templates
9. Troubleshooting Common Sash Embroidery Issues
1. Thread Tension
2. Puckering
10. Solutions and Tips for Overcoming Common Issues
Knotting and Tangling:
Uneven Stitches:
11. Expert Advice for Achieving Professional Results
12. Inspirational DIY Sash Embroidery Projects
1. Wedding Sash with Intricate Floral Motifs
2. Birthday Celebration Sash
3. Graduation Achievement Sash
4. Sash Embroidery as Personalized Gifts
5. The Significance of Handmade, Personalized Gifts
13. Ideas for Using Sash Embroidery in Thoughtful Gifts
Anniversary Sash:
Baby Shower Sash:
Memorial Sash:
Conclusion
FAQs (Frequently Asked Questions)
