Custom Embroidery Digitizing - A Step-by-Step Guide
Table Of Content
- Benefits of Custom Embroidery Digitizing
- Preparing to Digitize a Design
- 1. Choosing the Design or Logo to be Digitized
- 2. Deciding on Stitch Type and Thread Color Options
- 3. Converting the Design into a Vector File Format
- 1. Import the design
- 2. Optimize the image
- 3. Resize the design
- 4. Rotate the design
- 5. Adjust the color palette
- Understanding the Process of Custom Embroidery Digitizing
- Reading the Embroidery File for Information
- Setting Up Underlay Stitches for Stability and Coverage
- Creating Outline Stitches to Create Contours of Image/Design
- Applying Fill Stitches to Filling In Areas with Color or Texture
- Adding Textures & Special Effects with Satin & Cross Stitches
- Finishing Touches on the Digitized Design
- Conclusion
- FAQs (Frequently Asked Questions)
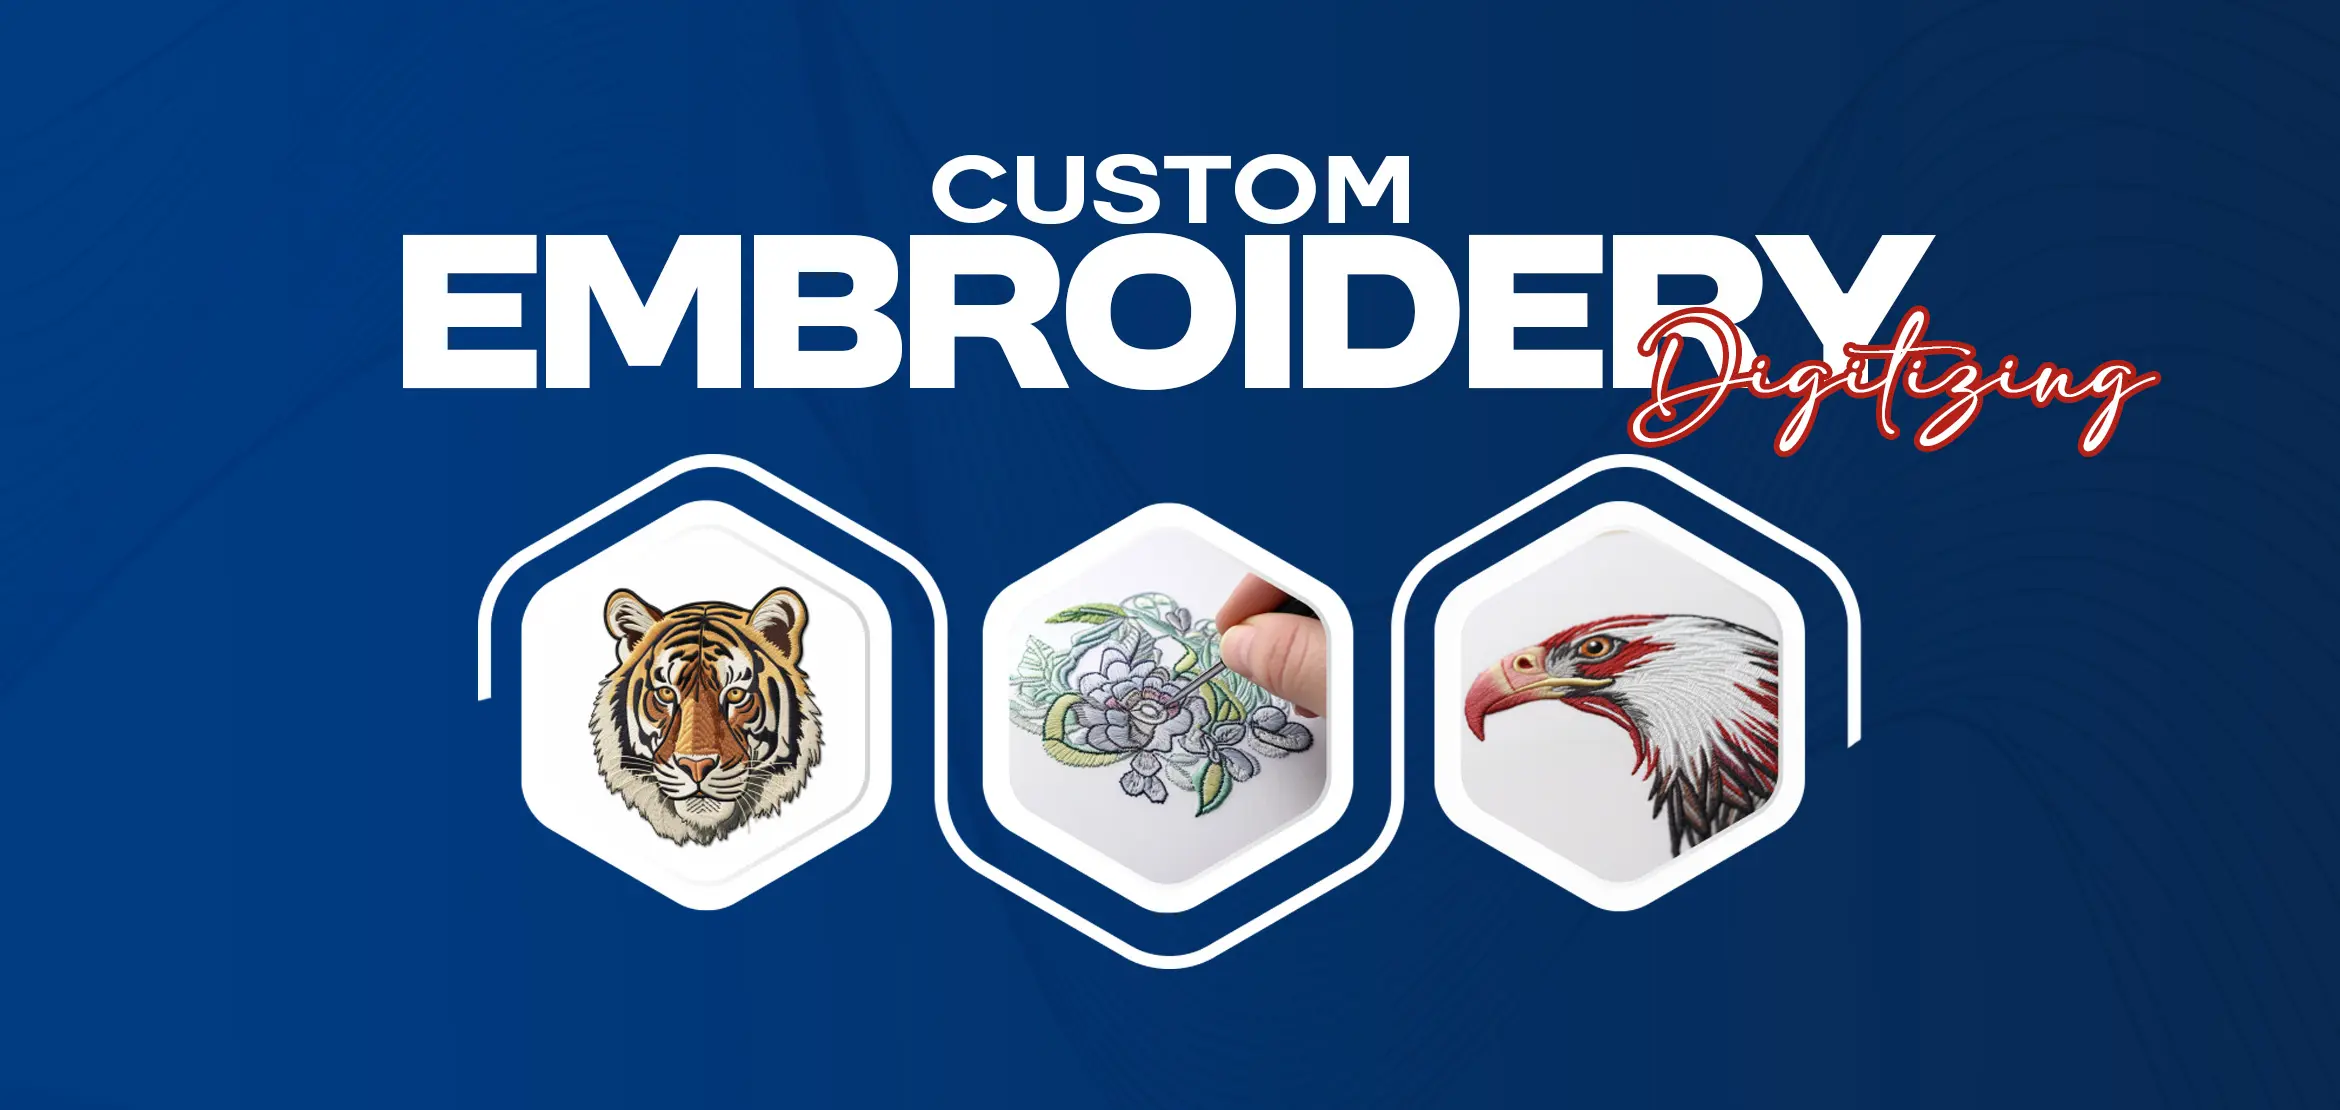
Custom embroidery digitizing is the process of converting a design or image into a digitized file that can be stitched onto fabric using an embroidery machine. This method allows for precise and intricate detailing, making it ideal for creating customized embroidery designs. With custom embroidery digitizing, you can transform your unique artwork, logo, or personalized pattern into a beautifully stitched piece. This step-by-step guide will walk you through the process. From selecting the appropriate software and file types to digitizing your design and transferring it to your embroidery machine. Whether you are creating promotional material, personalized gifts, or embroidered products for commercial purposes. Custom embroidery digitizing offers endless possibilities for crafting high-quality and visually stunning pieces. Let's dive into the world of custom embroidery digitizing and unlock your creativity! Custom embroidery digitizing offers a wide range of benefits that can greatly enhance the look and feel of apparel and garments. By using advanced software and experienced digitizers. Custom embroidery designs can be created to showcase expertise in embroidery and create a stylish and innovative look. One of the key benefits of custom embroidery digitizing is the ability to enhance brand visibility. By digitizing a logo or design onto fabric, businesses can effectively promote their brand through embroidered products. This not only adds a professional touch to promotional material but also helps to increase brand recognition. Custom embroidery digitizing also offers greater creativity and flexibility. With the use of advanced software. Intricate details and complex designs can be easily achieved. This allows for the creation of custom patterns and the use of a wide range of thread colors. Whether it's a simple or a detailed design. Custom embroidery digitizing allows for the perfect result. Before diving into the digitizing process, it's important to properly prepare for custom embroidery digitizing. This involves gathering all the necessary materials and ensuring that the design is ready for digitization. Here are some steps to follow when preparing to digitize a design: 1. Choosing the Design or Logo to be Digitized 2. Deciding on Stitch Type and Thread Color Options 3. Converting the Design into a Vector File Format By properly preparing for custom embroidery digitizing, you can ensure a smooth and successful process that results in a high-quality finished product. Let's explore these three steps in depth. When it comes to custom embroidery digitizing, selecting the right design or logo is crucial for a successful outcome. Consider a few factors when choosing a design for digitization. Firstly, complexity plays a significant role in the digitizing process. Intricate designs with small details may require more stitches, making the overall stitch count higher. This can result in a longer stitching time and may affect the overall quality of the final embroidered piece. Opting for simpler designs with clear outlines and limited colors is often recommended for easier and more effective digitizing. Scalability is another important consideration. Designs that can be easily resized without losing clarity and definition are ideal for embroidery. This ensures that the digitized design can be adjusted to fit different embroidery project sizes. Whether it's a small logo on a shirt or a larger design on a jacket back. Suitability for embroidery is also crucial. Designs with large areas of solid fill or shading can be challenging to digitize effectively. Overlapping stitches can cause the fabric to become overly dense and may affect the overall appearance of the embroidered design. Choosing designs with clear outlines and distinct areas for color placement will result in a cleaner and more professional-looking embroidery. When it comes to custom embroidery digitizing, one of the crucial decisions to make is selecting the right stitch types and thread colors for your design. Understanding the different embroidery stitch types can help you create the desired look and texture for your embroidered piece. One common stitch type used in embroidery digitizing is the satin stitch. This stitch creates a smooth and shiny appearance and is ideal for adding fine details and lettering to your design. Fill stitches, on the other hand, are used to cover larger areas of the design with continuous rows of stitches, providing a solid and even look. Cross stitches can add a textured and dimensional effect to your design, making it stand out. When deciding on stitch types, it is important to consider the embroidery fabric type and its "push and pull" factor. Some fabrics, like stretchy or delicate materials, require stitches that allow for flexibility and minimize distortion. Satin stitches are typically used for such fabrics, as they can stretch and move with the garment. Another factor to consider is the number of embroidery thread colors used. Selecting a limited color palette helps create a more cohesive and visually appealing design. Too many colors can make the design look busy and cluttered. It’s essential to choose thread colors that complement each other and enhance the overall appearance of the embroidered piece. Converting the design into a vector file format is a crucial step in custom embroidery digitizing. Vector files are graphics that are created using mathematical formulas. Allowing them to be resized without losing any quality. Follow these steps to convert your design into a vector file format: Open the digitizing software and select the option to import the design. Common file formats that can be imported include JPEG, PNG, and BMP. Once the design is imported, use the software's built-in tools to optimize it for embroidery. These tools allow you to resize the design to fit the desired embroidery area, rotate it to the desired angle, and adjust the color palette. If your design needs to be larger or smaller, use the resizing tool to adjust the dimensions while maintaining the aspect ratio. This ensures that the design won't be distorted or stretched when embroidered. If you want to change the orientation of the design, use the rotating tool to rotate it clockwise or counterclockwise. This allows you to position the design at the desired angle for embroidery. Use the software's tools to adjust the color palette of the design. You can change the thread colors to match the desired embroidery thread colors. Ensuring a cohesive and visually appealing result. By following these steps and using the features available in digitizing software, you can convert your design into a vector file format optimized for custom embroidery. Custom embroidery digitizing is a crucial step in creating unique and personalized embroidered pieces. This process involves converting a design or image into a digital file that can be read by an embroidery machine. Understanding the process of custom embroidery digitizing is important for anyone looking to create their own embroidered products or promotional material. It involves importing the design into digitizing software, optimizing the image for embroidery. Resizing and rotating the design if necessary, and adjusting the color palette to match the desired thread colors. By following these steps, you can ensure that your custom designs are accurately translated onto fabric, with all the intricate details and stitch directions preserved. Let's dive deeper into each of these steps to gain a better understanding of the custom embroidery digitizing process. When it comes to custom embroidery digitizing, one crucial step is reading the file for information about stitches, color, and lengths. This process lies at the core of transforming a design into an embroidered piece. In custom embroidery digitizing, the files used are primarily stitch files and outline files. Stitch files inform the embroidery machine about stitch types, directions, and densities. While outline files provide the shape and dimensions of the design. These two types of files work together to achieve the desired outcome. When reading the file, digitizing software interprets the information and generates a visual representation of the design. This allows the digitizer to make adjustments and ensure that the final product meets the desired specifications. During this process, the digitizer also identifies any running stitches and jump stitches required in the digitized design. Running stitches are used to create outlines or fill small areas. While jump stitches are used to connect elements in the design that cannot be reached with a continuous stitch. By carefully examining the file, a digitizer can determine the number and sequence of stitches, as well as the colors and lengths required to achieve the desired result. This attention to detail ensures that the embroidered design accurately reflects the original digital file. Setting up underlay stitches is a crucial step in the custom embroidery digitizing process. These foundational stitches provide stability and coverage, ensuring the final design looks its best. By strategically placing underlay stitches. You can achieve a more professional and polished result. Underlay stitches create a stable foundation for the design by securing the fabric and preventing it from shifting during the embroidery process. This stability is essential, especially when working with delicate or stretchy fabrics. The underlay stitches also act as a base for the top layer of stitches, helping to distribute the tension evenly. In addition to stability, underlay stitches ensure proper coverage and distribution of threads. They help to fill in any gaps or spaces between elements in the design, creating a smooth and uniform appearance. Without these underlay stitches, the design may look incomplete or uneven. There are different types of underlay stitches that can be used, such as running stitches or zigzag stitches. Running stitches are commonly used for simple designs or outlines. While zigzag stitches provide more coverage and stability for complex or large designs. Creating outline stitches is an important step in custom embroidery digitizing as it helps to create the contours of the image or design. These stitches serve as the framework for the rest of the embroidery and provide structure and definition to the final product. To start, select the appropriate stitch type for outlining, such as a running stitch or a satin stitch, depending on the desired effect. Running stitches are ideal for simple outlines or thin lines. While satin stitches are better suited for thicker lines or more intricate contours. When outlining the design, it is essential to pay attention to smooth lines and curves. Avoiding jagged or uneven lines is crucial to achieving a professional and polished look. Practice your stitching technique to ensure control and precision while following the contours of the image or design. It is also important to properly size the outline stitches to match the scale and details of the design. Using stitches that are too large or too small can result in gaps or distortions, compromising the overall quality of the embroidery. To create accurate outlines, work with a clear reference of the design and use embroidery software or digitizing tools with editing capabilities. Take your time to adjust the stitch lengths and angles as needed to achieve the desired contour lines. After outlining the design, the next step in custom embroidery digitizing is applying fill stitches to fill in areas with color or texture. Fill stitches are used to create solid areas in the design and can be applied in various patterns and textures to achieve different effects. One commonly used fill stitch is the tatami stitch, which creates a smooth and flat appearance. It uses alternating lines of stitches that are close together to create a woven appearance. Another fill stitch option is the satin stitch, which is denser and creates a more textured effect. When applying fill stitches, it is important to consider the maximum stitch length. Typically around 4mm, to ensure the stitches aren't too long and result in gaps or loose threads. Fill stitches are commonly used to fill in patterns, backgrounds, or larger areas of the design. They can add depth, dimension, and interest to the embroidered piece. For example, they can be used to fill in floral motifs, geometric shapes, or even text. To apply fill stitches, use embroidery software or digitizing tools with editing capabilities to control the stitch length, direction, and pattern. Take your time to ensure the stitches are even and consistent to achieve a professional and polished look. Adding textures and special effects is an excellent way to elevate the quality and visual appeal of custom embroidery designs. Among the various stitching techniques available, satin and cross stitches play a significant role in achieving these effects. When it comes to creating embroidery text, satin stitches are the go-to choice. These stitches have a longer thread length, resulting in a shiny and bold appearance. This makes them perfect for showcasing text, logos, or any other design element that you want to stand out. The elongated thread of satin stitches adds dimension and a luxurious touch to the embroidery. On the other hand, cross stitches offer an opportunity to add unique textures and patterns to your designs. These stitches are formed by intersecting stitches in the shape of an X. By adjusting the length and angle of the cross stitches, you can create intricate and visually captivating effects. To apply satin and cross stitches in the digitizing process, utilize embroidery software or digitizing tools with editing capabilities. These tools allow you to control the stitch length, direction, and density, ensuring precision and consistency in your design. Take time to experiment with different stitch lengths and angles to achieve the desired textures and effects. When incorporating satin and cross stitches, consider the embroidery fabric type and the complexity of the design. Thicker and heavier fabrics are more suitable for these stitches as they showcase their textures and effects better. Additionally, keep in mind that satin and cross stitches work best for larger areas or elements of a design. As they require more space to showcase their intricacies. Once the digitized design is complete, it's time to add the finishing touches to ensure optimal results. These final steps can greatly enhance the appearance and quality of the embroidered piece. First, review the design file and make any necessary adjustments. Check for any thread color changes that may be required throughout the design. This is especially important if your design includes different elements or intricate details that need to be highlighted with specific thread colors. Consider any special effects or textures that you want to incorporate and ensure that they are properly defined in the digitized file. Next, take advantage of software features that can enhance the final appearance of the design. Many digitizing software options offer options such as underlay stitches. Which are foundational stitches that provide stability and create a smooth surface for the rest of the design. Adjusting the stitch density can also impact the overall look and feel of the design. Allowing you to achieve the desired level of detail and coverage. Once the design file is perfected, it's important to load it onto the embroidery machine correctly. Use a USB cable or other compatible method to transfer the digitized file to the machine. Ensure that the machine is properly set up and ready for stitching. With everything in place, the embroidery machine will execute the stitching according to the digitized design. Follow the machine's instructions and monitor the stitching process to ensure that it is properly aligned and the thread colors are being used as intended. To embark on this journey, one must carefully prepare by selecting the right design, choosing stitch types, and converting the design into a vector format. Reading the embroidery file for information and setting up underlay stitches are pivotal steps in the process, ensuring stability and coverage. Creating outline and fill stitches is where the design takes shape, providing structure and color. Special effects with satin and cross stitches add that extra touch of finesse. Finally, the finishing touches make all the difference in producing a high-quality embroidered piece. Unlock your creativity with custom embroidery digitizing services today and bring your unique designs to life! Contact us to get started. Q1. What is custom embroidery digitizing, and what is its primary purpose? Custom embroidery digitizing is the process of converting a design into a digitized file for embroidery machines. Its primary purpose is to create intricate and personalized embroidered designs. Q2. How does custom embroidery digitizing benefit businesses? Custom embroidery digitizing enhances brand visibility by promoting logos and designs through embroidered products, adding a professional touch to promotional material and increasing brand recognition. Q3. What are the three key steps for custom embroidery digitizing? The three key steps are choosing the design, deciding on stitch types and thread colors, and converting the design into a vector file format. Q4. What is the significance of underlay stitches in the custom of embroidery digitizing? Underlay stitches provide stability and coverage, preventing fabric shifting during embroidery. They create a solid foundation for the top layer of stitches, ensuring a polished result. Q5. How can satin and cross stitches be used to add special effects? Satin stitches are ideal for bold and shiny text or design elements, while cross stitches can create intricate textures and patterns. Adjusting their length and angle allows for unique effects.Benefits of Custom Embroidery Digitizing
Preparing to Digitize a Design
1. Choosing the Design or Logo to be Digitized
2. Deciding on Stitch Type and Thread Color Options
3. Converting the Design into a Vector File Format
1. Import the design
2. Optimize the image
3. Resize the design
4. Rotate the design
5. Adjust the color palette
Understanding the Process of Custom Embroidery Digitizing
Reading the Embroidery File for Information
Setting Up Underlay Stitches for Stability and Coverage
Creating Outline Stitches to Create Contours of Image/Design
Applying Fill Stitches to Filling In Areas with Color or Texture
Adding Textures & Special Effects with Satin & Cross Stitches
Finishing Touches on the Digitized Design
Conclusion
FAQs (Frequently Asked Questions)
