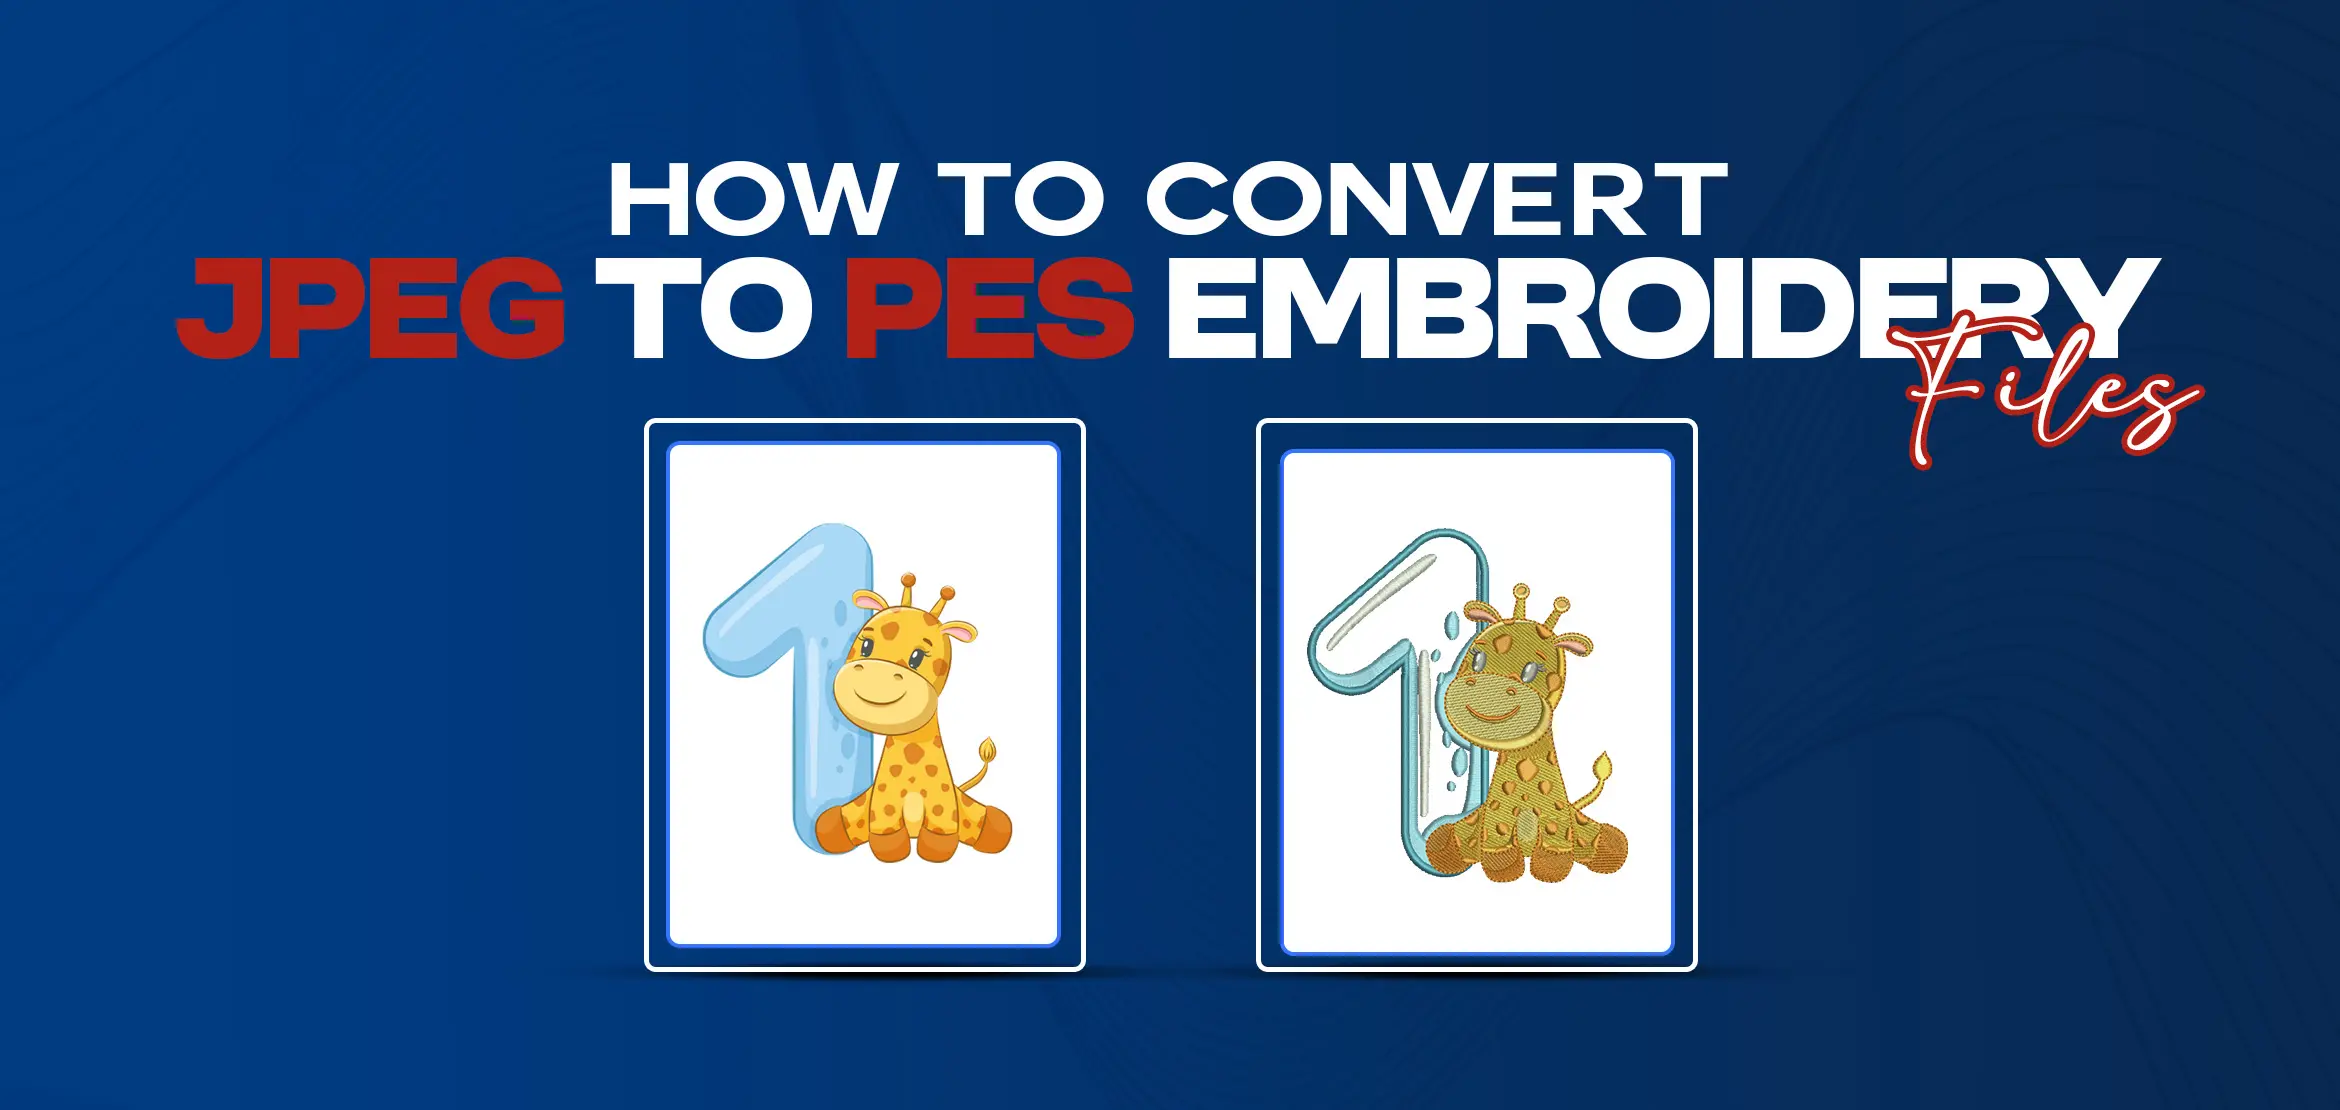
How to Convert jpeg to pes Embroidery File? Step by Step
Table Of Content
- Step 1: Understanding the Basics:
- Step 2: Choosing the Right Software:
- Step 3: Preparing Your Image:
- Step 4: Importing the Image:
- Step 5: Digitizing the Image:
- Step 6: Testing and Adjusting:
- Step 7: Finalizing the Design:
- Common PES File Issues and Solutions
- 1. Opening the PES File
- 2. Checking the File Extension
- 3. Hoop Size Compatibility
- 4. Machine Version Compatibility
- 5. Thread Display Issues
- Conclusion
- FAQs (Frequently Asked Questions)
With the advent of digital embroidery machines, converting digital images into embroidery files has become increasingly popular. One of the most common file formats for embroidery is PES. In this guide, we'll walk you through the process of converting a JPEG image into a PES embroidery file, step by step.
Step 1: Understanding the Basics:
Embroidery files, including PES, serve as blueprints for the intricate dance of needles and threads on the fabric canvas. They encapsulate details about stitch types, color codes, and other parameters crucial for translating digital designs into tactile art. On the other hand, JPEG, a widely-used image format, captures visual data in a compressed form. Bridging these two worlds demands a nuanced approach.
Step 2: Choosing the Right Software:
Embarking on the journey of converting JPEG to PES requires the right set of tools. Various embroidery software options, such as Embird, Wilcom TrueSizer, and SewWhat-Pro, offer diverse functionalities catering to different skill levels and project requirements. Take the time to explore these options, considering factors like user interface, feature set, and compatibility with your embroidery machine.
Step 3: Preparing Your Image:
Before the conversion process begins, prepare your JPEG image meticulously. This entails cleaning up the image, removing background clutter, and adjusting colors for optimal embroidery results. Remember, not all images are created equal in the embroidery digitizing world, simplicity and clarity often reign supreme.
Step 4: Importing the Image:
Once your image is primed for digitization, import it into your chosen embroidery software. Most modern software packages support a wide range of image formats, including JPEG. Take advantage of resizing and repositioning tools to ensure your design fits snugly within the embroidery hoop.
Step 5: Digitizing the Image:
Here comes the heart of the process: digitizing your image. Like an artist wielding a brush, you'll trace the contours of your design using the software's digitizing tools. Assign stitch types, adjust densities, and select thread colors with precision and care. Patience and attention to detail are your allies in this intricate dance of creation.
Step 6: Testing and Adjusting:
Once digitization is complete, it's time to put your creation to the test. Load the PES file onto your embroidery machine and stitch it out on a scrap of fabric. This real-world trial allows you to evaluate the design's fidelity, making necessary adjustments to thread tensions, stitch densities, or color choices.
Step 7: Finalizing the Design:
As you fine-tune your design based on test results, the finishing touches come into focus. Refine details, tweak thread colors, and ensure every stitch aligns harmoniously with your vision. Once satisfied, save the finalized PES file, ready to breathe life into your fabric canvas.
Common PES File Issues and Solutions
When working with PES files, you may encounter various issues. Here are some common problems and their solutions:
1. Opening the PES File
Sometimes, you may encounter errors when trying to open a PES file with embroidery software. To resolve this, ensure you're using the same software that created the file.
2. Checking the File Extension
Verify that the file extension is correct. PES files should have a '.pes' extension, so double-check for typos in the file name.
3. Hoop Size Compatibility
Ensure that the design size is smaller than your embroidery machine's hoop size. Mismatched sizes can lead to loading and software compatibility issues.
4. Machine Version Compatibility
If you're using an older embroidery machine, inform your digitizing company about it to ensure compatibility. Similarly, if you have a newer machine, communicate this information to the digitizer.
5. Thread Display Issues
Sometimes, PES files may display thread problems. To address this, create a new file in embroidery software like Embroidery Studio E2 to resolve the thread display issue.
Conclusion
Converting a JPEG image into a PES embroidery file isn't just a technical process; it's a journey of artistic expression and craftsmanship. By mastering each step outlined in this guide and embracing the tools at your disposal, you unlock a world of creative possibilities. Whether you're a seasoned embroiderer or just starting out, the satisfaction of seeing your digital designs come to life through stitches is unparalleled.
For those seeking professional assistance or looking to explore more complex designs, our embroidery digitizing services stand ready to lend a helping hand. Our team of skilled digitizers combines technical expertise with artistic flair to transform your vision into stunning embroidered masterpieces. From intricate logos to intricate portraits, we pride ourselves on delivering quality digitized files tailored to your exact specifications.
FAQs (Frequently Asked Questions)
Q1. What file formats can be converted to PES for embroidery?
PES embroidery machines primarily recognize PES files, but most embroidery software can convert a wide range of image formats, including JPEG PNG, BMP, and more, into PES files.
Q2. Do I need specialized software to convert JPEG to PES?
Yes, you will need embroidery software capable of digitizing images and saving them in the PES format. Several software options are available, both free and paid, offering varying levels of features and complexity.
Q3. Can any JPEG image be converted into a quality PES embroidery file?
Not necessarily. Images with clear outlines, limited colors, and minimal details tend to translate better into embroidery designs. Complex images with gradients or fine details may require additional editing or may not be suitable for conversion.
Q4. How do I ensure the colors in my embroidery design match the original image?
Most embroidery software allows you to manually select thread colors to match those in the original image. Additionally, some software may offer color matching tools or allow you to import color palettes to ensure accuracy.
Q5. What factors should I consider when choosing an embroidery digitizing service?
When selecting an embroidery digitizing service, consider factors such as the quality of their digitized files, turnaround time, pricing structure, and customer reviews. It's essential to choose a service provider that aligns with your project requirements and budget