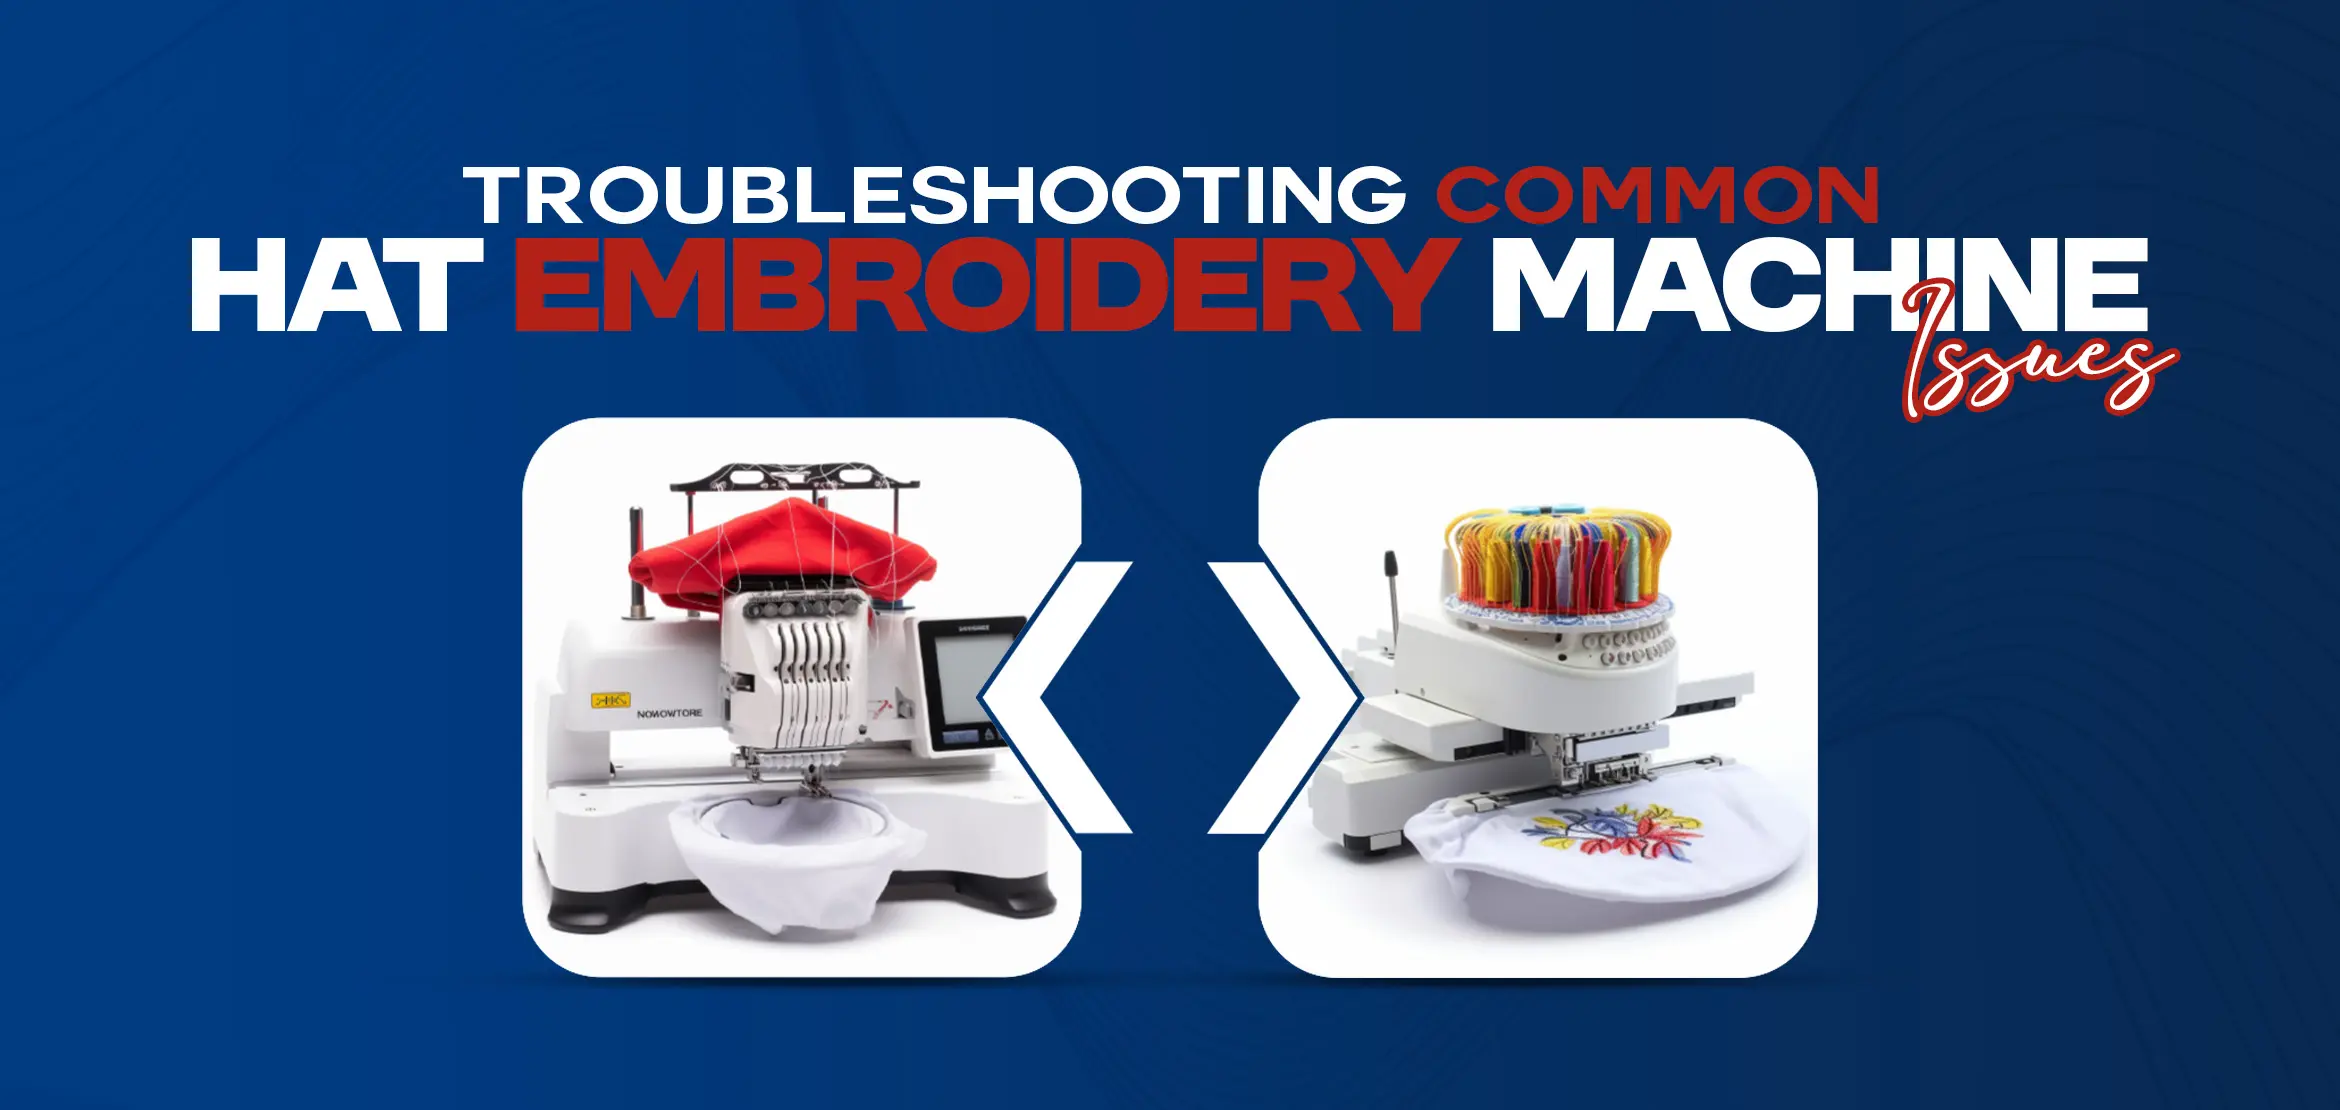
Troubleshooting Common Hat Embroidery Issues
Table Of Content
- Common Hat Embroidery Issues and Solutions
- 1- Misalignment in Design
- Problem
- Solution
- Verify Hoop Alignment
- Align the Design
- Adjust Design Size
- 2- Thread Breakage
- Problem
- Solution
- Quality of Thread
- Adjust Tension Settings
- Clean the Machine
- 3- Fabric Puckering
- Problem
- Solution
- Use the Right Stabilizer
- Tension needs to be adjusted:
- Determine the Right Needle
- 4- Needle Problems
- Problem
- Solution
- Check Needle Size
- Use the appropriate kind of needle
- 5- Color Bleed
- Problem
- Solution
- Pre-Wash Fabrics
- Use Colorfast Threads
- Test Wash
- Final Words
Embroidery adds a unique touch to your product. Not only does it enhance the visual appearance of your object, but it also elevates your look.
Embroidery is an exciting task, but it also poses challenges. It doesn't matter if you are a beginner or a professional,
Comprehensive knowledge of embroidery and associated intricate challenges will save you time and frustration.
Some more common problems with embroidery and its reliable solutions are explored in this guide.
Common Hat Embroidery Issues and Solutions
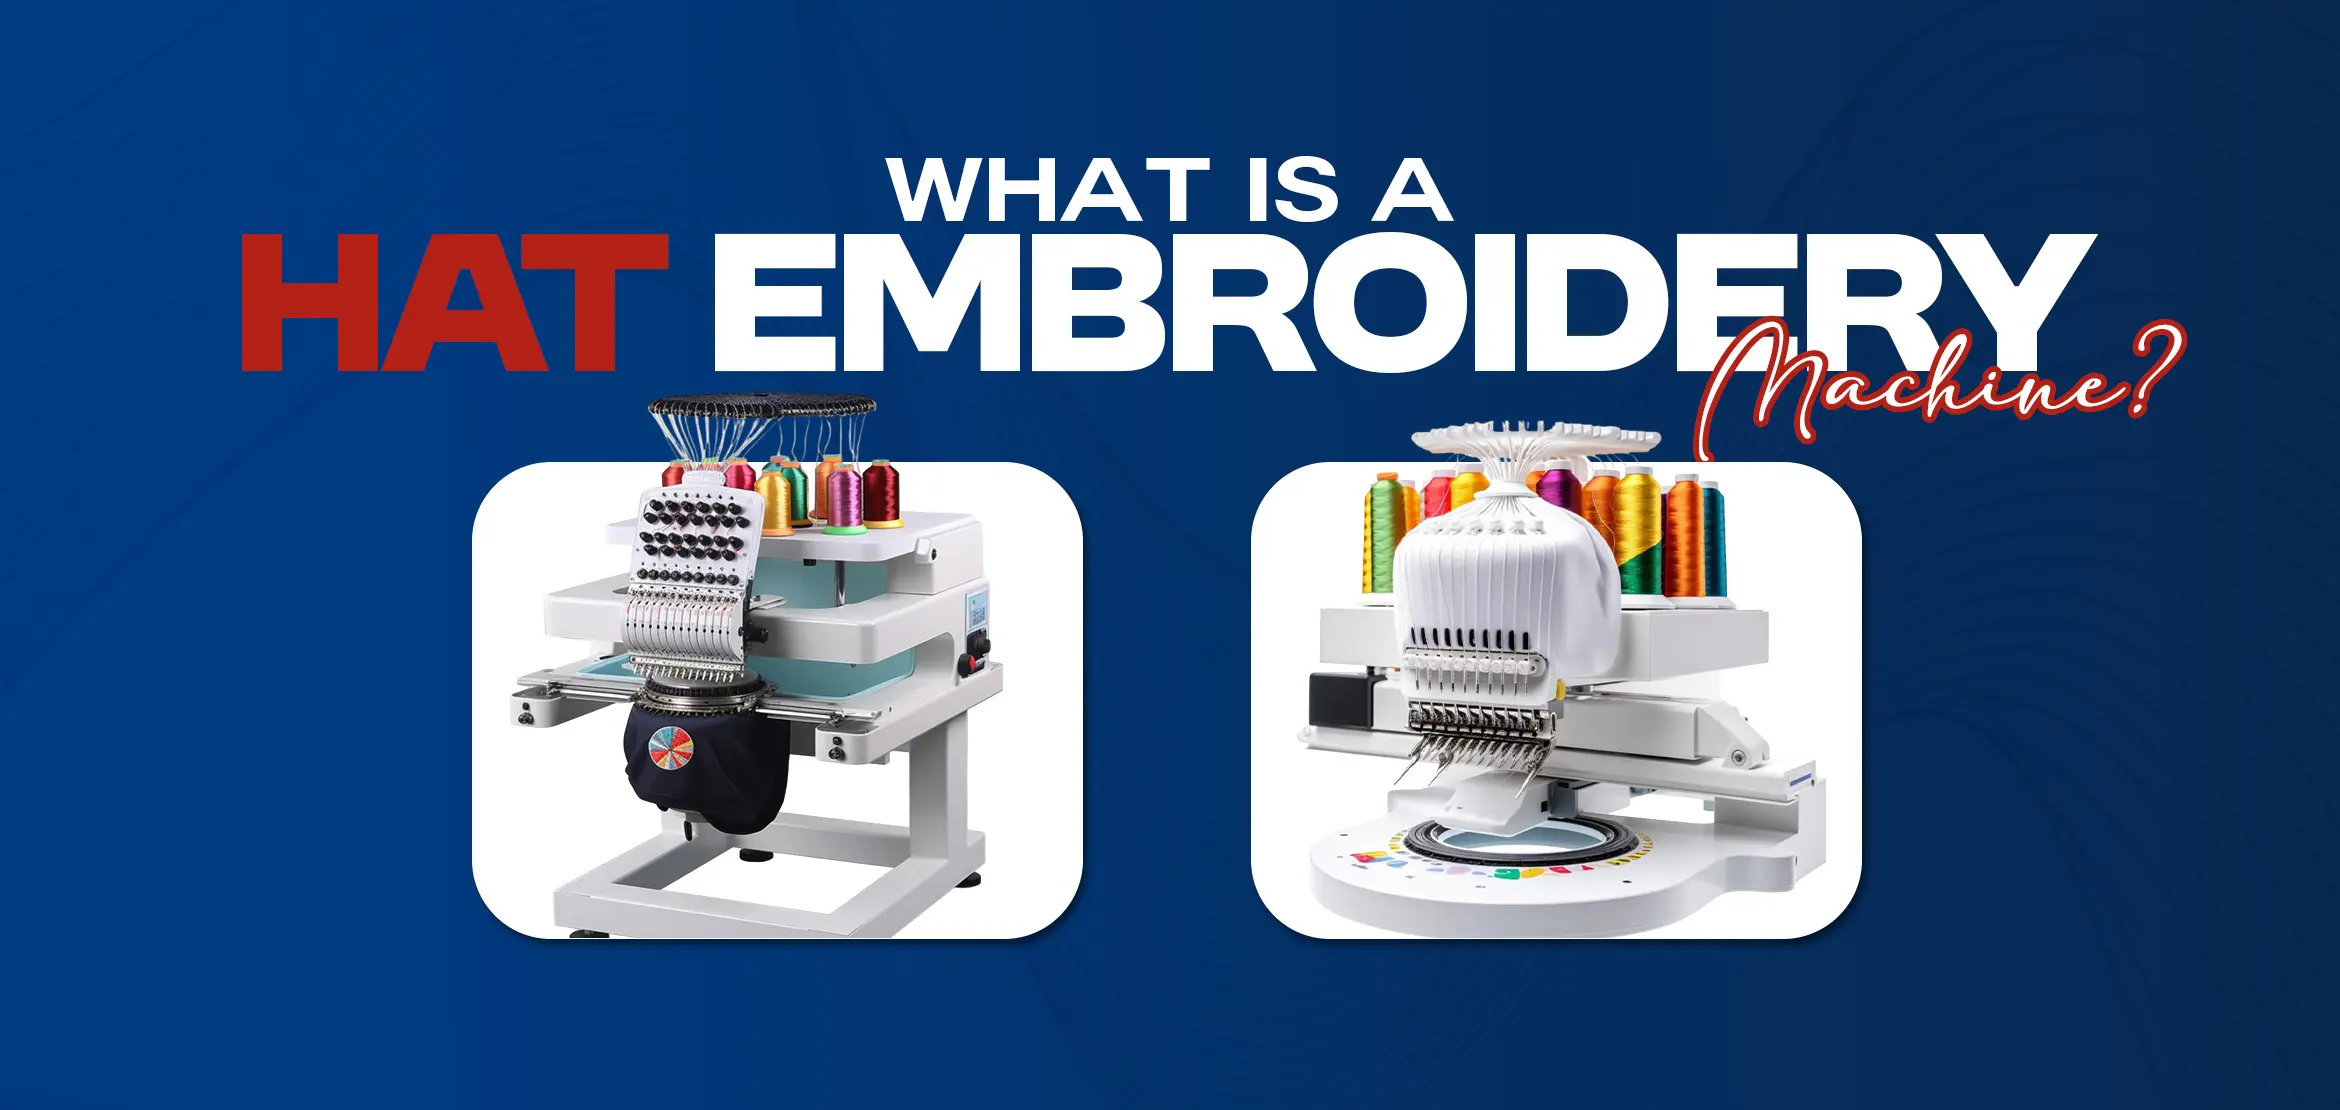
1- Misalignment in Design
.webp)
Problem
The embroidering design is not center aligned or is incorrectly placed.
Solution
Verify Hoop Alignment
To hoop up your hat, you need to position it correctly in the hoop. If using a hat hoop, hoop up your hat as snugly as possible; you do not want the hat to shift while you are embroidering it. Make sure you hoop an area that does not pucker or get bunched up.
Align the Design
Use the features of your embroidery machine's alignment. Most will preview so you see how the design will look on the fabric before sewing on the machine.
Adjust Design Size
If your design is larger or smaller than the area intended for the embroidery, you can try just making your design a few centimeters smaller. Most embroidery software will allow you to adjust dimensions without losing quality so that it fits better.
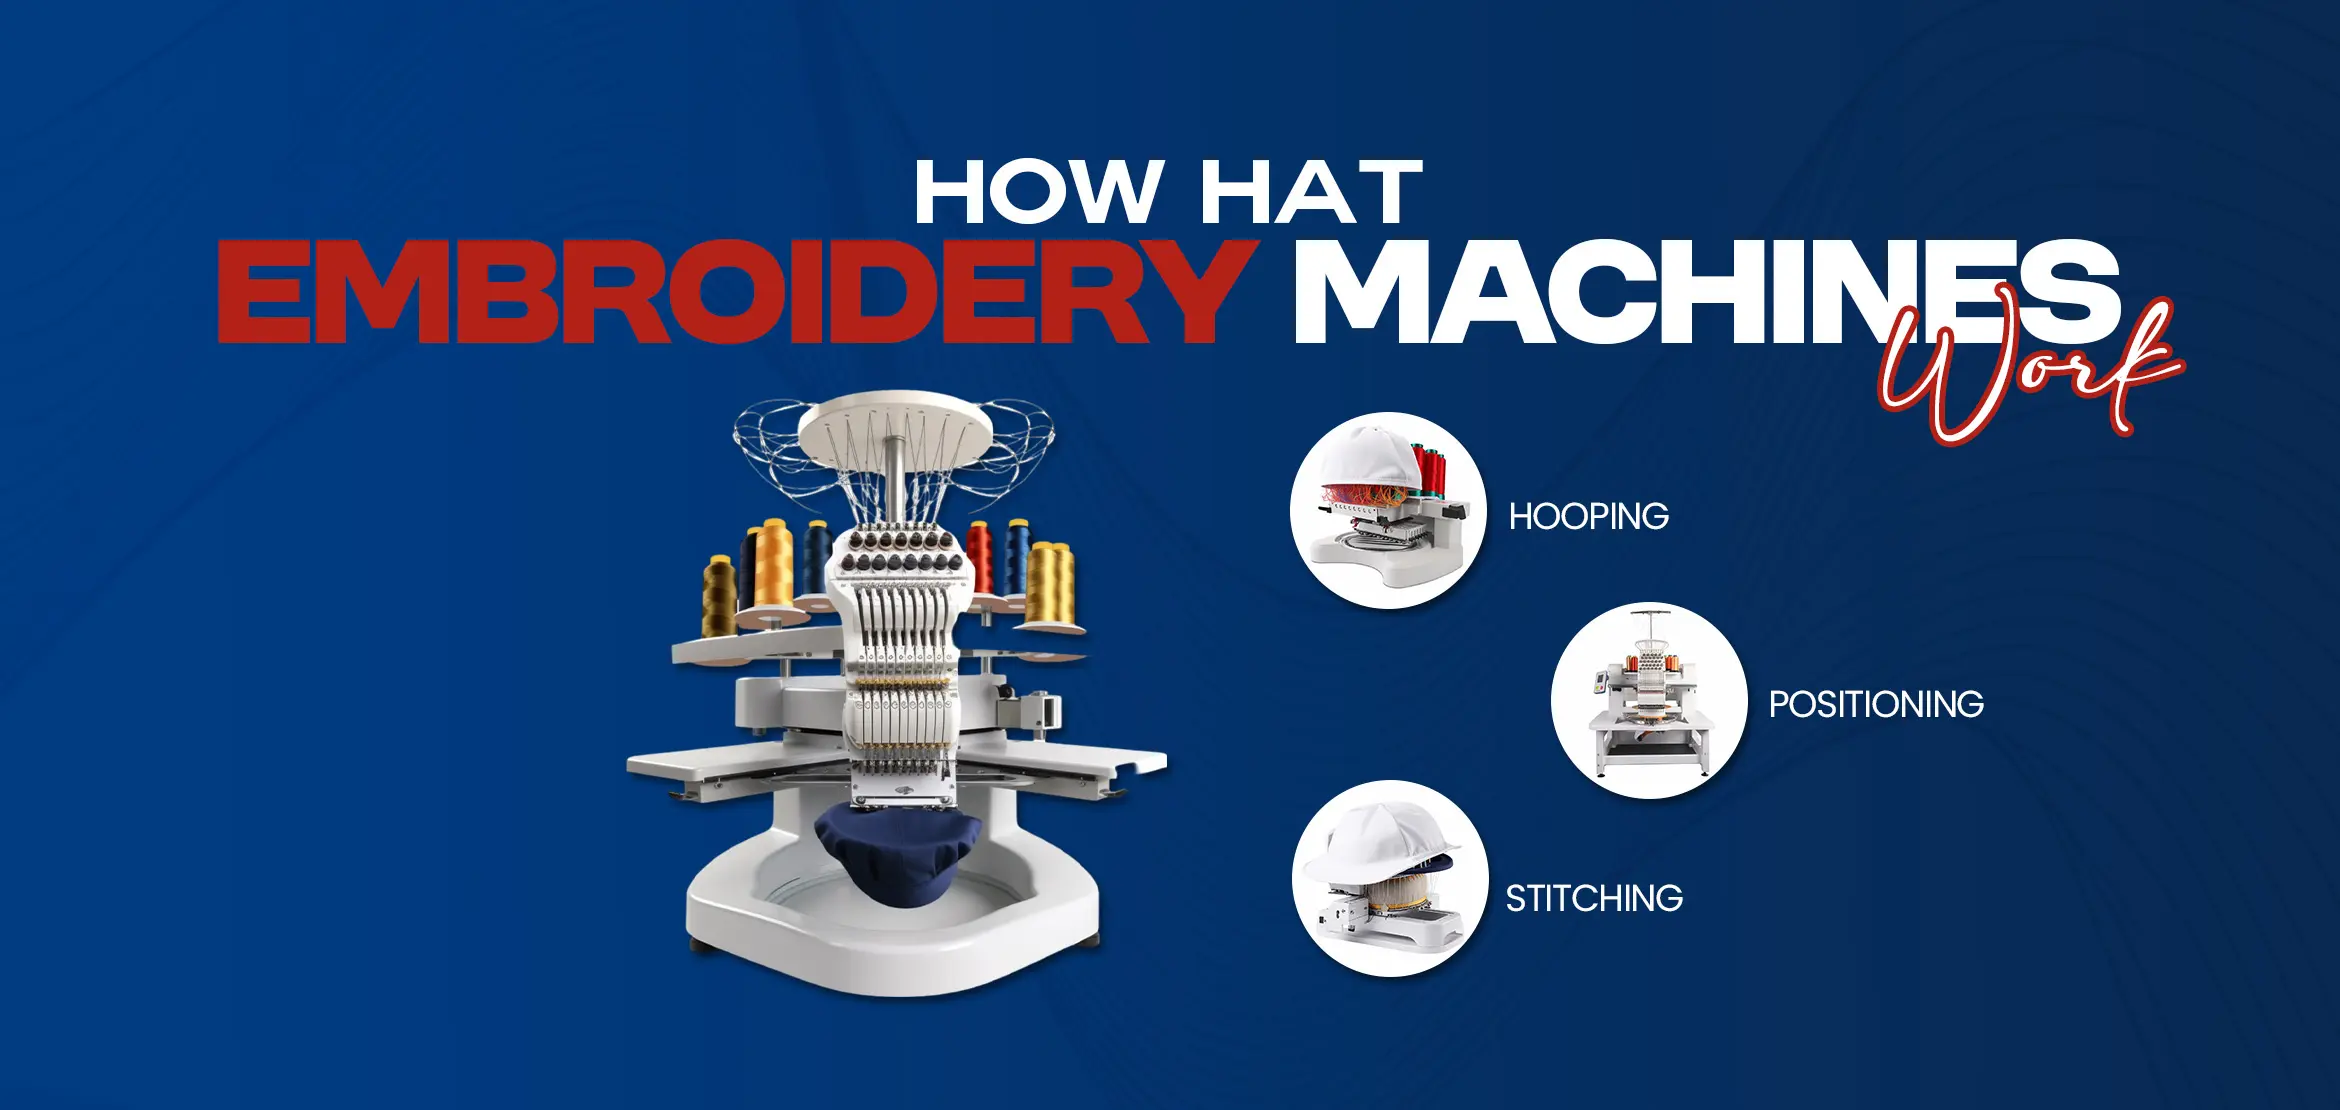
2- Thread Breakage
.webp)
Problem
The thread is continuously breaking during stitching.
Solution
Quality of Thread
Always use high-quality embroidery threads that are specifically designed for your machine. Poor-quality threads may fray much more easily and may break often.
Adjust Tension Settings
Set the bobbin thread and the upper threads properly. When the tension is too high, it may snap the thread. You start with the recommended tension setting of your machine to use this as a point of adjustment.
Clean the Machine
Threading can sometimes be caused by dust and lint. The machine should be frequently cleaned, paying attention to the area where the needles sit and the bobbin case.
You could use a small brush to remove debris that might be obstructing the thread.
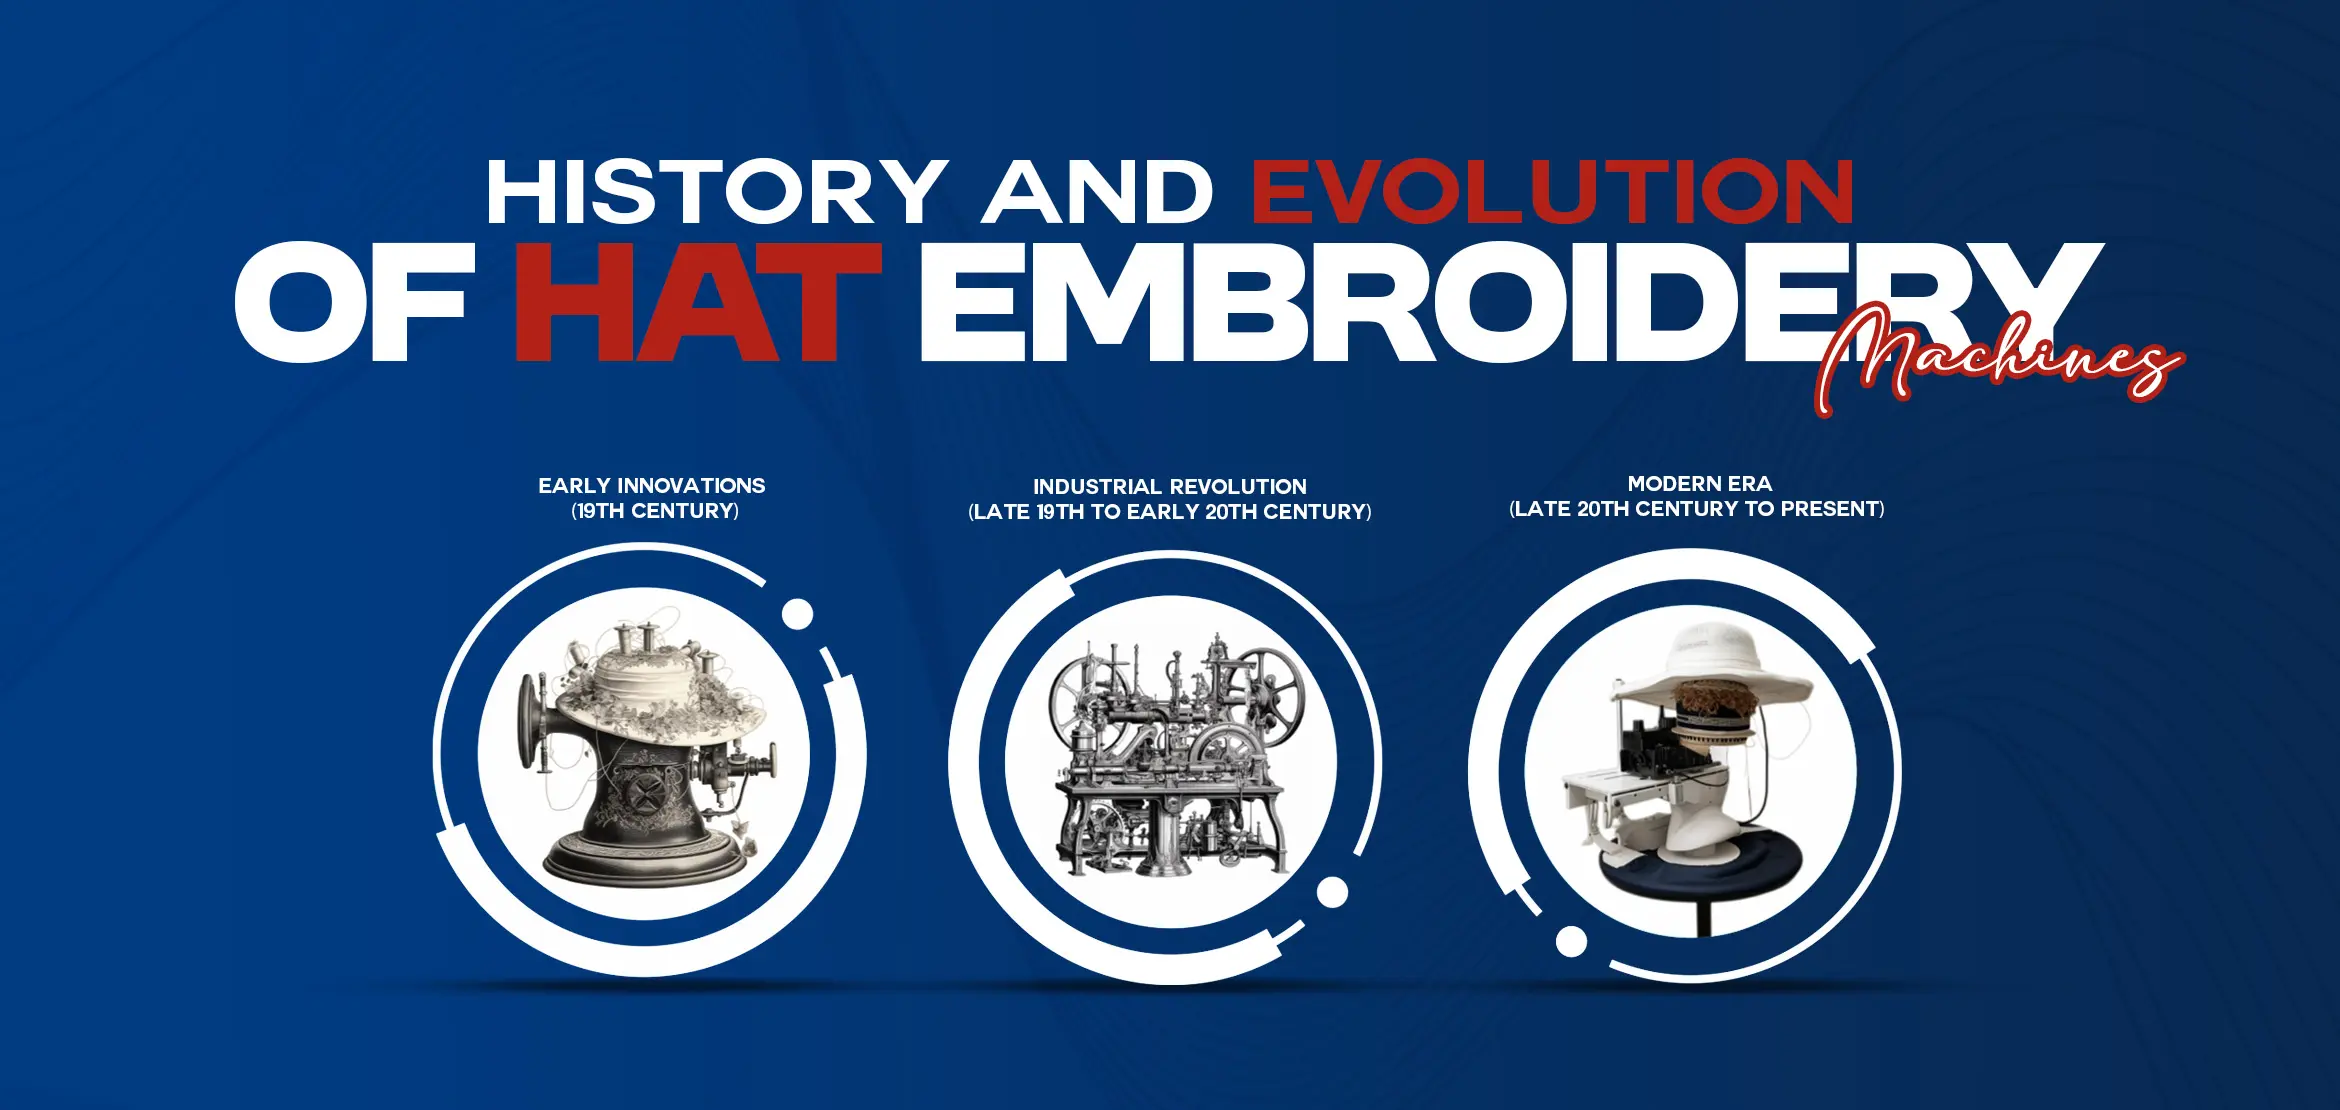
3- Fabric Puckering
.webp)
Problem
The background fabric of the embroidery is puckering or distorted.
Solution
Use the Right Stabilizer
In most cases, you should use a stabilizer that matches the kind of fabric or design you are working with. Tear-away and cut-away stabilizers tend to work well for hats. Attach securely so it does not shift around causing puckering.
Tension needs to be adjusted:
The upper tension is too tight, which might pull the fabric and possibly create puckering. The Tension setting is something that requires some playing and investigation of what actually works best for your project.
Determine the Right Needle
The right kind of needle will likely make all the difference. For wovens, a sharp needle is used. Make sure that the needles are always fresh and right for the weight of the fabric of your hat.
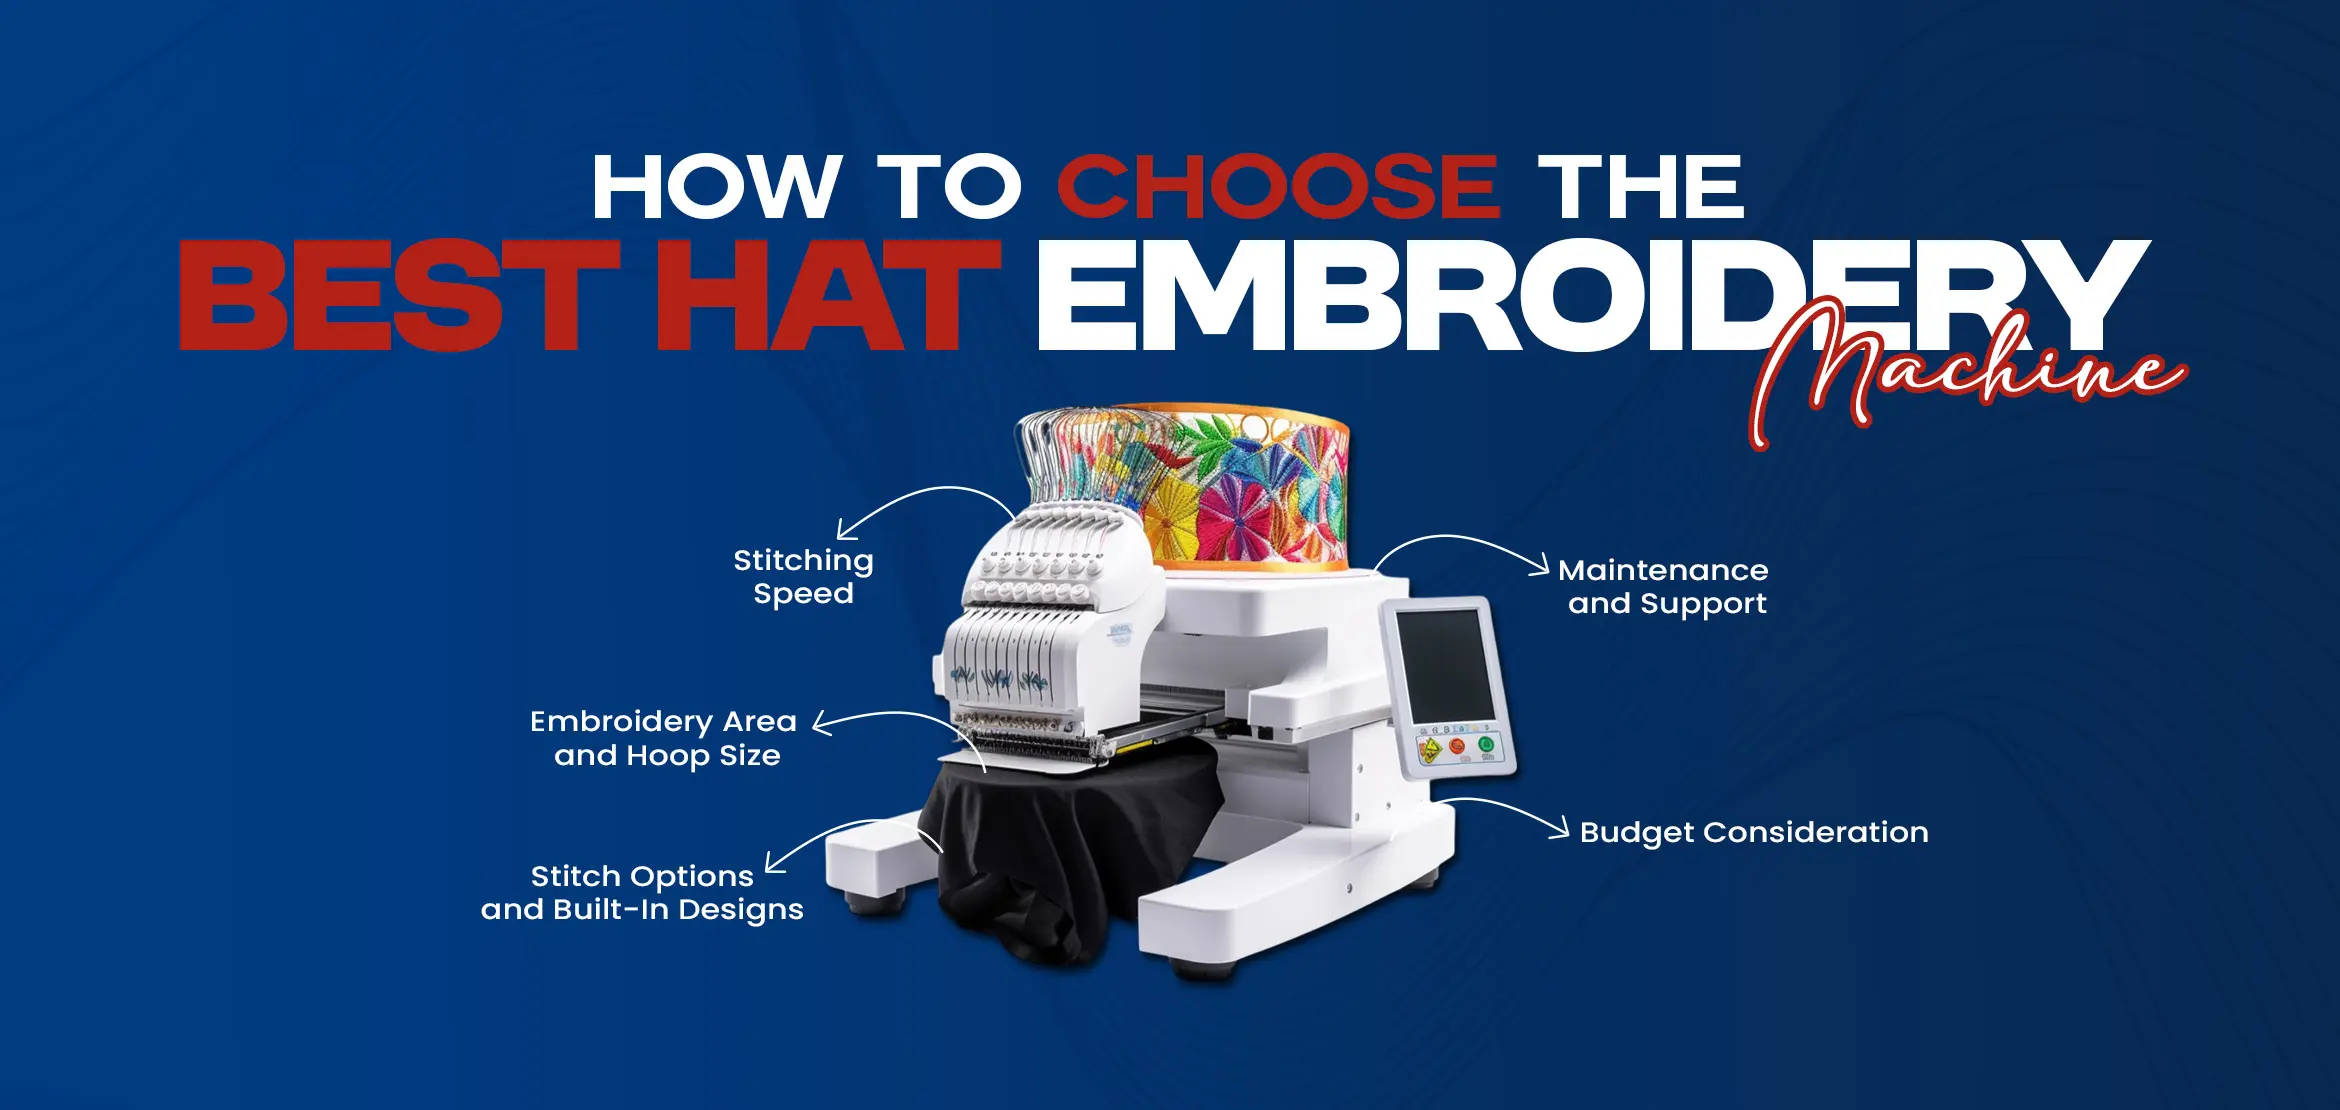
4- Needle Problems
.webp)
Problem
Irregular, possibly with skipped stitches.
Solution
It is suggested to change the needle because it is by far the number one cause of skipped stitches or irregular stitching. Replace your needle often-mostly when you are switching between fabrics and just after countless uses.
Check Needle Size
Ensure you are using the right needle size for your thread and fabric. You most likely would use a larger needle for thicker fabrics and a smaller needle with fine fabrics.
Use the appropriate kind of needle
You may find that different types of needles get in the way of the quality of stitches. Consider getting an embroidery needle-those needles are specifically designed for embroidery, suitable to take on the intricacies of a complex design.
5- Color Bleed
.webp)
Problem
Colors are bleeding or washing out after washing.
Solution
Pre-Wash Fabrics
Wash the hat fabric before starting the piece. This will remove chemical finishes and sizing. This will prevent dye migration while stitching.
Use Colorfast Threads
Use high-quality threads that are colorfast. That is to say, their colors won't run during the wash. Buy them according to the requirements specified in the product while purchasing your embroidery threads.
Test Wash
Pre-test the embroidery on a similar fabric before placing it onto the final product. This way, you can see how the color will hold up after washing; if not, you may have to adjust some of your threads or even techniques.
Final Words
As a matter of fact, embroidery on a hat can be very rewarding; these mundane problems will make the final product more polished if addressed. Troubleshooting these causes can enhance your skills in embroidery by creating perfect hats that look wonderful.
Remember that practice is key to perfection and that every challenge is a chance to improve. Happy stitching!
