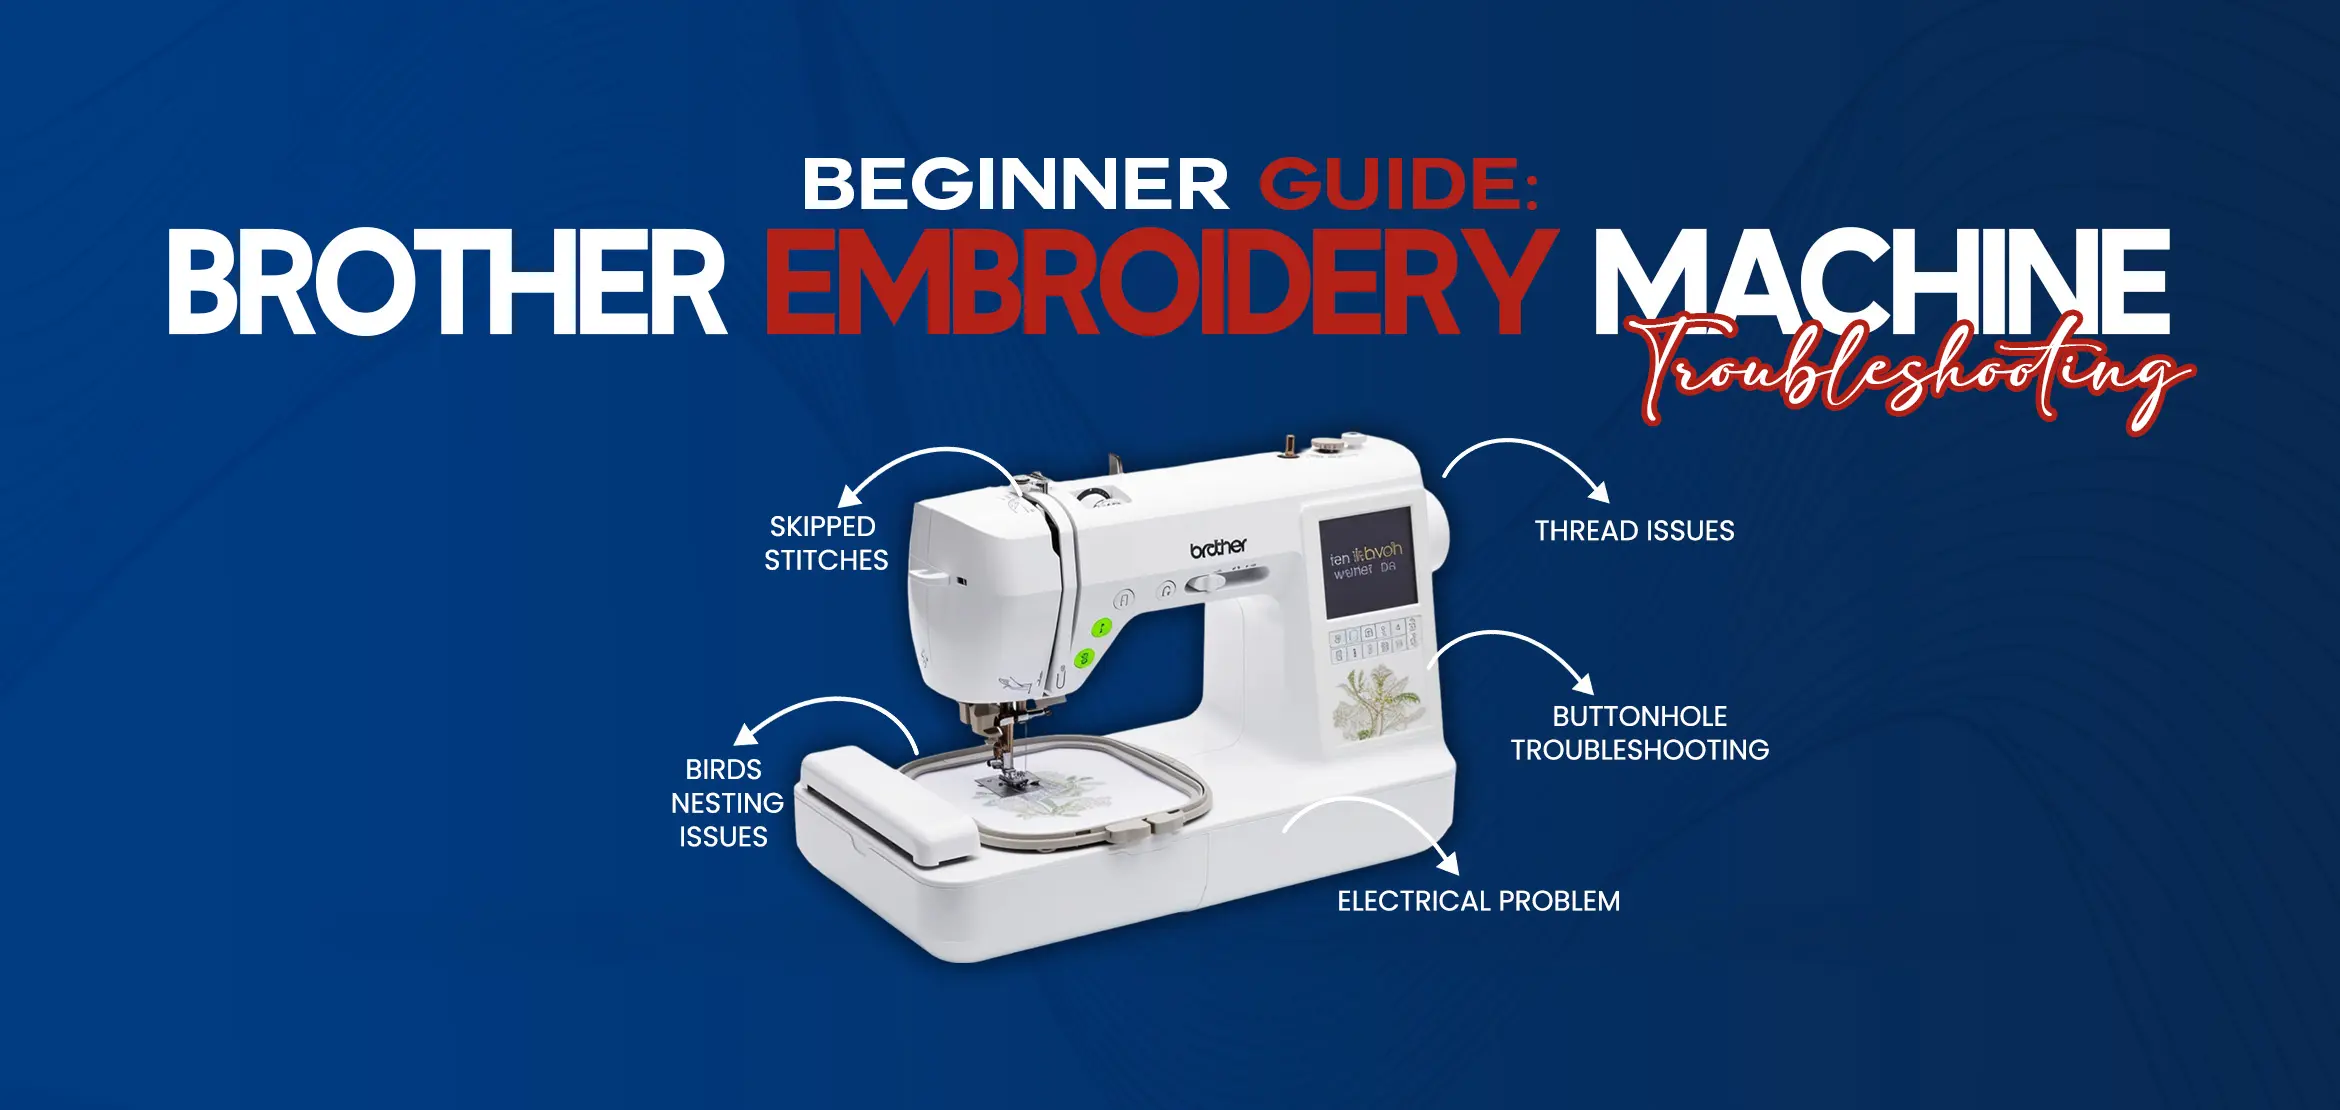
Brother PE770 Essentials: A User's Guide
Table Of Content
- Features of the Brother PE770
- Setting Up Your Brother PE770
- 1. Unpacking and Assembling Your Machine
- 2. Connecting to a Computer or Device
- 3. Loading Embroidery Cards and Threads
- 4. Threading the Needle
- 5. Setting Up the Embroidery Hoop
- 6. Choosing an Embroidery Design
- Using Your Brother PE770: Basic Steps Review
- Navigating the LCD Screen Menu
- Selecting Designs
- Stitching the Designs
- 1. Start the Machine and Select Settings (LCD Screen)
- 2. Load Design onto LCD Screen and Adjust Size/Position as Desired
- 3. Adjust Stitch Count, Thread Colors, Lettering Fonts, etc. as Desired
- 4. Begin Embroidering Process
- Conclusion
The Brother PE770 is an embroidery machine designed for both beginners and experienced users. With its wide range of features and capabilities, this machine allows users to create beautiful embroidery projects with ease. This user's guide will provide an overview of the essential features and functions of the Brother PE770, as well as tips and tricks for maximizing its potential.
Whether you are a hobbyist looking to create custom embroidery designs or a professional seeking an efficient and cost-effective embroidery solution, the Brother PE770 is a reliable choice. Let's explore the key features of this machine and how to make the most of its capabilities.
Features of the Brother PE770
The Brother PE770 embroidery machine is the perfect companion for any embroidery enthusiast. This versatile machine offers a wide range of features that make it a must-have for both beginners and experienced users.
One of the key features of the PE770 is its larger embroidery area. With a spacious 5 by 7-inch hoop, this machine allows you to create larger designs with intricate details. The expanded space gives you the freedom to let your creativity roam.
Another great feature of the PE770 is its colored touchscreen LCD screen. This makes it easy to navigate through the machine's many options and settings. Making it a breeze to select embroidery designs, choose thread colors, and make adjustments as needed.
The PE770 also comes with 136 built-in embroidery designs. From flowers to animals, there's a wide variety of patterns to choose from to suit any project or preference. Additionally, the machine includes 10 different frame shapes and 12 border styles. Allowing you to personalize and enhance your designs even further.
With its built-in USB port, you have the convenience of importing additional embroidery designs directly from your computer using a USB memory stick. This means that you have access to thousands of designs to expand your creative possibilities.
Setting Up Your Brother PE770
When you first bring home your Brother PE770 embroidery machine, setting it up correctly is crucial to ensure smooth operation and optimal results. Here is a step-by-step guide to help you get your machine up and running in no time.
1. Unpacking and Assembling Your Machine
2. Connecting to a Computer or Device
3. Loading Embroidery Cards and Threads
4. Threading the Needle
5. Setting Up the Embroidery Hoop
6. Choosing an Embroidery Design
7. Let's explain these steps briefly.
1. Unpacking and Assembling Your Machine
When you first bring home your Brother PE770 embroidery machine, the first step is to carefully unpack and assemble it correctly. Here is a step-by-step guide to help you with this process:
Unboxing: Start by carefully unpacking the box and removing all the packaging materials. Make sure to keep them in a safe place in case you need them in the future.
Identifying Components: Take a moment to familiarize yourself with the different components of the machine. This includes the main machine unit, the power cord, the foot pedal, and the embroidery hoop.
Connecting the Power Cord: Locate the power cord and connect one end to the designated power input on the machine. Plug the other end into a power source, making sure it is securely connected.
Attaching the Foot Pedal: The foot pedal allows you to control the speed of the machine. Locate the foot pedal and connect it to the machine using the designated foot pedal input. Make sure it is connected firmly.
Assembling the Embroidery Hoop: The embroidery hoop is used to hold the fabric in place during the embroidery process. Start by placing the inner and outer rings of the hoop together. Then, slide the hoop into the embroidery arm of the machine until it is securely in place. Tighten the screw to secure the hoop.
By following these steps, you will be able to unpack and assemble your Brother PE770 embroidery machine correctly. Remember to refer to the user manual for more detailed instructions and tips.
2. Connecting to a Computer or Device
Connecting the Brother PE770 embroidery machine to a computer or device is a simple process. With the built-in USB port, you can easily transfer embroidery designs and patterns to the machine. Follow these steps to connect your machine to a computer or device:
Locate the USB port: On the Brother PE770, the USB port is typically located on the side or front of the machine. It is labeled for easy identification.
Prepare the USB memory stick: If you have embroidery designs saved on a USB memory stick, insert it into the USB port of the machine. Ensure that the memory stick is compatible and has enough free space for the designs you want to transfer.
Connect to a computer: To connect the embroidery machine to a computer, use a USB cable. Plug one end of the cable into the USB port on the machine and the other end into the USB port on your computer.
Transfer embroidery designs: Once connected, your computer will recognize the embroidery machine as a storage device. Open the folder or program on your computer where the embroidery designs are located. Simply drag and drop the design files onto the embroidery machine's storage folder.
Disconnect the machine: After transferring the designs, safely eject or disconnect the embroidery machine from your computer or device. This will ensure that the files are properly saved and prevent any potential data loss.
Connecting the Brother PE770 to a computer or device through the USB port provides a convenient and efficient way to transfer embroidery designs. Whether you are using a USB memory stick or connecting directly to your computer, this feature allows you to easily access and embroider a wide range of designs on your Brother PE770 embroidery machine.
3. Loading Embroidery Cards and Threads
The Brother PE770 embroidery machine is equipped with a built-in embroidery card slot, providing access to a wide range of additional designs. This feature allows you to expand your embroidery possibilities beyond the 136 built-in embroidery designs.
To begin, locate the embroidery card slot on the machine. It is usually found on the side or front, clearly labeled for easy identification. Insert the Brother embroidery card into the slot, ensuring it is securely in place.
Next, turn on the machine and navigate to the LCD screen. From there, you can select your desired embroidery pattern using the easy-to-use menu. The LCD screen conveniently displays options such as embroidery design, border styles, frame shapes, and lettering fonts. Simply follow the on-screen instructions to browse through the available designs and select the one you want to embroider.
Once you have chosen a design, it's time to load the threads. The machine will automatically prompt you to change the thread color after each color sequence, ensuring a seamless and professional result. Use the automatic needle threading feature to effortlessly thread the embroidery needle.
4. Threading the Needle
Threading the needle on the Brother PE770 embroidery machine is a breeze thanks to its convenient automatic threading feature. This advanced system works quickly and effortlessly, making it easy to see the loop of thread being thrown through the needle eye.
To thread the needle automatically, start by raising the presser foot using the lever located on the back of the machine. This releases the tension in the upper thread, allowing it to flow smoothly.
Next, locate the automatic threading lever, usually found on the left side of the machine near the needle area. Simply pull down on the lever, and the machine will guide the thread through the eye of the needle. The automatic threading system ensures accurate placement of the thread, saving you time and frustration.
In addition to its user-friendly threading feature, the Brother PE770 also comes equipped with built-in ports for font cards and USB drives. This allows you to easily bring in downloaded or custom embroidery patterns, expanding your design options.
To achieve the best embroidery results, it is important to use high-quality, premium embroidery threads. The recommended bobbin thread weight for the Brother PE770 is typically between 60 and 90, although it may vary depending on the specific project.
5. Setting Up the Embroidery Hoop
The Brother PE770 embroidery machine comes with a standard embroidery hoop size of 5 x 7 inches. Allowing you to create beautiful designs within this stitching area. However, if you desire to work on larger designs, the machine is compatible with additional hoop sizes that can be purchased separately.
To set up the embroidery hoop, begin by selecting the appropriate size for your project. If using the included 5 x 7-inch hoop, ensure that you have cut your fabric and backing stabilizer to fit within these dimensions.
Place the stabilizer on the bottom part of the hoop and then lay your fabric over it, making sure to align any centerlines or marks with those on the hoop. This will help you achieve accurate embroidery placement.
Next, gently press the top hoop down over the fabric and stabilize, sandwiching them together. Make sure that the fabric is taut and smooth; you can adjust the tension using the tightening screw on the hoop.
Once the hoop is prepared, carefully attach it to the embroidery machine. The Brother PE770 has a hoop attachment area located at the bottom front of the machine. Slide the hoop into this attachment and ensure that it is securely in place.
Before beginning your embroidery project, take a moment to refine the design placement. Utilize the LCD screen on the machine to preview the design and make any necessary adjustments for perfect positioning.
6. Choosing an Embroidery Design
When it comes to choosing an embroidery design for the Brother PE770. The LCD screen is your go-to tool for exploring the wide range of options available. The machine comes with 136 built-in embroidery designs, divided into two groups, each with its own icon display key.
To begin, simply navigate through the LCD screen menu using the up and down arrow keys. This will allow you to access the different built-in embroidery pattern groups. Once you've selected a group, you can scroll through the various designs within that category.
You'll find an extensive selection of patterns, including florals, animals, decorative borders, and more. This wide range of options ensures that you'll be able to find the perfect design to embellish any sewing project.
Choosing an embroidery design for your Brother PE770 is made easy with the LCD screen and the wide range of built-in embroidery patterns. Get creative and add a unique touch to your sewing projects with these stunning designs.
Using Your Brother PE770: Basic Steps Review
The Brother PE770 is a user-friendly embroidery machine that allows you to easily add stunning designs to your projects. In this guide, we will take you through the basic steps of using this machine, from navigating the LCD screen menu to selecting and stitching your desired embroidery patterns.
Navigating the LCD Screen Menu
The first step in using your Brother PE770 is to navigate through the LCD screen menu. Simply use the up and down arrow keys to move through the different options. This menu system provides an easy way to access the various built-in embroidery pattern groups and other features of the machine.
Selecting Designs
Once you have selected a specific pattern group, you can scroll through the various designs within that category. The Brother PE770 offers an impressive selection of 136 built-in embroidery designs, including florals, animals, decorative borders, and more. This extensive range ensures that you will find the perfect design to enhance any sewing project.
Stitching the Designs
Once you have chosen your desired design, it's time to start stitching. Simply follow the machine's instructions for threading the needle and loading the appropriate bobbin thread. Then, position your fabric in the embroidery hoop and attach it securely to the machine. Using the LCD screen and the machine's buttons, you can adjust settings such as thread color, embroidery speed, and stitch density. The Brother PE770 also allows you to make modifications to the design, such as resizing or rotating it, using the screen editing features.
1. Start the Machine and Select Settings (LCD Screen)
To start using the Brother PE770 machine, first, power it on using the on/off switch. Once the machine is powered on, familiarize yourself with the backlit LCD screen. This 1.4" x 2.7" touch screen display provides a user-friendly interface for navigating the machine's settings.
To navigate the settings using the LCD screen, simply touch the graphical depiction of the desired option on the screen. For example, if you want to select a specific stitch count, touch the corresponding icon on the screen. The Brother PE770 offers a wide range of stitch counts, allowing you to customize your embroidery designs to suit your preferences.
In addition to stitch counts, you can also select from a variety of lettering fonts and thread colors using the LCD screen. The graphical depiction makes it easy to visually select your desired options, ensuring that you achieve the exact look you want for your embroidery projects.
2. Load Design onto LCD Screen and Adjust Size/Position as Desired
To load a design onto the LCD screen of the Brother PE770 embroidery machine and adjust its size and position, follow these steps:
Connect a USB drive with the desired design files to the built-in USB port of the machine. The USB port allows for easy and convenient transfer of designs.
On the LCD screen, navigate to the "Load Design" option by touching the corresponding icon with your finger. The backlit LCD screen provides a clear and easy-to-read display, ensuring comfortable use.
Once in the "Load Design" menu, scroll through the available design files on the USB drive. The graphical depiction on the LCD screen helps visualize the designs, making it easy to select the desired one.
After selecting the design, use the on-screen options to adjust its size and position. The LCD screen allows for precise customization, ensuring your embroidery project turns out exactly as you envision. Adjusting the size and position is as simple as touching the corresponding icons on the screen.
If you have multiple designs that look similar, it is recommended to organize them on separate USB drives. This can help avoid confusion due to the screen size and resolution, making it easier to choose the right design for your project.
With the Brother PE770 embroidery machine's LCD screen and easy-to-use interface, loading designs and adjusting their size and position is a breeze. Let your creativity soar as you bring your embroidery projects to life.
3. Adjust Stitch Count, Thread Colors, Lettering Fonts, etc. as Desired
To adjust stitch count, thread colors, lettering fonts, and more on the Brother PE770, use the stitch editing feature on the main LCD screen. This feature allows you to customize your embroidery designs to your desired specifications.
To access the stitch editing feature, navigate to the corresponding icon on the LCD screen. From there, you can select, move, delete, copy, paste, and split stitches. This gives you complete control over the design elements and allows you to make changes as needed.
In addition to editing stitches, you can also adjust the stitch count for each design. This feature allows you to increase or decrease the number of stitches depending on the style and detail you want to achieve.
To personalize your embroidery projects even further, the Brother PE770 offers a variety of thread colors and built-in embroidery fonts. You can choose from a wide range of thread colors to bring your designs to life and create eye-catching results. Furthermore, the built-in embroidery fonts allow you to add monograms or personalize your projects with custom lettering.
With the Brother PE770's stitch editing, stitch count adjustment, thread colors, and lettering fonts. You have the tools to create unique and professional-looking embroidery projects. Let your creativity soar with this versatile machine.
4. Begin Embroidering Process
The Brother PE770 makes beginning the embroidery process simple and straightforward. To start, you'll need to prepare your fabric and gather your desired thread colors. Ensure that your fabric is clean, pressed, and free of any wrinkles or distortions that could affect the embroidery.
Next, transfer your desired design onto the machine either by using the built-in USB port or by inserting a compatible embroidery card. Once the design is loaded onto the machine, you can use the LCD screen to adjust the design size, rotation, and placement.
Now it's time to prepare the fabric for embroidery. Place your fabric in the embroidery hoop, making sure it is taut but not stretched. Align the fabric so that the designated placement marks are centered in the hoop.
After attaching the hoop to the machine, you can begin the embroidery process. Start the machine and let it guide you through the stitching process. The machine will automatically stitch out the design, making color changes as specified in the design file.
With the Brother PE770, beginning the embroidery process is a breeze. Following these steps ensures that your fabric is prepared correctly, the design is transferred seamlessly. The fabric is properly placed in the hoop, and the machine stitches out the design accurately. Enjoy creating stunning embroidered designs with the Brother PE770!
Conclusion
The Brother PE770 embroidery machine is a top-of-the-line device that takes your embroidery projects to new heights. With its impressive design and manufacturing, this machine ensures high-quality graphics that will enhance any project.
In conclusion, the Brother PE770 is a must-have for any embroidery enthusiast. Its ability to produce high-quality graphics and simplify the embroidery process makes it an essential tool for creating beautiful and professional-looking designs. Whether you're a seasoned embroiderer or just starting out. The Brother PE770 will exceed your expectations and take your embroidery projects to the next level. Unlock your embroidery potential today with our advanced embroidery services!
Frequently Asked Questions (FAQs)
Q1. Can I use my own designs with the Brother PE770?
Yes, you can easily import additional designs into the machine through its built-in USB port and embroidery card slot. This allows you to add thousands of designs to your repertoire and gives you the flexibility to create unique and personalized embroidery projects.
Q2. What type of thread should I use with the Brother PE770?
It is recommended to use polyester thread with this embroidery machine, as it offers a wide range of thread colors and is known for its durability. Polyester thread is also available in different thread weights, allowing you to choose the appropriate thickness for your designs and achieve stunning results.
Q3. Can I use the Brother PE770 for other sewing projects?
While the Brother PE770 is primarily an embroidery-only machine, it is important to note that it can handle basic sewing tasks as well. However, for more complex sewing projects, it is recommended to use a dedicated sewing machine for optimal performance.
Q4. How do I clean and maintain the Brother PE770?
To keep your machine in optimal condition, use a cleaning brush to remove any dust or lint that may accumulate in the bobbin area and the embroidery throat plate. It is also advisable to periodically oil the machine according to the instructions in the user manual to ensure smooth operation.
Q5. Can I edit designs on the machine's LCD screen?
Yes, the LCD screen on the Brother PE770 allows for easy editing of designs. You can adjust the size, rotation, and placement of the design, as well as customize color changes and stitch types. This feature gives you complete control over your embroidery projects and allows for endless creativity.
