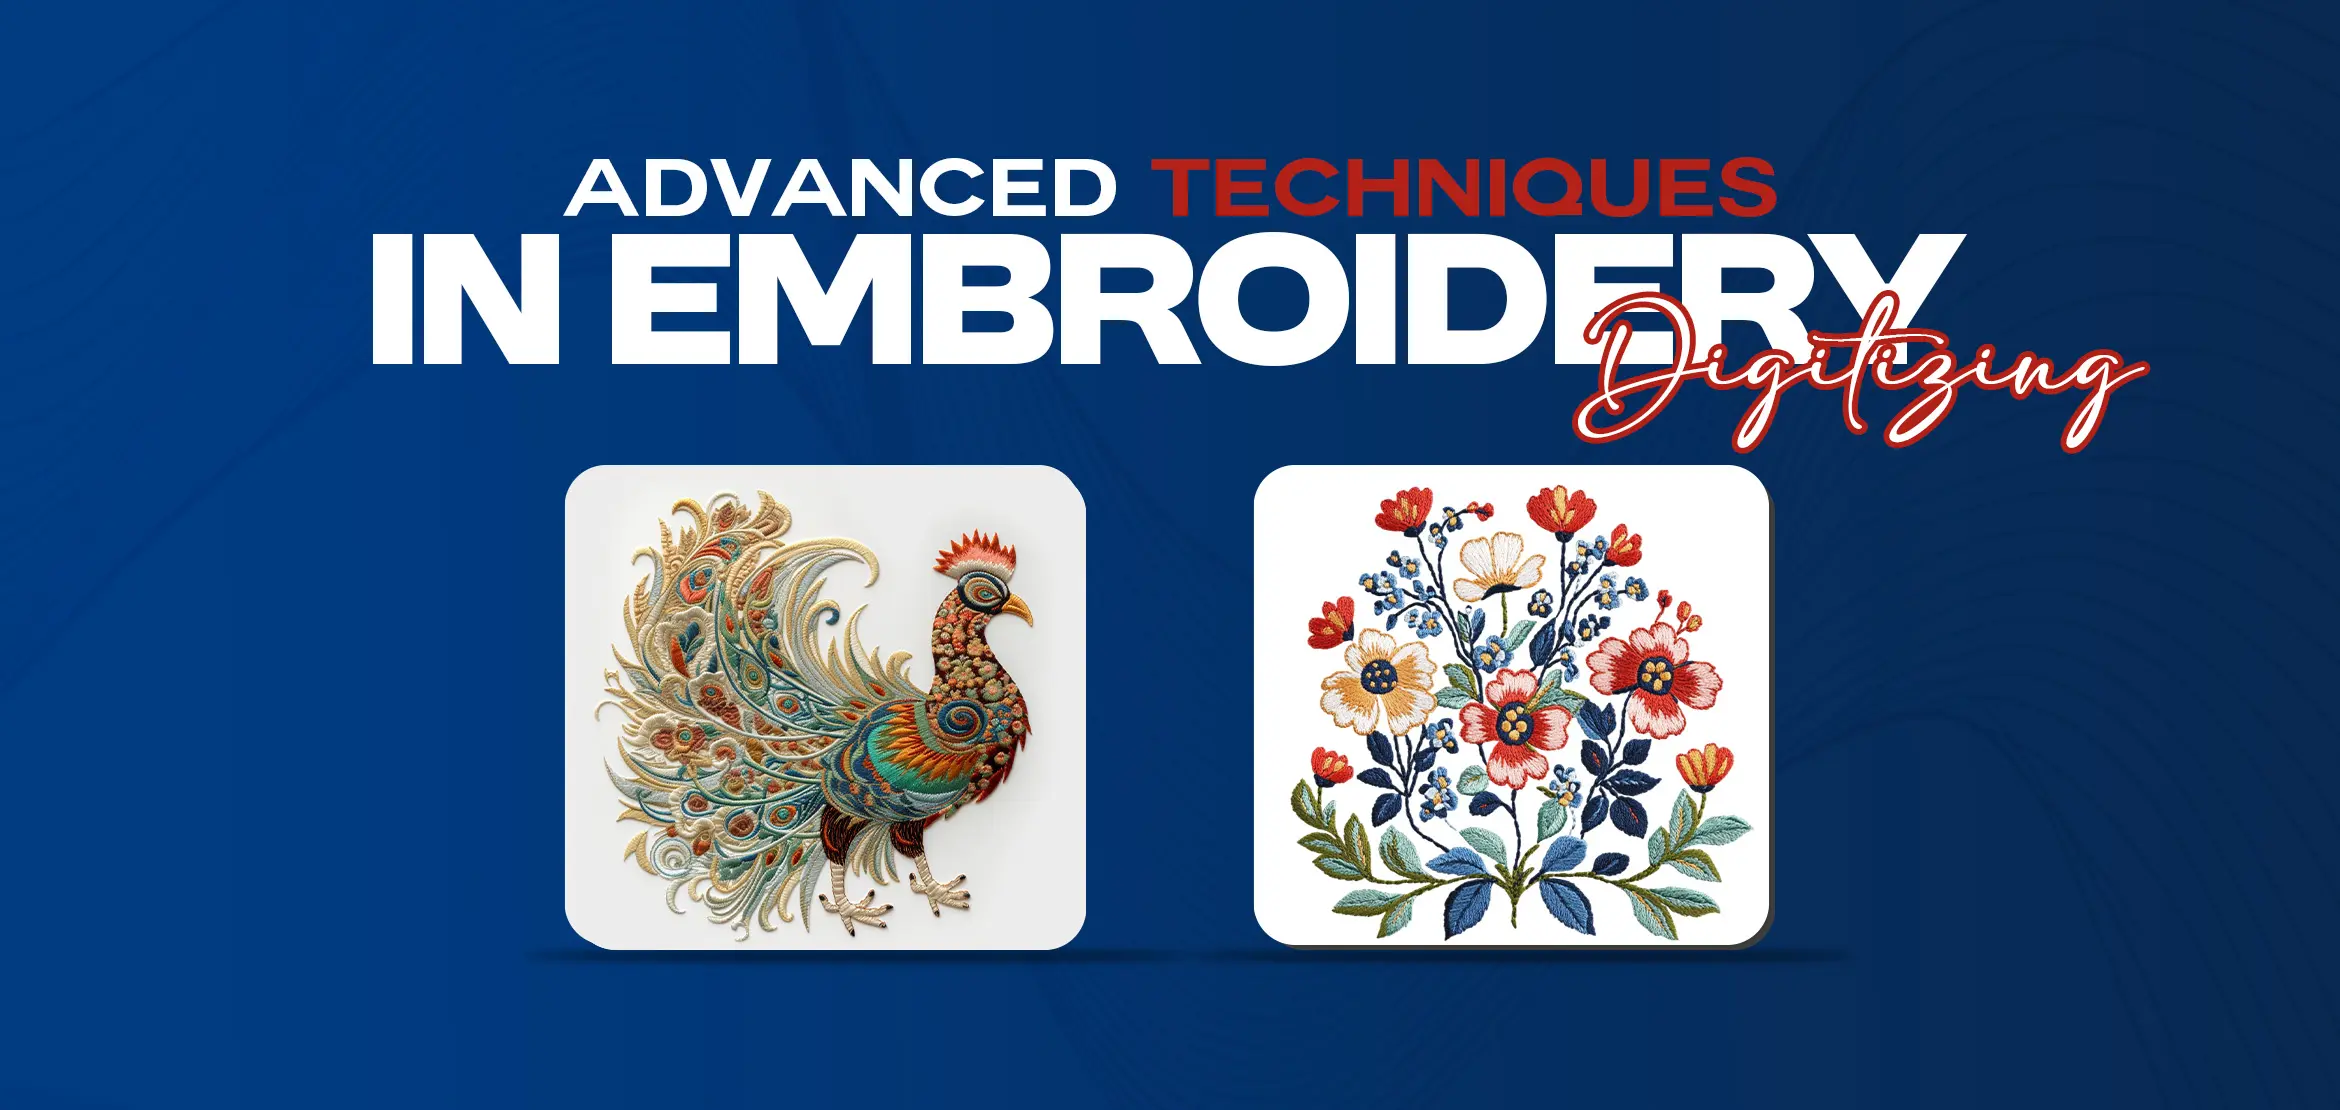
Advanced Techniques in Embroidery Digitizing
Table Of Content
- Creating 3D Embroidery Effects with Advanced Techniques in Digitizing
- Using stitch angles and densities to create the illusion of depth
- Layering and blending thread colors to add dimension to designs
- Experimenting with different stitch types to create texture and height variations
- Incorporating Specialty Threads in Embroidery Digitizing: A Comprehensive Guide
- Understanding the Properties of Metallic and Glow-in-the-Dark Threads
- Adjusting Digitizing Settings for Specialty Threads
- Incorporating Specialty Threads Creatively
- Applying Texture and Gradients in Advanced Embroidery Digitizing Techniques
- Using Fill Stitches and Gradient Tools
- 2:Adjust stitch lengths and densities to create texture that enhances the design.
- Maximizing the Use of Advanced Digitizing Tools for Intricate Designs
- Understanding the capabilities of advanced digitizing tools
- Using custom stitch settings
- Combining digitizing tools
- Achieving High-Quality Results in Embroidery Digitizing with Advanced Techniques
- Utilizing proper digitizing techniques
- Creating detailed design plans
- Testing designs on various fabrics
- Tips and Tricks in Embroidery Digitizing to Enhance Your Skills as an Embroidery Designer
- Master the Basics
- Familiarize Yourself with the Software
- Practice, Practice, Practice
- Stay Up to Date on Trends
- Experiment with Different Fabrics
- Don't Be Afraid to Edit
- Advanced Embroidery Digitizing Concepts and Techniques for Expert Level Designers
- Accounting for Fabric Stretches and Distortions
- Layering and Interlocking Fill Stitches
- Digitizing Underlay and Pull Compensation Techniques
- Conclusion
Embroidery design digitizing has come a long way since its inception, thanks to advancements in technology and software. With the right set of advanced techniques, those that go beyond the basics, you can take your embroidery designs to new heights. You can achieve intricate designs with high-quality results by incorporating specialty threads, creating 3D embroidery effects, applying texture and gradients, and utilizing advanced digitizing tools to digitize embroidery designs. This blog post will explore these advanced embroidery digitizing techniques and concepts, offering expert guidance for enhancing your embroidery design skills.
Creating 3D Embroidery Effects with Advanced Techniques in Digitizing
With advanced techniques in digitizing, designers can create stunning 3D embroidery effects that add depth and dimension to designs. Here are some techniques to achieve 3D embroidery effects:
Using stitch angles and densities to create the illusion of depth
By adjusting the stitch angles and densities, designers can create a visual illusion of depth. Stitches with closer proximity will appear in front of stitches with further proximity creating a 3D effect when doing embroidery design digitizing.
Layering and blending thread colors to add dimension to designs
Layering and blending different thread colors on top of each other in various densities and angles can create stunning effects. For instance, two opposite colors can be blended to merge, creating a gradient slowly. This technique adds dimension and interest to embroidery designs.
Experimenting with different stitch types to create texture and height variations
Designers can experiment with various stitch types, such as satin, fill, and run stitches, to achieve texture and height variations that add life to embroidery designs when performing digitizing for embroidery.
By combining these techniques, designers can create embroidery designs with remarkable 3D effects that are sure to impress.
Incorporating Specialty Threads in Embroidery Digitizing: A Comprehensive Guide
Specialty threads, such as metallic and glow-in-the-dark, can add a unique and eye-catching element to your embroidery designs. However, it's important to understand the properties of these threads to incorporate them into your digitizing successfully. Here's a comprehensive guide on how to use specialty threads in your embroidery digitizing:
Understanding the Properties of Metallic and Glow-in-the-Dark Threads
Metallic threads are made of synthetic material and contain a thin, reflective metal layer. These threads are great for adding shine and sparkle to your designs. Glow-in-the-dark threads, on the other hand, are made of a phosphorescent material and require exposure to light before they can glow in the dark. It's important to note that metallic and glow-in-the-dark threads can be more difficult to work with due to their delicate nature.
Adjusting Digitizing Settings for Specialty Threads
It's important to adjust your settings to optimize for these threads when digitizing designs that include specialty threads. For example, you may need to reduce the stitch density or increase the stitch length to accommodate the thicker metallic thread. Testing your settings on scrap fabric before embroidering your final design is important to ensure optimal results.
Incorporating Specialty Threads Creatively
Specialty threads can be used creatively to add visual interest to your designs. For example, the metallic thread can highlight specific elements in a design or create a unique texture. Glow-in-the-dark thread can be used for designs like starry night scenes or Halloween-themed projects.
Experiment with incorporating specialty threads creatively to enhance your embroidery designs and take your digitizing skills to the next level.
Applying Texture and Gradients in Advanced Embroidery Digitizing Techniques
Creating a visually captivating embroidery design requires using texture and gradients effectively. Here are some techniques to help you achieve this:
Using Fill Stitches and Gradient Tools
Fill stitches can create color transitions and gradients in embroidery designs. Gradient tools in embroidery digitizing software can help you create smooth transitions between colors.
1:Experiment with different stitch types to create surface texture
2:Adjust stitch lengths and densities to create texture that enhances the design.
3: Combine texture and gradients to create depth and dimension in the embroidery design.
Creating Surface Texture with Stitches
Different stitch lengths and densities can add surface texture to your embroidery design. You can create a design that pops and catches the eye by experimenting with different stitch settings.
1: Try using short stitches to create the illusion of fine details.
2:Create texture by alternating stitch length and density to create a 3D effect.
3: Use layering and blending thread colors to add dimension to designs.
By applying different levels of texture, you can create embroidery designs that appear more lifelike and help to draw the viewer's eye.
Maximizing the Use of Advanced Digitizing Tools for Intricate Designs
When it comes to creating intricate designs in embroidery digitizing, utilizing advanced digitizing tools is essential for achieving precise and accurate results. Here are some ways to maximize the use of these tools:
Understanding the capabilities of advanced digitizing tools
Before starting the digitizing process, it's important to fully understand the capabilities of advanced digitizing tools such as auto-digitizing and image tracing. These tools help speed the digitizing process and provide accurate stitch placement for more complicated designs.
Using custom stitch settings
Custom stitch settings can help achieve precise placement, especially for intricate designs with small details. Adjusting stitch length, density, and angle ensures each stitch is optimized for the design.
Combining digitizing tools
Combining digitizing tools can help create complex designs efficiently and with high accuracy. For example, combining auto-digitizing and image tracing can help create a base for a design before manually adding more intricate details.
By maximizing the use of advanced digitizing tools, you can easily create high-quality and detailed embroidery designs.
Achieving High-Quality Results in Embroidery Digitizing with Advanced Techniques
Embroidery digitizing is a delicate process that requires precision and attention to detail. With advanced techniques, you can ensure that your embroidery designs are visually appealing but also durable and long-lasting. Here are some tips to help you achieve high-quality results in embroidery digitizing:
Utilizing proper digitizing techniques
Proper digitizing techniques are essential for creating clear and crisp embroidery designs. It is crucial to understand the stitch type, length, density, and fabric you are working with to achieve high-quality results. Using the right digitizing techniques helps optimize results and prevents errors in embroidery designs.
Creating detailed design plans
Before digitizing, create a detailed design plan to ensure you understand the design requirements thoroughly. This will help you avoid mistakes and optimize the design for the best results. By planning, you can minimize errors and optimize the results for the fabric you work with.
Testing designs on various fabrics
Not all fabrics are the same, and different fabrics require different digitizing settings. Testing designs on various fabrics will help you optimize your digitizing settings for the best results. This will ensure your embroidery designs look clear and crisp on all fabric types.
Utilizing these advanced techniques ensures that your embroidery designs are high quality and visually appealing. Always continue practicing and experimenting with digitizing techniques to improve your skills and expand your creativity.
Tips and Tricks in Embroidery Digitizing to Enhance Your Skills as an Embroidery Designer
Embroidery digitizing can be a challenging process, but mastering the following tips and tricks will help you enhance your skills as an embroidery designer:
Master the Basics
Before moving on to advanced techniques, it's important to have a strong foundation in the basics of digitizing. Ensure you understand stitch types, densities, angles, and the different types of embroidery machines and their capabilities.
Familiarize Yourself with the Software
Embroidery software is a powerful tool for digitizing but can also be overwhelming. Take the time to familiarize yourself with the software and its features. Experiment with each function; feel free to ask for help or consult online tutorials.
Practice, Practice, Practice
Practice is key to improving your skills in embroidery digitizing. Set aside time each week to practice digitizing techniques and experiment with different stitch types, densities, and angles. The more you practice, the more comfortable you will become with digitizing.
Stay Up to Date on Trends
As an embroidery designer, it's important to stay up to date on trends in the industry. Follow other embroidery designers' blogs and social media accounts, attend trade shows and conferences, and keep an eye on what your competitors are doing.
Experiment with Different Fabrics
Embroidery looks different on different fabrics, so it's important to experiment with various fabrics to see how your designs will look in real life. Test designs on different fabric types, including cotton, polyester, and silk, and adjust your digitizing settings accordingly.
Don't Be Afraid to Edit
Editing is a critical part of the digitizing process. Feel free to go back and make adjustments to your designs. Use the software's editing tools to adjust stitch types, densities, and angles until you achieve the desired result.
By following these tips and tricks, you can enhance your skills as an embroidery designer and create high-quality, professional designs.
Advanced Embroidery Digitizing Concepts and Techniques for Expert Level Designers
Becoming an expert-level embroidery digitizer requires a deep understanding of the basic techniques and more advanced concepts and techniques that can elevate your designs to the next level. Here are some advanced embroidery digitizing concepts and techniques:
Accounting for Fabric Stretches and Distortions
When digitizing a design, it's essential to account for the different fabric stretches and distortions during embroidery. Expert-level digitizers consider this aspect of embroidery and adjust their design accordingly. You can use techniques such as adding more stitches in areas where the fabric tends to stretch, using pull compensation settings, or using different density levels in different parts of the design.
Layering and Interlocking Fill Stitches
Layering and interlocking fill stitches can achieve optimal embroidery density and stability, essential for producing high-quality embroidery. This technique involves layering one fill stitch over another or interlocking fill stitches to overlap slightly to create an even and secure surface.
Digitizing Underlay and Pull Compensation Techniques
Expert-level digitizers use underlay and pull compensation techniques to ensure that their designs are crisp and accurate. Underlay involves adding an initial layer of stitches to support the design and prevent puckering. Pull compensation refers to adding additional stitches around the edges of a design to compensate for the fabric's natural tendency to pull inward during embroidery. Combining these techniques allows you to achieve a crisp and accurate design, even on delicate fabrics.
By mastering these advanced techniques, you can take your embroidery digitizing skills to the next level and create intricate, detailed designs that stand out. Remember, perfecting these skills takes practice and experimentation, so don't be afraid to try new things and push the boundaries of your creativity even if you are an embroider looking for affordable digitizing firm or want same day embroidery digitizing.
Conclusion
Digitizing Embroidery or logo digitizing service is an art form that requires both creativity and technical skill. By mastering advanced techniques, you can take your designs to the next level and create embroidery that truly stands out. 3D embroidery effects, incorporating specialty threads, applying texture and gradients, and utilizing advanced digitizing tools are just some ways you can enhance your skillset as an embroidery designer. Always test your designs on different fabrics, familiarize yourself with embroidery software, and continuously practice and experiment with digitizing techniques to improve your skills. Embroidery digitizing may take time and effort, but the results are always worth it.
