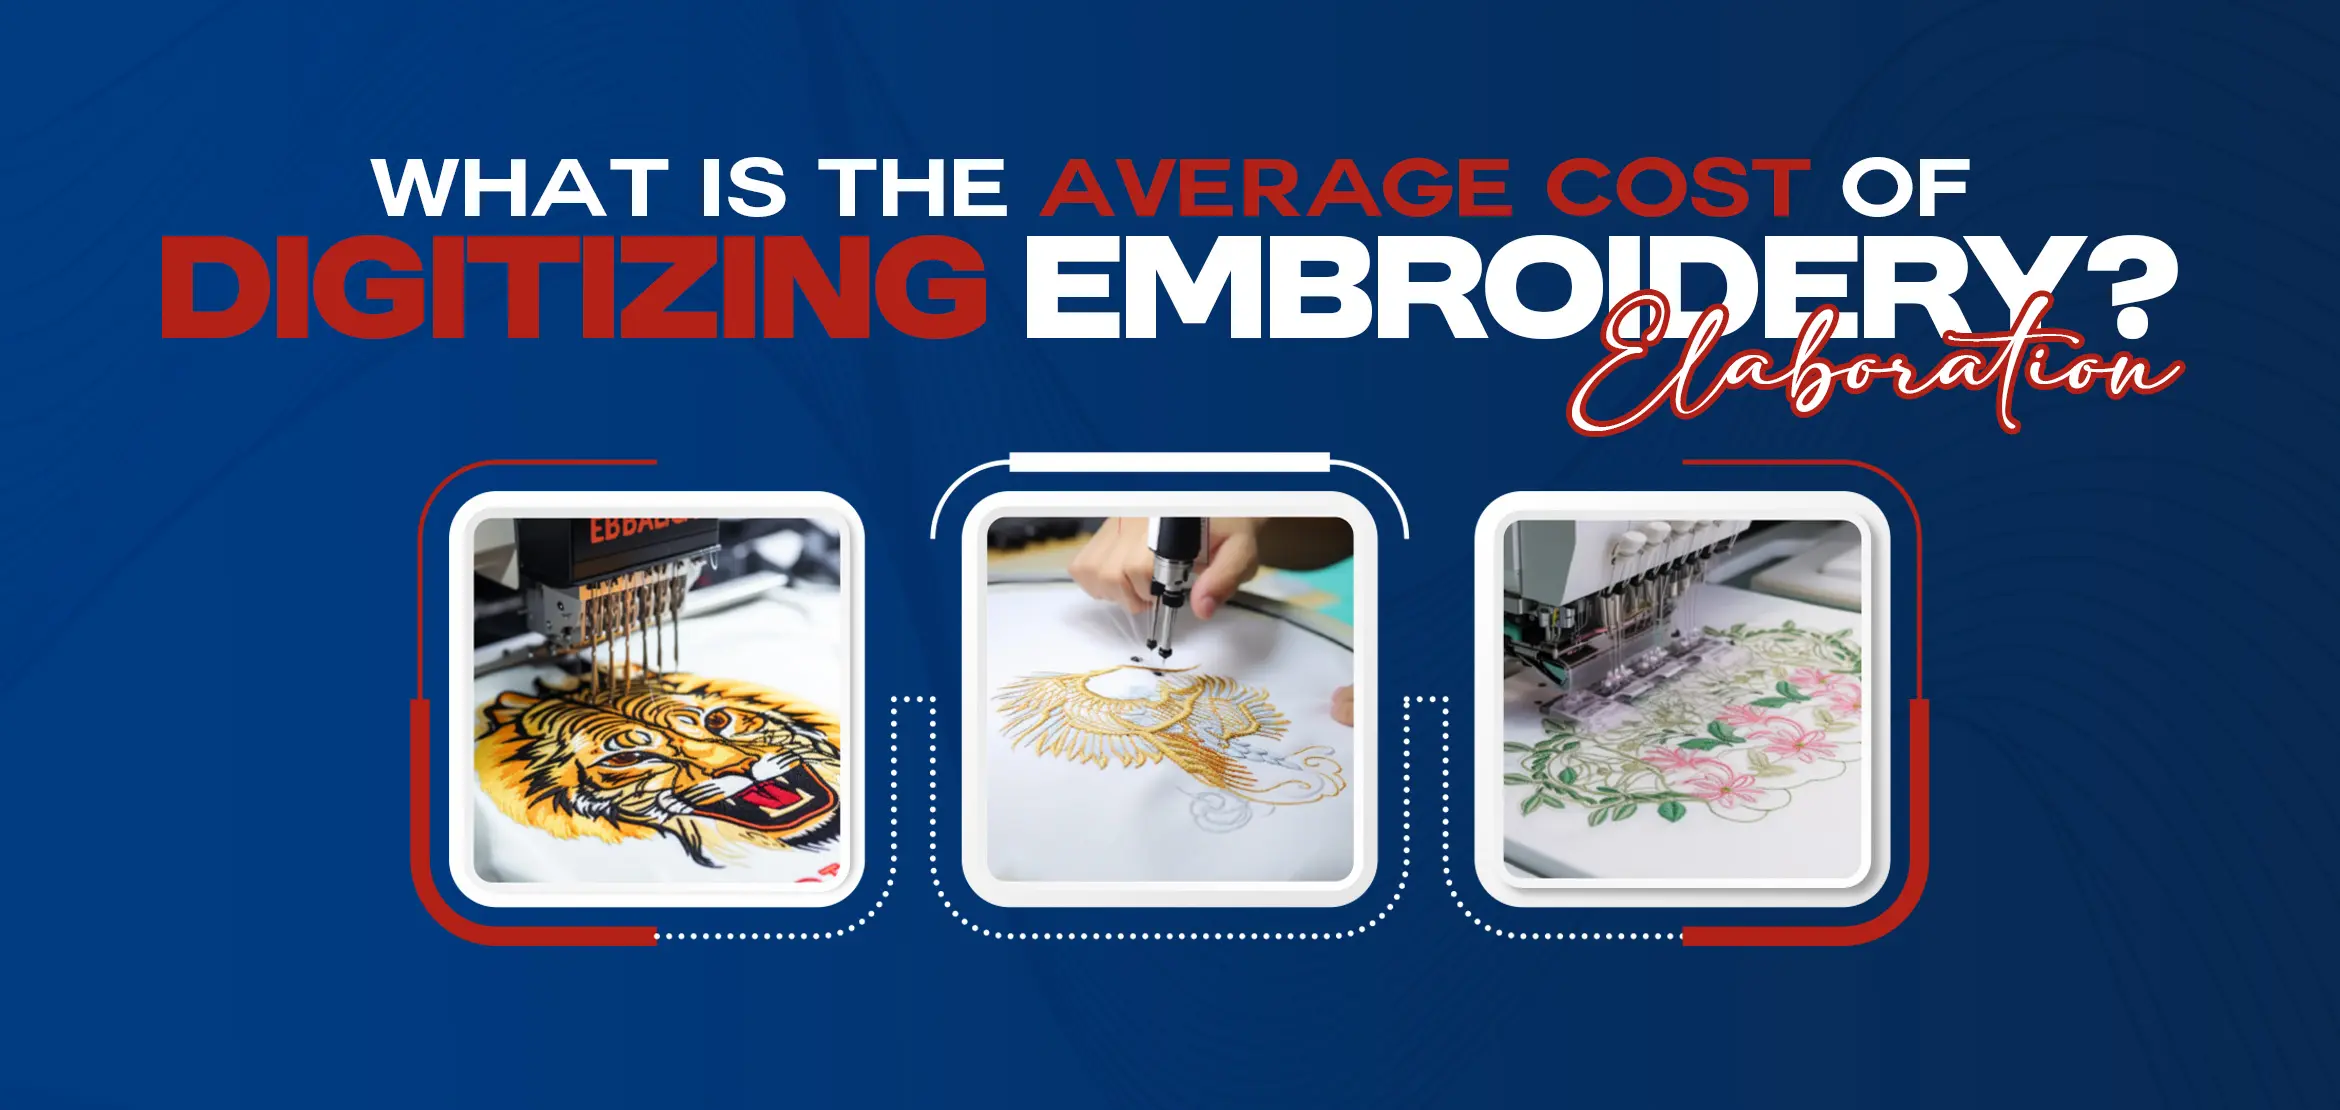
FACTS AND FIGURES ABOUT EMBROIDERY DIGITIZING
Embroidery digitizing may sound technical, but it’s at the heart of every custom embroidered logo, patch, or customized digitized design you see on apparel today. This behind-the-scenes step transforms your artwork into a stitchable format for machines. Here's a friendly guide to the key facts and figures shaping the embroidery digitizing world, providing insight into why digitizing matters, how quickly it happens, the tools people use, and which designs are most common. Whether you're exploring embroidery for the first time or thinking about investing in it, this guide clarifies basic concepts. Let’s check it out.
Table Of Content
- What Is Embroidery Digitizing? Key Facts You Should Know
- Why Embroidery Digitizing Matters in Today’s Market?
- Key Statistics About the Embroidery Digitizing Industry
- How Popular Is Machine Embroidery Digitizing?
- Average Turnaround Time for a Digitized File
- Software Adoption Rates in Embroidery Digitizing
- Most Commonly Digitized Designs: Logos, Hats, Shirts, and More
- Conclusion: What These Facts and Figures Mean for You
Embroidery digitizing is the process of converting artwork into a digital file that an embroidery machine can read and stitch. This is more than just scanning an image. Digitizing involves tracing the design with specific stitch types, paths, and instructions so the machine knows how to sew it. The result is a file format like DST, PES, EXP, or JEF, tailored to different machines. Creating these files requires skill in choosing stitch types (satin, fill, run), understanding thread tension, and considering fabric and design size. A poor digitized file can lead to misaligned stitches or fading detail, even with a top-tier machine. It is a manual, skilled process, not fully automated. Digitized files are essential for machine embroidery. Involves using different stitch types like satin, fill, and run stitches. The quality of digitizing directly affects the final stitched result. File formats vary, e.g., DST (Tajima), PES (Brother), JEF (Janome). Digitizers consider garment dimensions, fabric type, and stitch density. Embroidery digitizing plays an important role in branding, customization, and the apparel industry. As personalization grows in popularity, accurate digitizing ensures designs convert cleanly on garments. Businesses rely on digitized files for corporate logos, team uniforms, promotional products, and fashion items. For individuals, digitizing opens up possibilities: custom gifts, team caps, patches, and more. Without it, embroidery machines lack the instructions needed and businesses lose consistency and quality. Key reasons it matters include: Enables consistent stitching across bulk orders. Supports scaling production for apparel and promotional products. Enhances branding and professional appearance. Meets customer demand for custom designs and fast turnaround. Supports multiple garment types: shirts, jackets, hats, bags, and more. The embroidery digitizing industry is growing rapidly as part of the larger custom apparel and decoration market. Businesses and individuals both are investing in personalized products, which has significantly raised the demand for digitizing services. With machines becoming more advanced and software solutions improving every year, this part of the industry continues to attract both startups and established service providers. Market data shows steady and promising growth across different industries, from equipment and digitizing services to software platforms. Here’s a breakdown of the latest statistics from reliable industry sources: These numbers reflect the growing reliance on digitizing as a core service in the embroidery world. From software development to faster machines and higher design volume, the upward trend is steady across the board. Machine embroidery digitizing is the most popular technique nowadays for converting designs into stitched products. Most commercial embroidery providers depend on digitized files to achieve speed and consistency. Its popularity has been raised by consumer expectations for customization. Whether someone wants a monogram on a jacket or custom caps for an event, digitized embroidery delivers clean and repeatable results.Retailers and businesses now expect brand consistency across every product. Machine embroidery represents 60 to 70% of the total embroidery market, largely enabled by digitizing. Automated and digital systems now make up around 45% of the market, reducing labor and improving efficiency. Custom embroidery digitizing accounts for about 45% of overall apparel decoration services. Today, customers expect speedy service. Most businesses aim to deliver digitized embroidery files within a few business days. In practice: Simple logos (like left chest or hat designs) can be digitized within 1–2 business days. More complex full-back designs or multi-color logos typically take 2–3 business days. But at Digitizing USA, we take pride in fast service. We aim to deliver digitized files within 2 to 6 hours. The adoption of embroidery digitizing software continues to rise as technology becomes increasingly accessible. In 2024, the embroidery design software market was nearly USD 800 million, growing at a 7.5 to 8.8% CAGR by 2033. North America leads adoption, with commercial digitizers representing roughly 50% of usage; individual stitchers and hobbyists make up another 35%. Leading brands include Wilcom, Hatch, Pulse, and Embrilliance; business users often pay $800 to $1200 for subscriptions or licenses, while professional-level tools can cost $2000–$4000+. At Digitizing USA, we use advanced embroidery digitizing software to create sharp, professional-quality designs at affordable rates. Let us handle the file prep so your designs stitch flawlessly with sharp, professional detail. Certain items account for most custom embroidery digitizing orders: Logo files for left-chest placement (e.g., polos, shirts). Hat or cap embroidery, small to medium designs. Center-chest or full-back shirt/jacket embroidery. Patches, emblems, and detailed branding pieces. At Digitizing USA, we offer a wide range of embroidery digitizing services. Want a left chest logo for your shirt or a full-back design for jackets? We digitize custom embroidery artwork for hats, shirts, jackets, and more. So contact us today for sharp, professional embroidery digitizing that suits your embroidery needs. Embroidery digitizing is no longer a niche service, it’s a driving force behind the modern custom embroidery industry. As demand continues to rise, so does the need for high-quality digitizing that produces clean, precise, and repeatable results on any garment. If you’re working with custom apparel or offering embroidery as part of your business, investing in professional digitizing isn’t just helpful, it’s essential. As more businesses enter the market and the level of competition increases, having fast turnaround times and access to advanced digitizing software gives you a benefit. You also need to keep up with common trends in logo placement, garment types, and file precision. Whether you’re new to the world of embroidery or have been involved for years, the facts and figures tell one clear story. Quality digitizing matters more than ever.What Is Embroidery Digitizing? Key Facts You Should Know
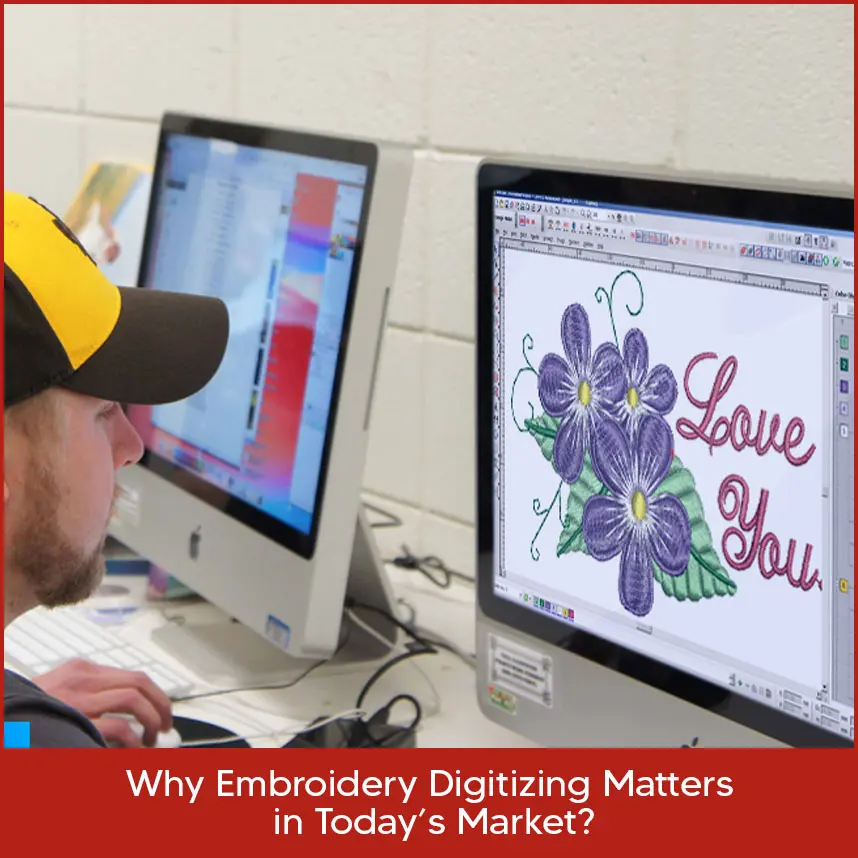
Why Embroidery Digitizing Matters in Today’s Market?
Key Statistics About the Embroidery Digitizing Industry
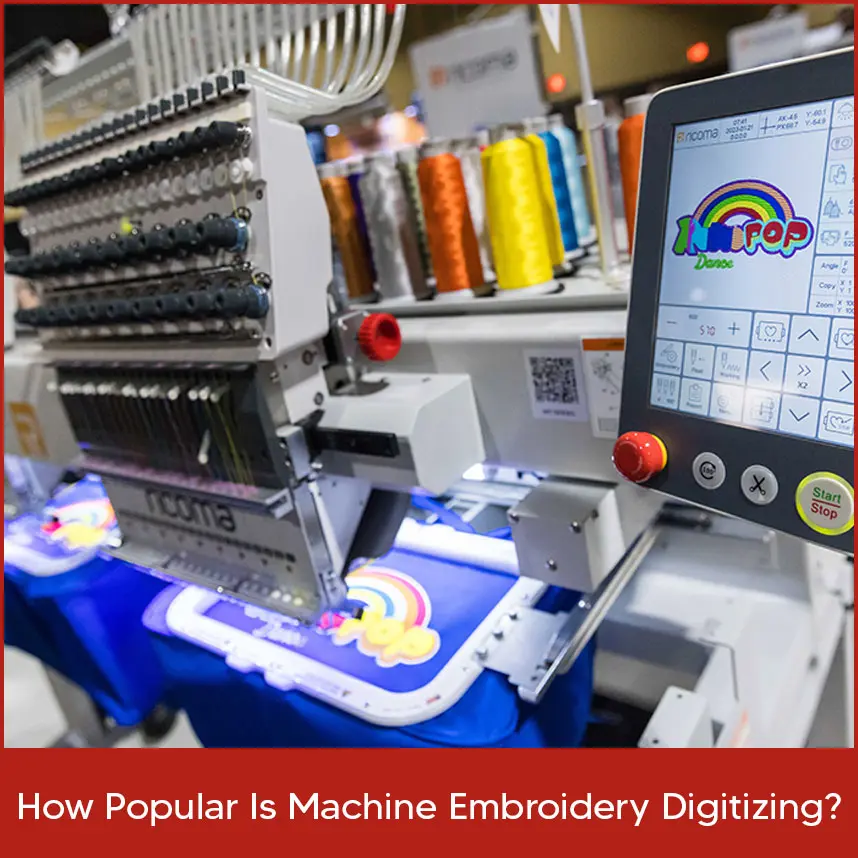
How Popular Is Machine Embroidery Digitizing?
Average Turnaround Time for a Digitized File
Software Adoption Rates in Embroidery Digitizing
Most Commonly Digitized Designs: Logos, Hats, Shirts, and More

Conclusion: What These Facts and Figures Mean for You

