|

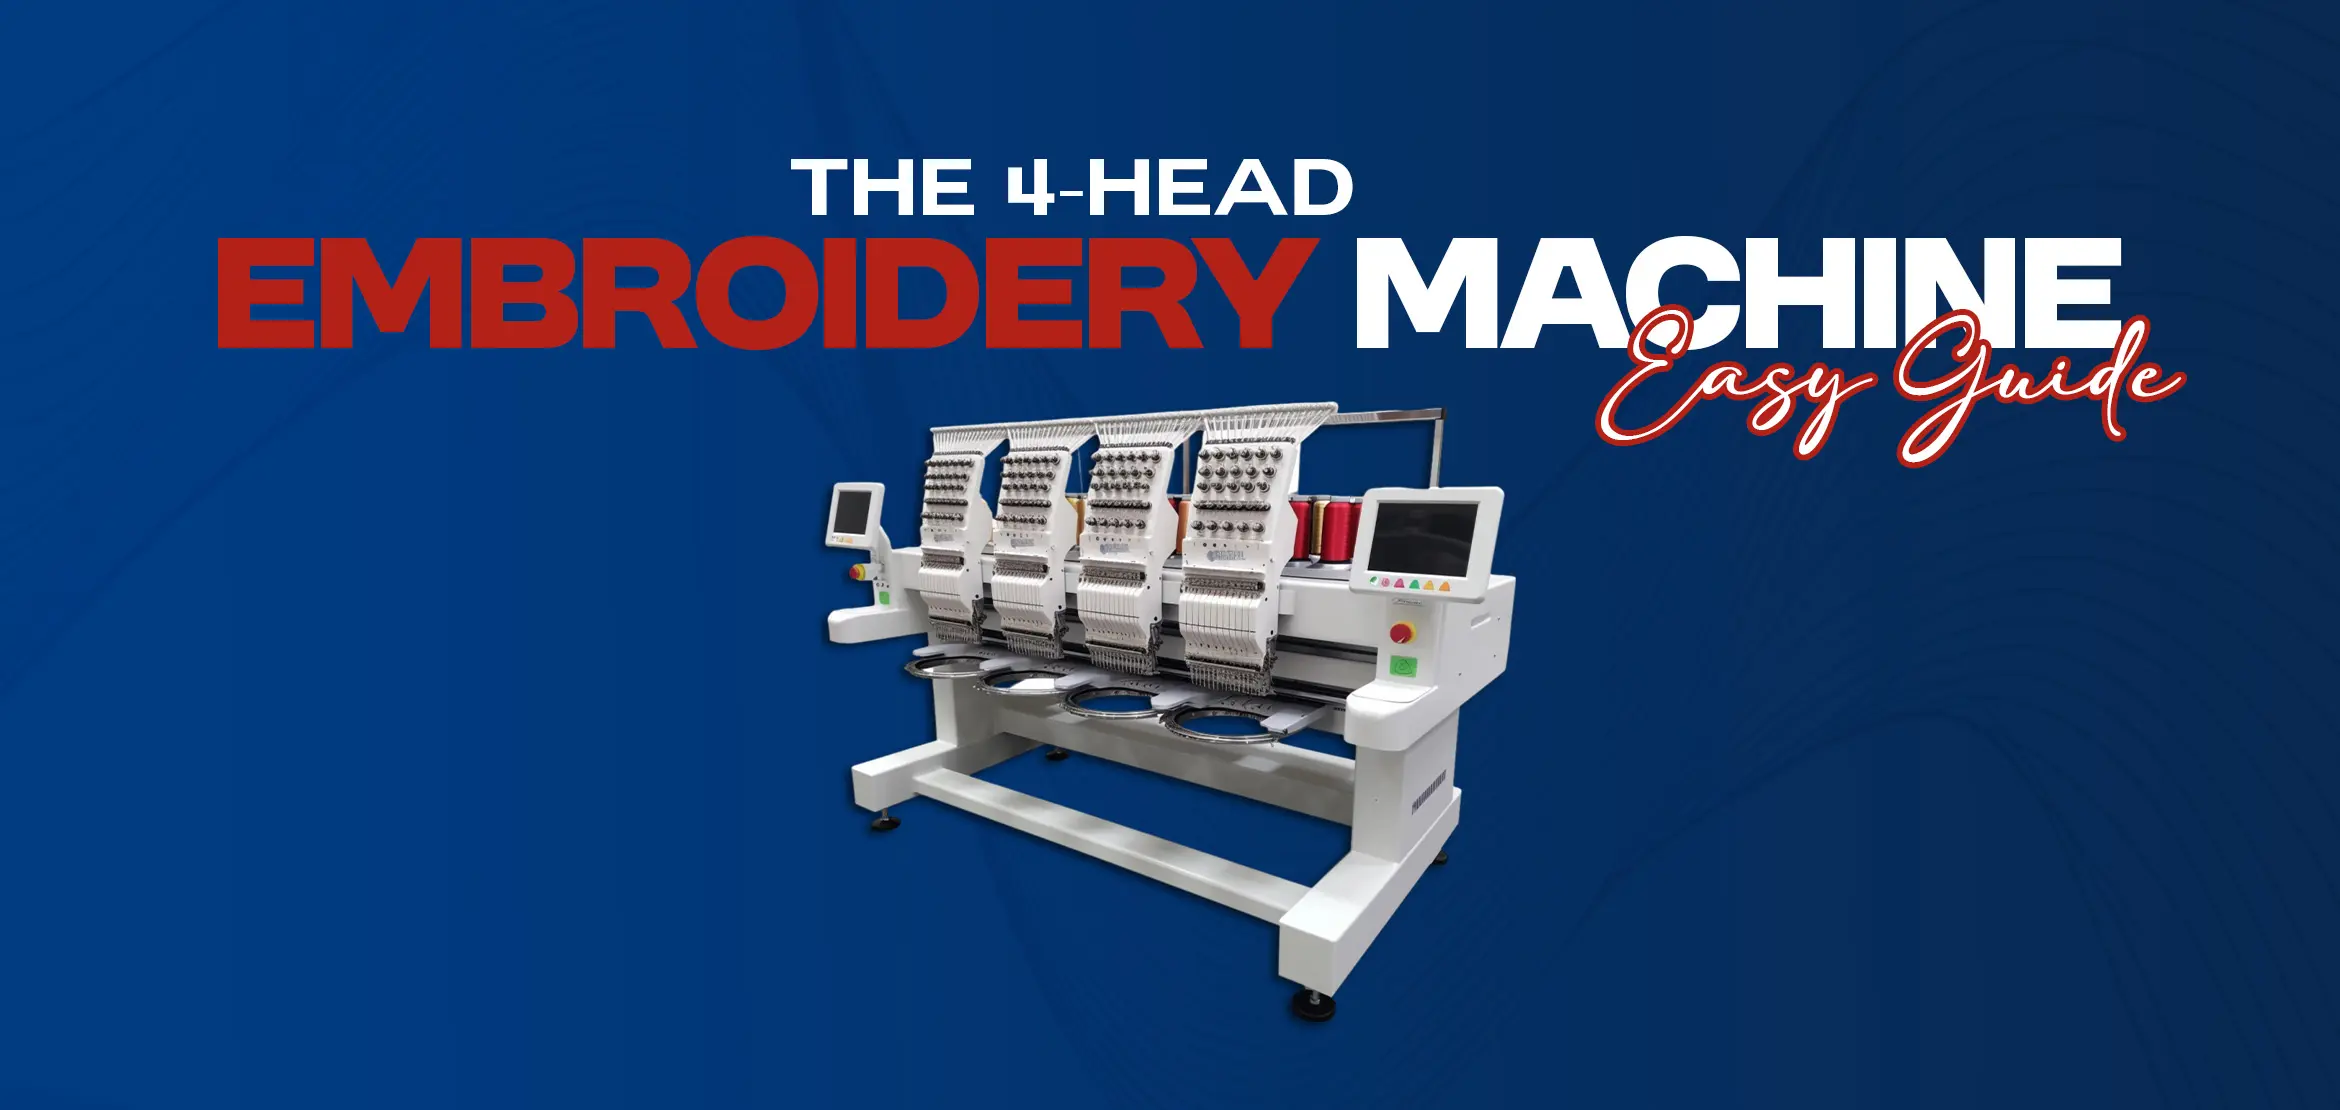
A 4-head embroidery machine is a beloved tool among embroidery enthusiasts and professionals alike. It offers the ability to create stunning and intricate designs on a larger scale, making it ideal for commercial embroidery projects. With the capability to thread up to four different colors simultaneously. This machine simplifies the process of embroidery, saving time and effort. Whether you're a seasoned embroiderer or a beginner looking to take your skills to the next level. 

The 4-head embroidery machine is a versatile and powerful tool that can help you bring your creative visions to life. In this easy guide, we will explore the various functions of the 4-head embroidery machine and provide step-by-step instructions. How to use it effectively to produce beautiful embroidery results.

1. Benefits of a 4-Head Embroidery Machine
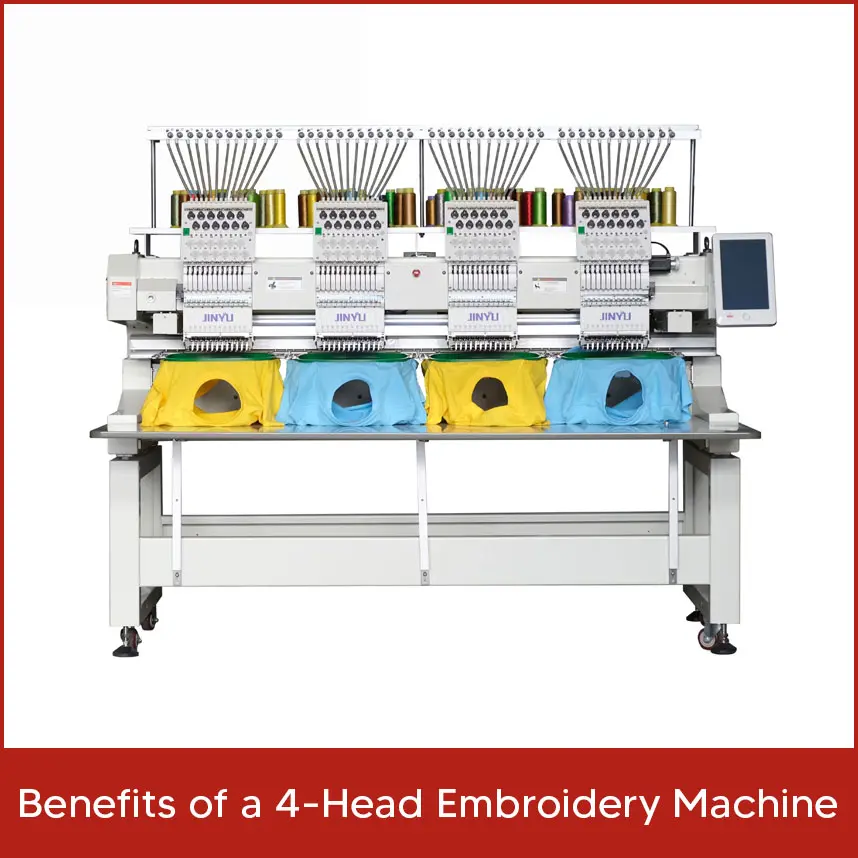
A 4-Head embroidery machine offers numerous benefits for businesses looking to expand their embroidery production. With increased production capacity and efficiency compared to single-head machines. These multi-head machines are tailored for high-demand environments.

One of the key advantages of a 4-Head embroidery machine is its ability to handle larger orders. With four individual needle heads, it can work on multiple garments simultaneously, significantly reducing production time and increasing output. This means you can accommodate a higher volume of clients and take on more complex embroidery projects.

In addition to its higher production capacity, a 4-Head embroidery machine is also cost-effective in the long run. While it may require a larger initial investment, its efficiency and ability to handle larger orders result in a better return on investment over time. This makes it an ideal choice for businesses looking to scale up their embroidery operations.

Expanding businesses can benefit greatly from the increased production capacity and efficiency offered by a 4-Head embroidery machine. With the ability to handle larger orders and cater to a higher volume of clients. These machines are designed to help you meet growing demands and take on more challenging projects. Consider investing in a 4-Head embroidery machine to enhance your embroidery business and achieve faster, more efficient production.

2. Purchasing Considerations

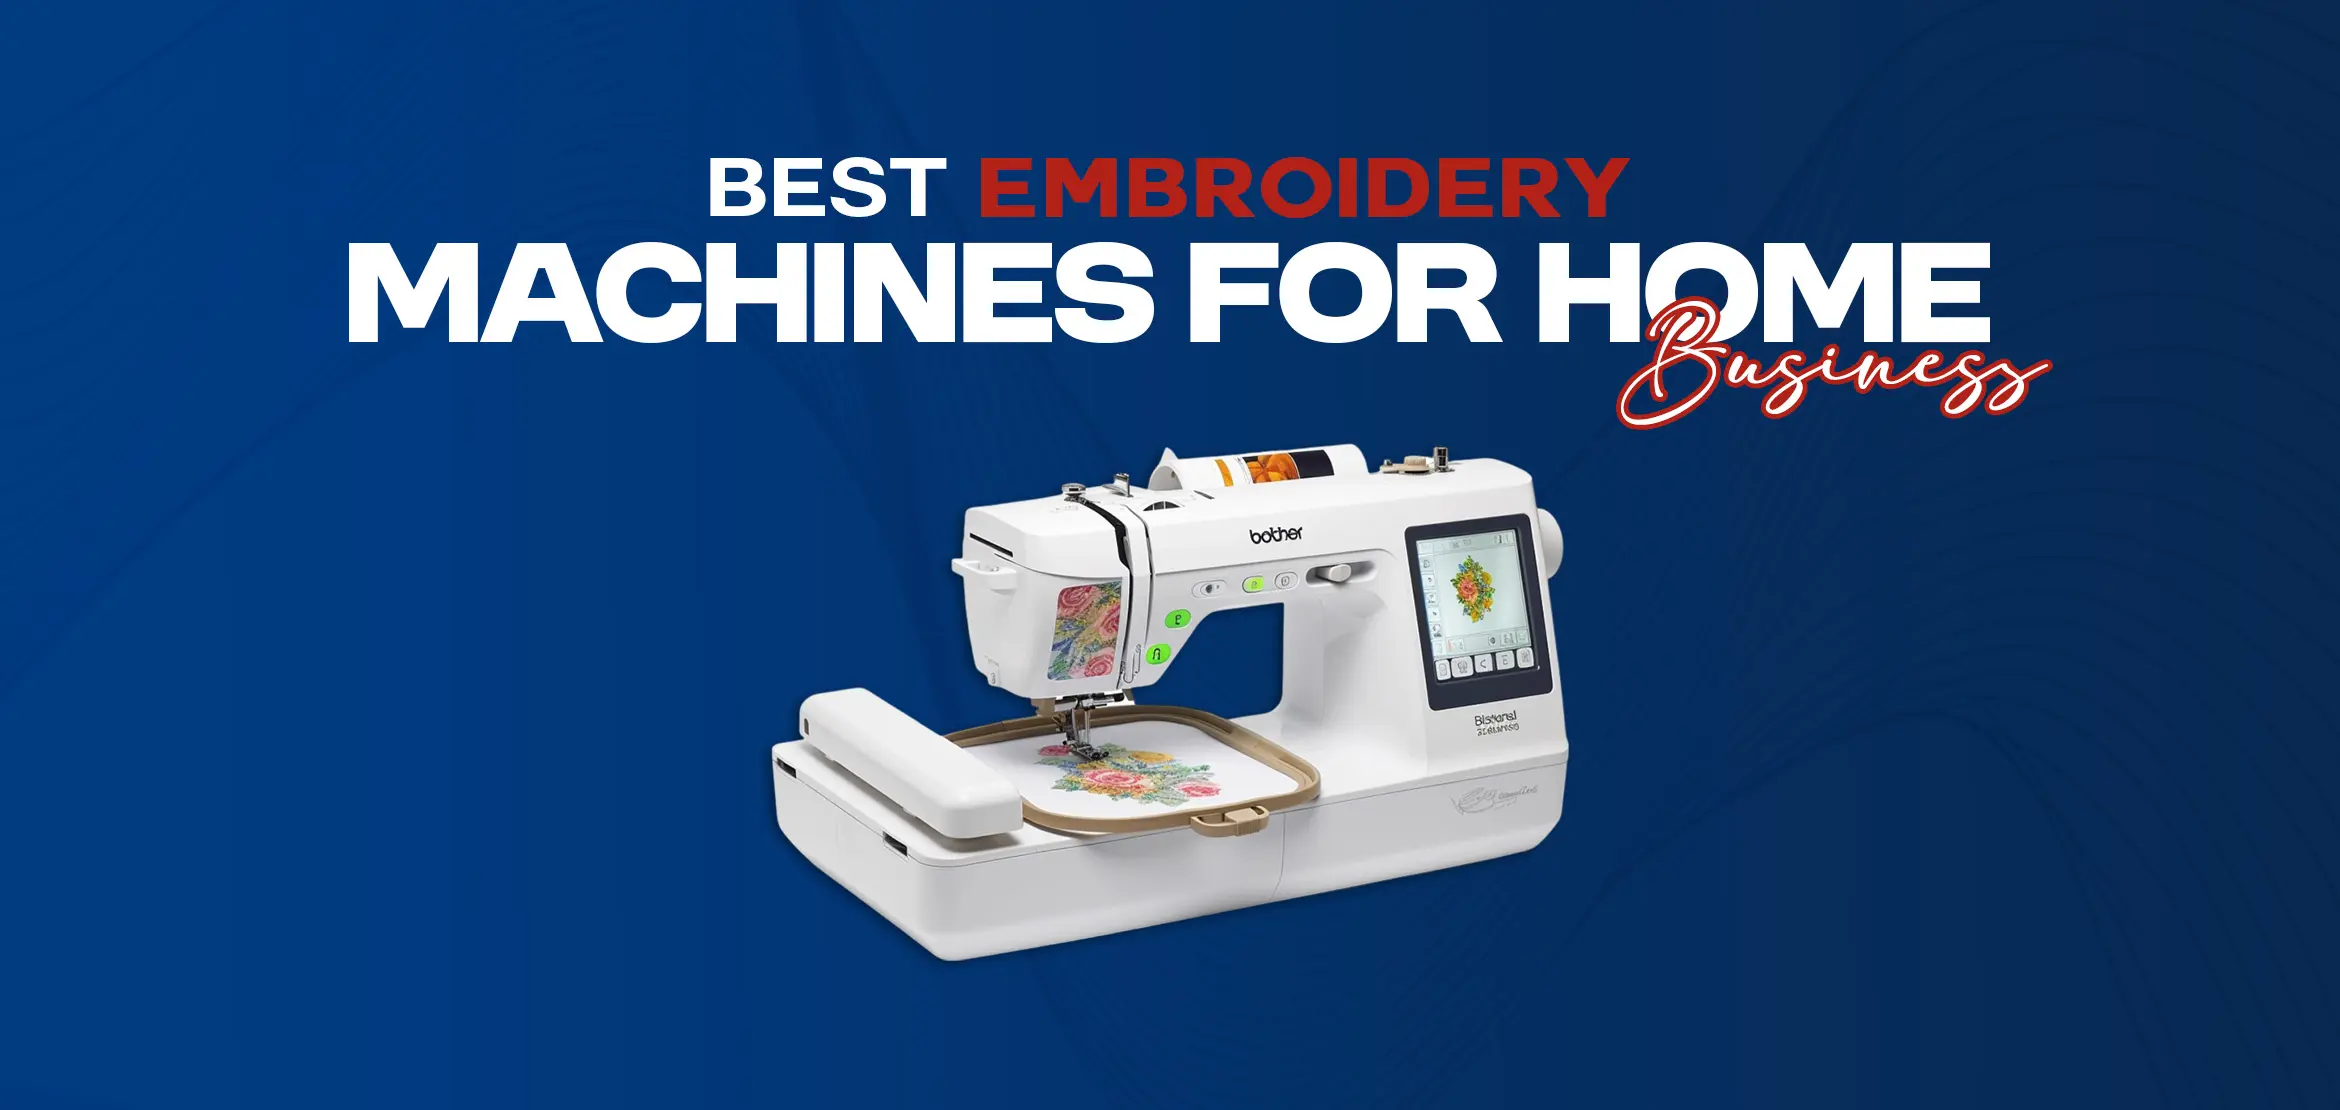
When considering purchasing a 4-Head embroidery machine, there are a few key factors to keep in mind. First and foremost, it's important to assess your business's production needs and determine if a 4-Head machine is the right fit. Consider the volume of orders you receive and whether the machine's higher production capacity aligns with your business goals. Additionally, evaluate the space available in your workspace as 4-Head machines typically require more room than single-head machines. It's also crucial to research and compare different models and brands to find the one that best suits your needs and budget. Pay attention to features such as memory capacity, editing functions, and the type of stabilizer the machine can work with. 

Lastly, consider after-sales service, warranty options, and training provided by the manufacturer or distributor. By thoroughly considering these factors, you can make an informed decision and choose a 4-Head embroidery machine that will support your business's growth and success.

3. 4-Head Embroidery Machine Price

Cost is an important factor to consider when shopping for a 4-head embroidery machine. The price range for these machines can vary depending on several factors. Models like the Baby Lock Venture and Janome MC15000 are popular choices in this category.

The cost of 4-head embroidery machines typically starts from around $10,000 and can go up to $30,000 or more. The price varies based on the number of needles and the built-in features that the machine offers. Machines with more needles and advanced features tend to be on the higher end of the price spectrum.

It's worth noting that investing in a high-quality embroidery machine can bring long-term benefits. These machines are designed for commercial use and can handle multiple projects simultaneously. Making them a great choice for those looking to start an embroidery business or take on larger-scale projects.

To make the best decision for your needs and budget, it's recommended to research different models, compare pricing, and consider the specific features and capabilities you require. Additionally, some manufacturers offer financing options that allow you to make monthly payments, making the investment more manageable.

By understanding the cost range of 4-head embroidery machines and assessing your specific requirements, you can make a well-informed decision and lay the foundations for beautiful embroidery projects.

4. Features and Specifications

The 4-Head Embroidery Machine is a powerful and versatile machine that is ideal for commercial embroidery projects. It features four needles, allowing you to embroider multiple designs simultaneously, saving you time and increasing productivity.

With a spacious embroidery area, this machine can accommodate large designs and bulky items with ease. The embroidery area measures [provide the dimensions].

One of the notable features of the 4-Head Embroidery Machine is its extensive library of built-in designs. With a wide range of options to choose from. You can create beautiful and intricate embroidery projects without the need for additional software or digitizing.

In addition to the built-in designs, the machine also offers editing functions, allowing you to customize and modify designs to suit your specific needs. You can adjust stitch density, resize designs, and even add lettering fonts to create personalized and unique embroidery pieces.

The machine comes with a USB port, making it easy to transfer embroidery designs from your computer or other devices. It also has a memory capacity that allows you to store and retrieve your favorite designs for future use.

Overall, the 4-Head Embroidery Machine is a reliable and efficient option for those in need of a multi-head embroidery machine. Its advanced features, ample embroidery area, and extensive library of built-in designs make it a standout choice for commercial embroidery projects.

5. Space Requirements

When setting up a 4-Head Embroidery Machine, it's important to consider the space requirements to ensure optimal functionality and efficiency. The dimensions of the machine itself are an important factor to consider, but you also need to account for the necessary workspace.

Firstly, the dimensions of the machine include the size of each embroidery head. As well as the overall width and depth of the machine. Based on the specific model, the machine may measure [provide dimensions]. It's crucial to have a dedicated area that can accommodate the full width and depth of the machine.

In addition to the machine itself, you also need to consider the space needed for maneuverability. The embroidery area of the machine, which measures [provide dimensions], requires sufficient space. To allow for smooth movement of the hoop during the embroidery process. This ensures that your designs are accurately stitched onto the fabric.

Furthermore, having a spacious work table is essential. This allows you to comfortably position your materials, organize your thread colors. And access any additional tools or equipment you may need during the machine embroidery process. A clutter-free and well-organized workspace can significantly enhance your productivity and accuracy.

By considering the space requirements, including the dimensions of the machine, workspace, embroidery area, and work table. You can create an optimized setup for your 4-Head Embroidery Machine. This will not only ensure the smooth operation of the machine but also enhance your overall embroidery experience.

6. Support and Warranty Information

When it comes to support and warranty, the 4-head embroidery machine offers exceptional coverage and assistance. The manufacturer provides various types of support to ensure customer satisfaction.

For any inquiries or concerns, a dedicated customer service team is available to provide assistance. Whether you have questions about the machine's features, troubleshooting issues, or need guidance on specific embroidery projects, the customer service team is ready to help.

In addition to customer service, technical assistance is also available. If you encounter any technical difficulties or require guidance on using the machine's advanced features. The technical support team will provide you with the necessary solutions.

The warranty coverage for the 4-head embroidery machine is comprehensive. It covers any defects in materials or workmanship, ensuring peace of mind for the buyer. The duration of the warranty may vary, so it's essential to check the specific terms and conditions provided by the manufacturer.

Furthermore, the manufacturer also offers additional resources and benefits. These may include online tutorials, instructional videos, and user manuals to aid in the operation and maintenance of the machine. These resources can be valuable for beginners and experienced embroiderers alike.

Overall, the support and warranty provided by the manufacturer of the 4-head embroidery machine ensure a smooth and hassle-free experience, allowing you to focus on creating beautiful designs with confidence.

7. Setup and Installation

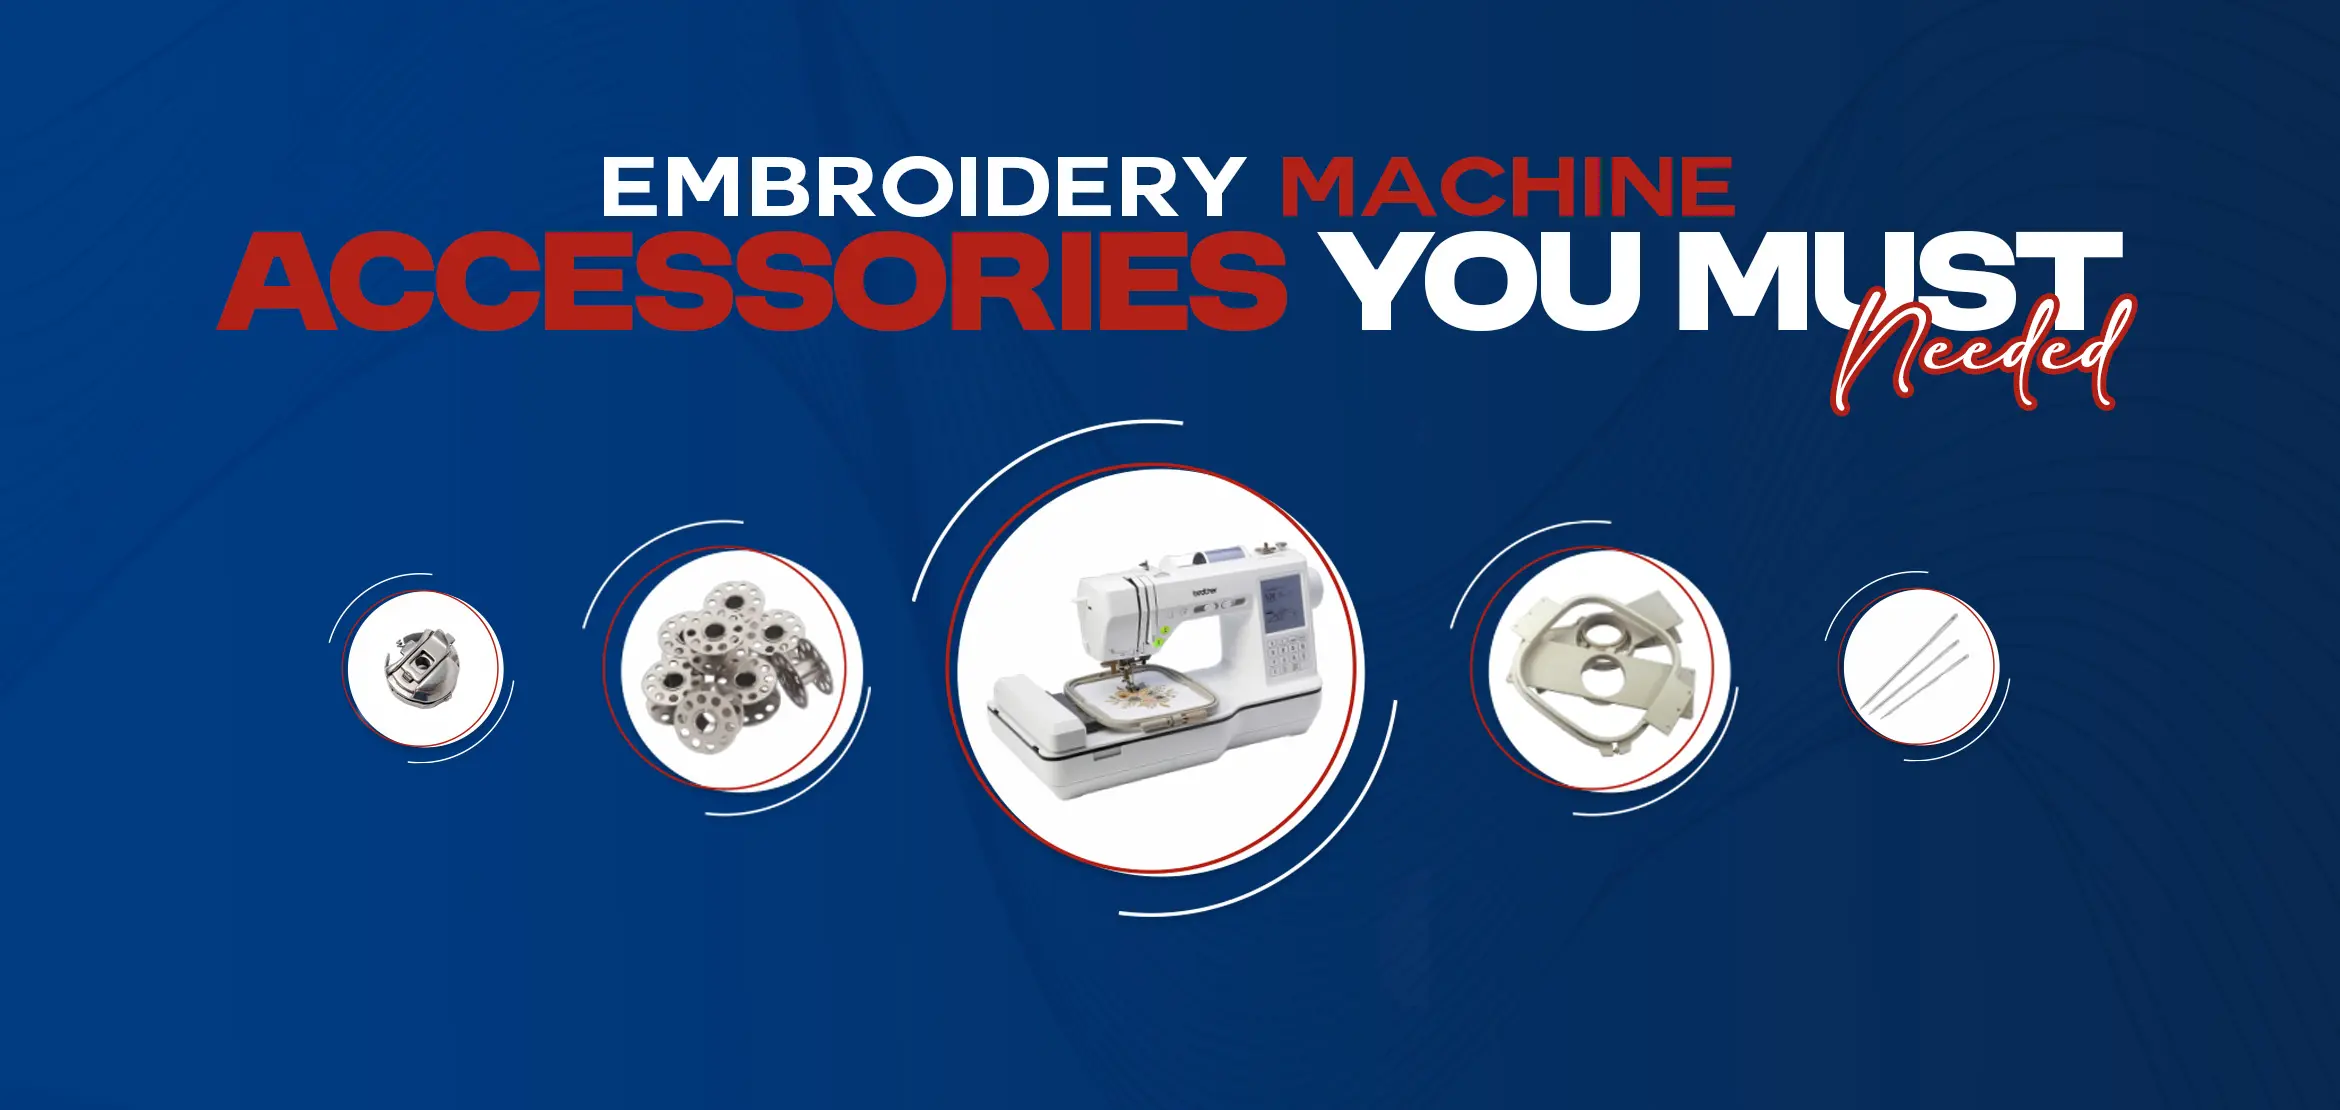
Setting up and installing the 4-head embroidery machine is a breeze with the easy-to-follow instructions provided by the manufacturer. The machine comes with everything you need to get started, including an embroidery hoop, embroidery threads, and stabilizers. 

First, make sure to choose a suitable location for your machine, preferably a spacious area with good lighting and access to a power source. 

Then, assemble the machine according to the detailed step-by-step guide included in the package. 

Connect the machine to a computer using the USB port, and install any necessary embroidery software. Once the machine is properly set up, you can load your desired embroidery designs onto the machine using a USB drive or by transferring them from your computer. 

With the setup and installation completed, you're ready to unleash your creativity and start embroidering beautiful designs on a variety of textiles.

8. Setting Up the Machine in Its New Home

Setting up the 4-head embroidery machine in its new home is a straightforward process that requires careful consideration of space requirements. Support and warranty, as well as proper setup and installation.

First and foremost, it is important to ensure that you have enough space to accommodate this multi-head embroidery machine. Measure the dimensions of the machine and allocate ample space for it to operate efficiently. Consider the necessary clearance around the machine for smooth movement and easy access.

Next, make sure to familiarize yourself with the support and warranty information provided by the manufacturer. Understand the terms and conditions of the warranty and contact customer support if you have any questions or concerns.

When it comes to setting up and installing the machine, carefully follow the step-by-step guide provided by the manufacturer. This may involve assembling the various components, connecting the machine to a power source, and installing any necessary software or firmware updates.

Once the machine is set up and ready to go, take the time to familiarize yourself with its features and functions. Experiment with different thread colors, embroidery designs, and embroidery projects to unleash your creativity.

Remember, proper setup and installation are crucial for the smooth operation of the 4-head embroidery machine. Taking the necessary steps to ensure a solid foundation of machine embroidery will result in beautiful designs and a satisfying finished project.

9. Connecting to Power Source and Computer Network

To connect the 4-head embroidery machine to a power source, start by finding a suitable power outlet. Ensure that the outlet is within reach of the machine's power cord. Plug the cord into the outlet securely, making sure it is properly inserted.

To ensure a stable power supply, avoid using extension cords or power strips, as they may not provide sufficient power for the machine's operation. Instead, plug the machine directly into the power outlet. If necessary, consult an electrician to ensure that the outlet can handle the required power load.

Connecting the machine to a computer network can be done either through a wired or wireless connection. For a wired connection, locate the Ethernet port on the machine and connect one end of an Ethernet cable to it. Connect the other end of the cable to the available Ethernet port on your router or modem.

For a wireless connection, access the machine's network settings and select the appropriate Wi-Fi network from the list of available options. Enter the network password if required. Once connected, the machine will be able to communicate with your computer and access online resources such as embroidery designs and software updates.

By following these steps, you can easily connect the 4-head embroidery machine to a power source and a computer network. Ensuring smooth operation and access to a wide range of embroidery resources.

10. Testing the Equipment Before Use

Before using the 4-head embroidery machine, it is crucial to test the equipment to ensure proper functionality and prevent any issues during operation. Testing the machine before starting any embroidery projects can save time and frustration in the long run.

To effectively test the 4-head embroidery machine, focus on key aspects such as embroidery accuracy, sewing performance (if applicable), and ease of use. By evaluating these aspects, you can determine if the machine meets your expectations and needs.

Start by examining the embroidery accuracy of the machine. Test different embroidery designs and patterns to ensure that the machine can accurately stitch the designs without any distortion or misalignments. Pay attention to the details and intricacies of the designs to ensure that the machine can deliver precise and flawless results.

Additionally, evaluate the sewing performance of the machine, if it has this capability. Test different sewing techniques and fabrics to assess how well the machine handles different materials and stitch types. It should be able to sew smoothly and evenly, without any skipped stitches or uneven tension.

Lastly, consider the ease of use of the 4-head embroidery machine. Assess the user interface, controls, and overall functionality. Ensure that the machine is intuitive and user-friendly, allowing for easy navigation and adjustment of settings. This will make the machineembroidery process more efficient and enjoyable.

By thoroughly testing the 4-head embroidery machine before use. You can identify any potential issues, ensure its proper functionality, and have confidence in its performance. This will ultimately result in beautiful embroidery projects and a smooth operation.

11. Operation Basics for Beginners

When starting out with a 4-head embroidery machine, it's important to understand the operation basics to ensure a smooth and successful embroidery process. This guide will provide beginners with a step-by-step tutorial on how to use a 4-head embroidery machine effectively. By following these instructions, beginners will be able to navigate the features and functions of the machine. Select and prepare the right materials, and execute their embroidery projects with ease.

1. Familiarize Yourself with the Machine

Before you begin using the 4-head embroidery machine, take the time to read the instruction manual provided by the manufacturer. This will help you understand the various parts, buttons, and controls of the machine. Get to know the different settings and functionalities available.

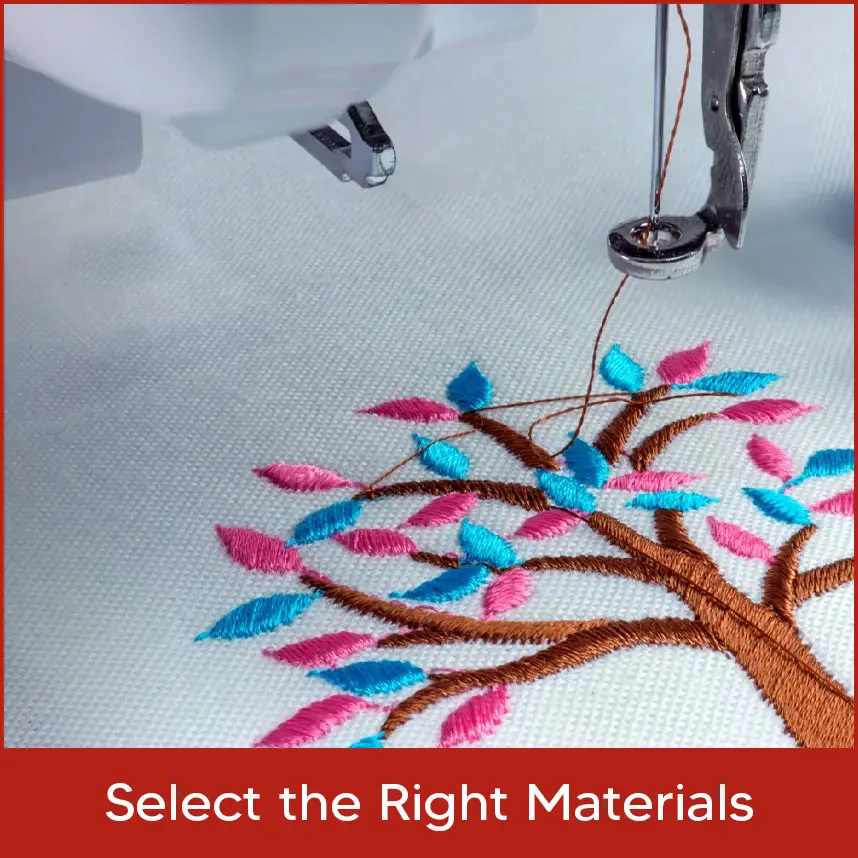
2. Select the Right Materials

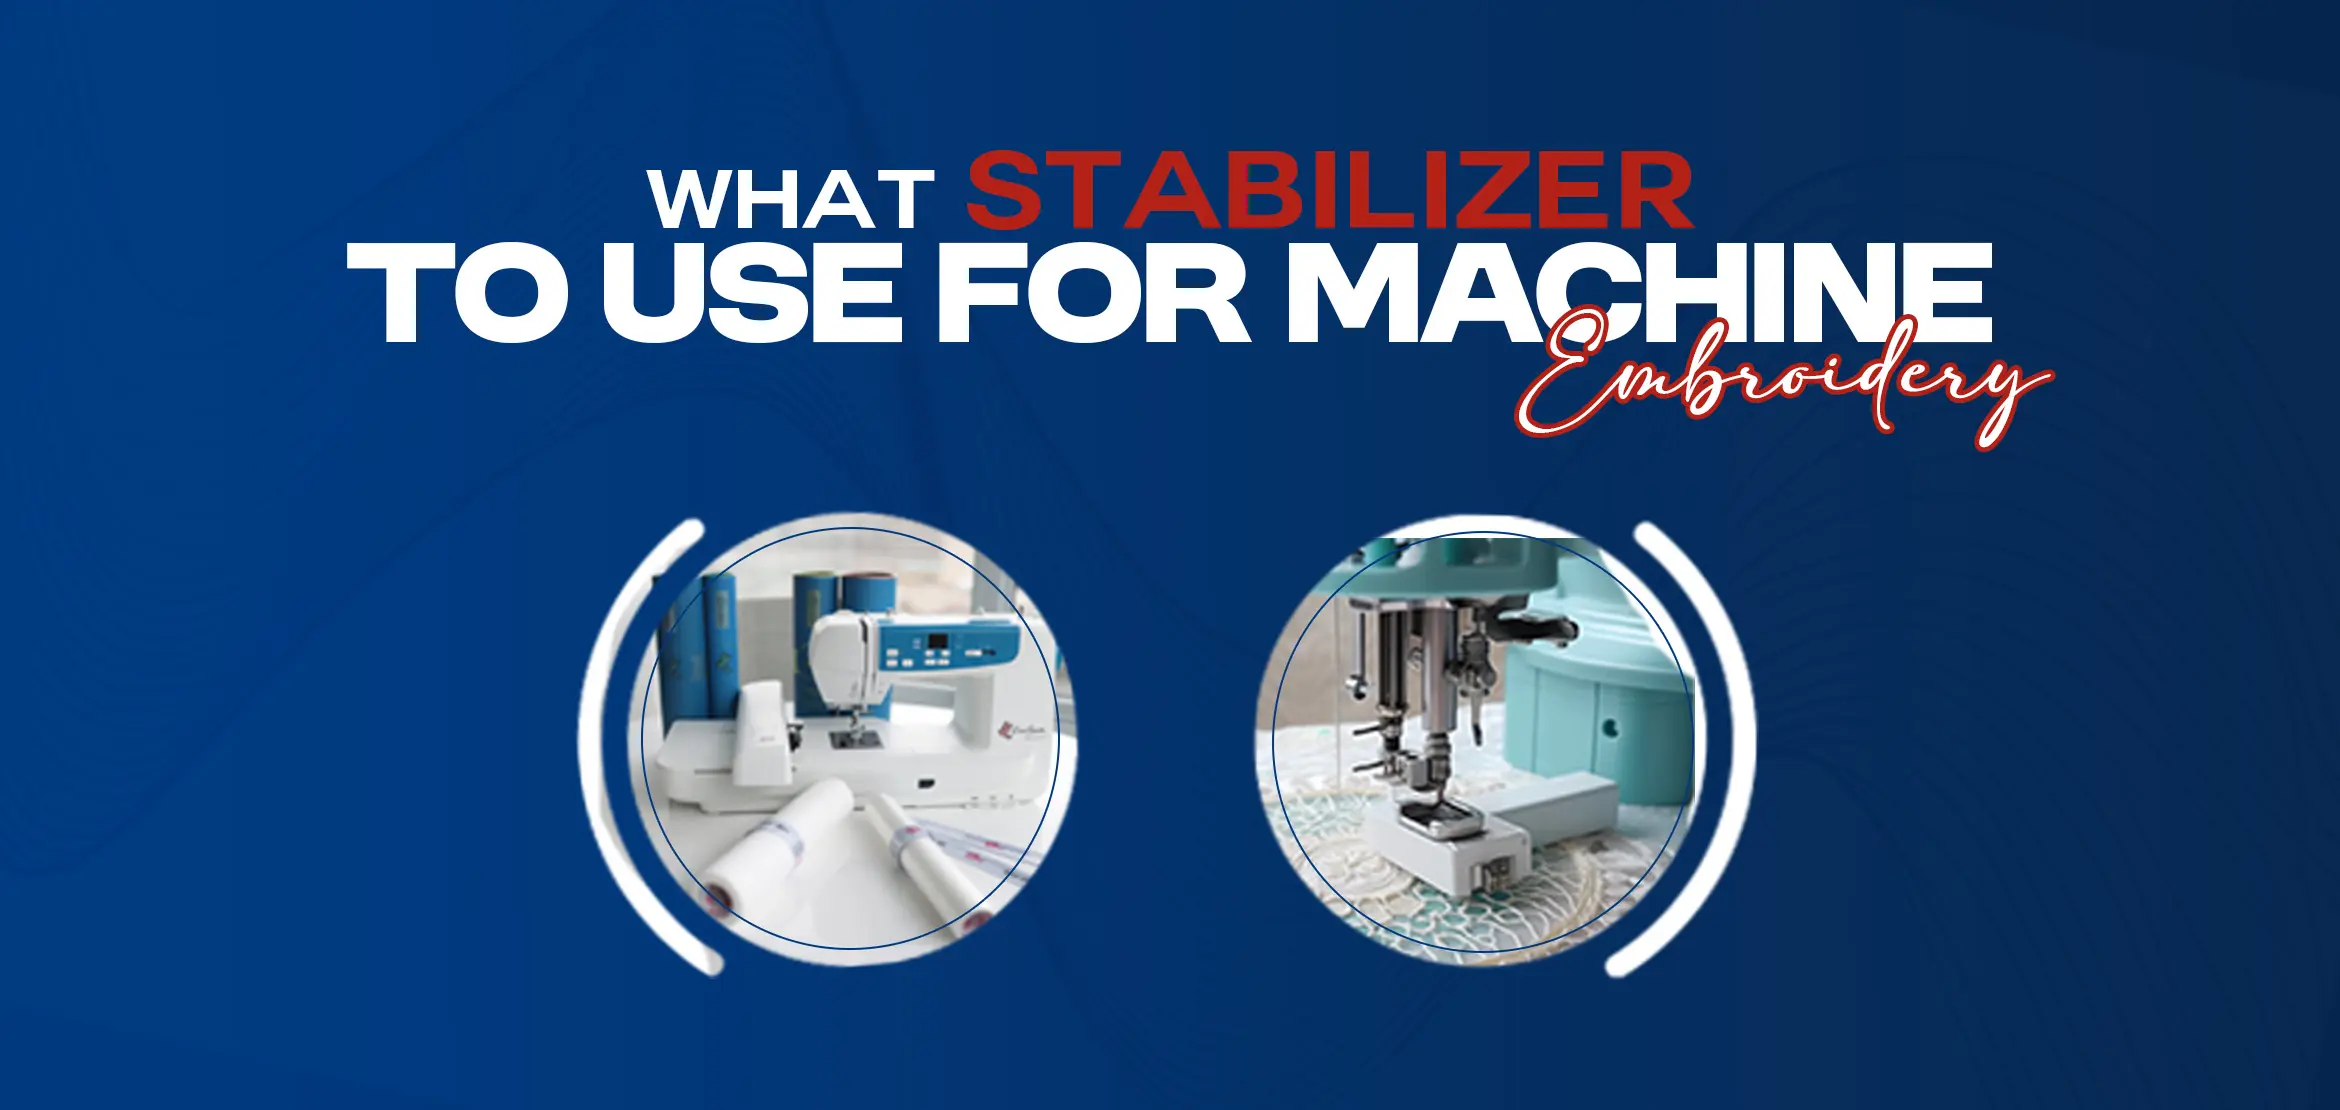
Choose the appropriate thread colors, stabilizers, and fabrics for your embroidery project. Polyester embroidery thread is commonly used for its durability and vibrant colors. Consider the design and fabric type to determine the appropriate stabilizer to use. Ensure that the fabric is clean and free from wrinkles.

3. Prepare the Hoop

Attach the embroidery hoop to the machine, ensuring that it is secure. Adjust the hoop size according to the size of your design. Make sure the fabric is centered and taut within the hoop to avoid any distortion during the embroidery process.

4. Load the Design

If the machine has built-in designs, select the desired design from the library. If you have your own design, transfer it to the machine using a USB port or embroidery software. Once the design is loaded, position it on the fabric within the hoop using the machine's editing functions.

5. Thread the Machine

Thread each needle head with the chosen thread color. Follow the threading path indicated in the machine's manual, making sure the upper thread is correctly inserted and tension is set properly. Load the embroidery bobbin thread and ensure it is threaded correctly.

6. Start Embroidering

Double-check all settings and make any necessary adjustments. Lower the presser foot to secure the fabric. Begin the embroidery process by pressing the start button. Monitor the machine as it embroiders and make sure the thread is flowing smoothly and evenly.

7. Finishing Touches

Once the design is complete, trim any excess thread and remove the fabric from the hoop. Carefully tear away any stabilizer and give the embroidered piece a final press with a warm iron.

By following these operation basics, beginners can confidently start their embroidery journey with a 4-head embroidery machine and create beautiful designs with ease and precision.

12. Threading the Needles

Threading the needles on a 4-head embroidery machine is a crucial step in preparing your machine for embroidery. Here is a step-by-step guide to help you navigate this process effectively:

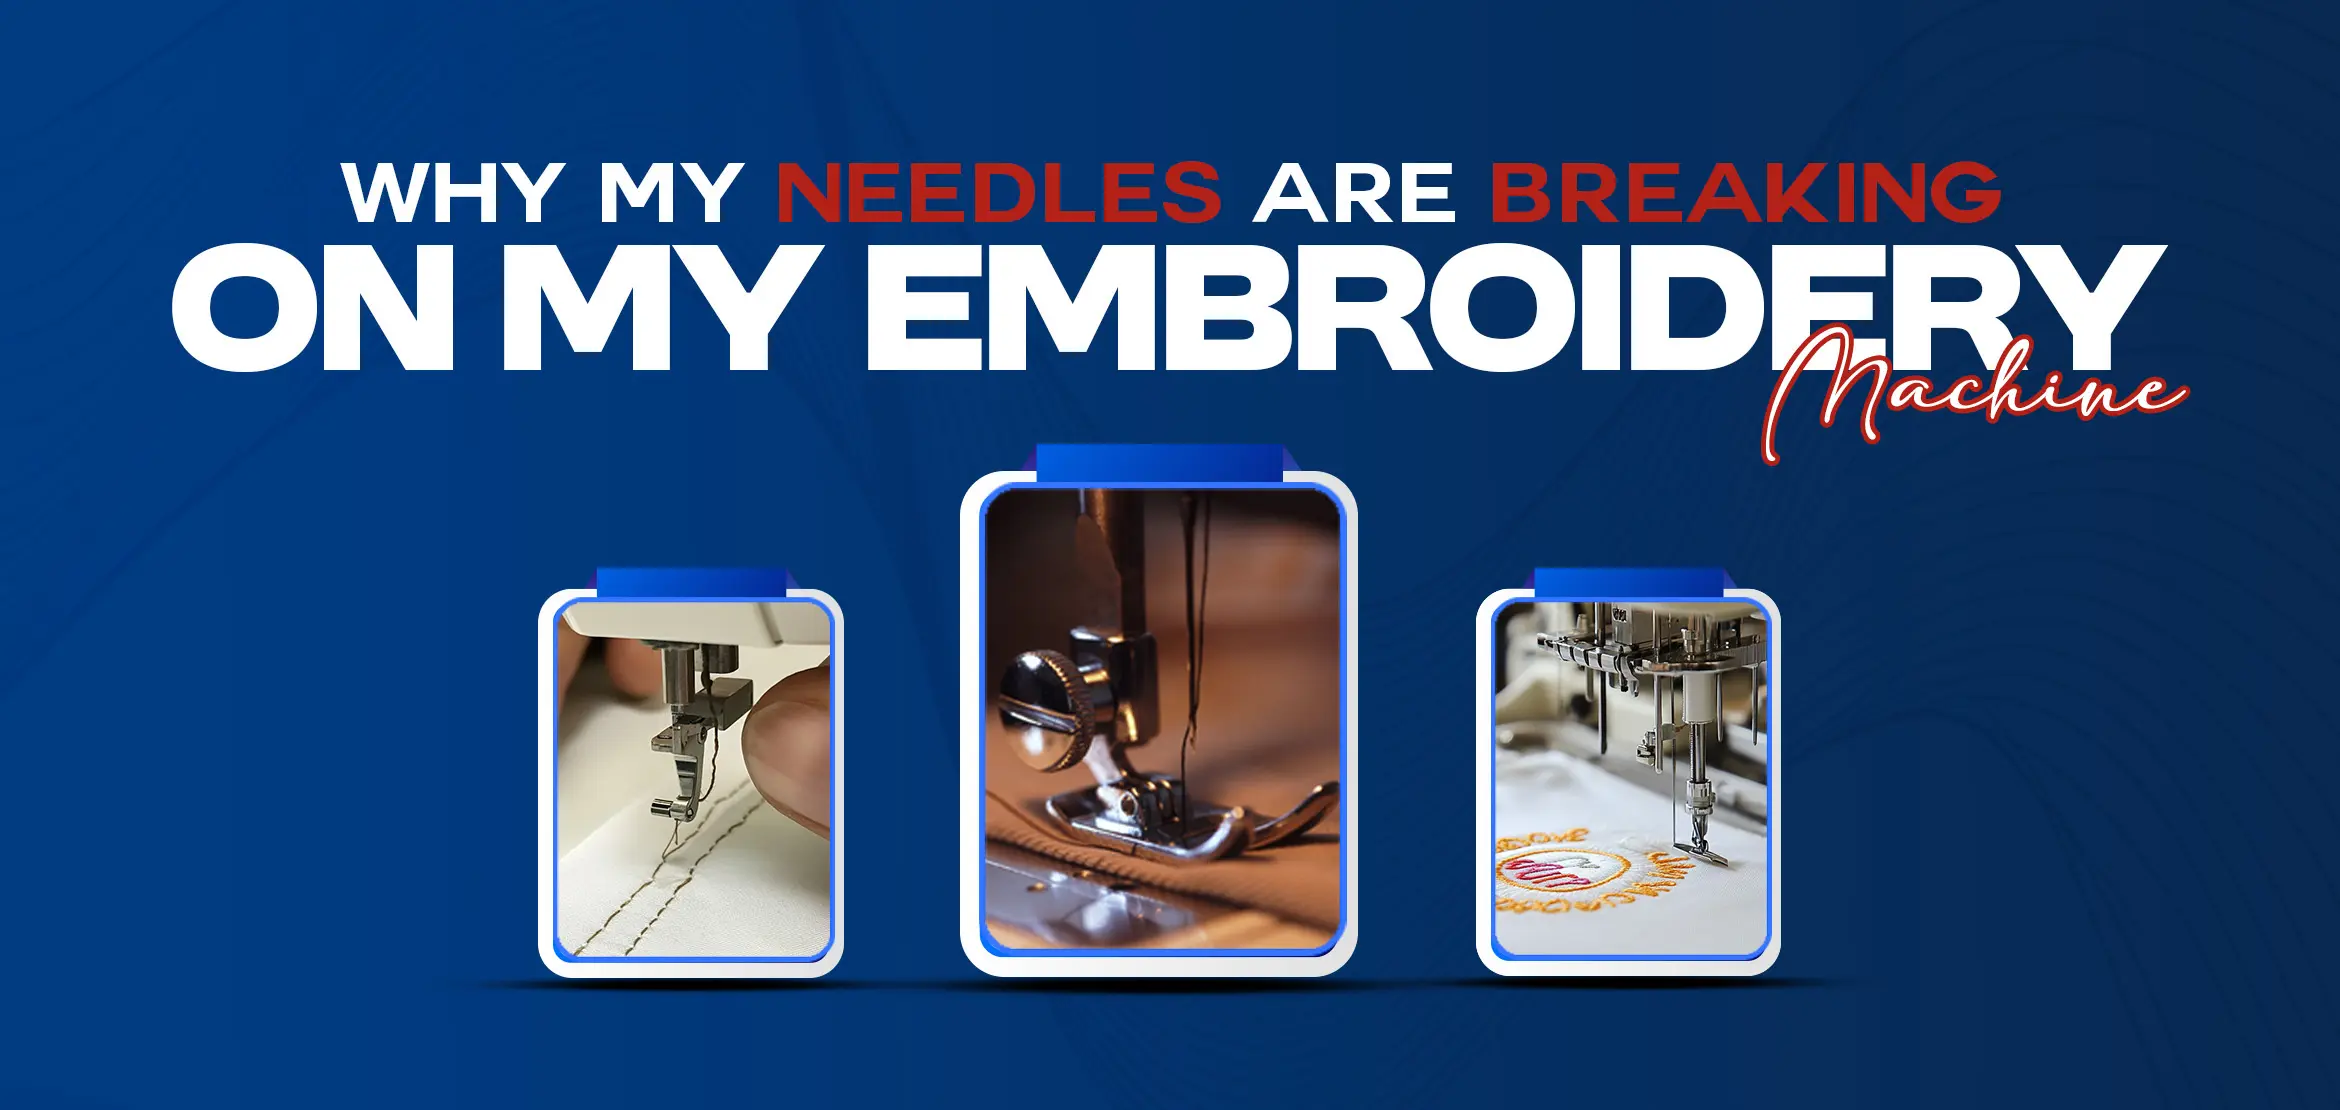
1. Start by selecting the correct needle for the job. Consider both the size and type of needle based on the fabric weight and texture. Choosing the right needle ensures optimal stitching and prevents any damage to your fabric.

2. Locate the needle clamp on the machine. Each needle head on a 4-head embroidery machine has its own needle clamp. Ensure that you are threading the correct needle clamp before proceeding.

3. Examine the needle closely. The embroidery needle has a long eye, which is specifically designed to accommodate embroidery thread. This elongated eye allows for smooth and easy threading.

4. Begin threading the needle. Take the embroidery thread and insert it through the eye of the needle. Pay attention to the widened groove in the needle, as this will help guide the thread through the eye smoothly.

5. Continue threading until the thread reaches the bottom of the needle. Make sure the thread is properly inserted and securely held in place within the needle.

6. Repeat the threading process for each needle head on your 4-head embroidery machine. Ensure that you are using the appropriate needle for each needle clamp.

By following these steps, you can confidently thread the needles on your 4-head embroidery machine, ensuring a smooth and successful embroidery process. Remember to consider the fabric weight and texture, as well as the size and type of needle, to achieve the best results.

Conclusion

In conclusion, the 4-Head embroidery machine is a powerful tool that can revolutionize your embroidery projects, whether you're a seasoned pro or just starting out. Its benefits, including increased production capacity and efficiency, make it a smart choice for businesses aiming to expand their embroidery operations.

When considering purchasing one, remember to assess your production needs, available space, and budget. Research different models, compare prices, and explore financing options to make an informed decision.

The price range for these machines varies, but the long-term benefits justify the investment, especially if you're looking to start an embroidery business or take on larger-scale projects.

With its advanced features, extensive library of designs, and easy setup, the 4-Head embroidery machine offers endless creative possibilities. So, take the leap, invest in your passion, and elevate your embroidery game today. Contact us at embroidery digitizing USA to learn more and get started on your embroidery journey!

FAQs (Frequently Asked Questions)


Q1. What are the benefits of using a 4-Head embroidery machine?

A 4-Head embroidery machine offers increased production capacity and efficiency, making it ideal for handling larger orders and complex projects. It can significantly reduce production time and is cost-effective for businesses in the long run.

Q2. What factors should I consider when purchasing a 4-Head embroidery machine?

When buying a 4-Head embroidery machine, consider your production needs, available workspace, machine features, and budget. Research different models, warranty options, and after-sales support.

Q3. What is the price range for 4-Head embroidery machines?

The price of 4-Head embroidery machines typically starts around $10,000 and can go up to $30,000 or more, depending on the machine's features and capabilities. Higher-end machines offer more advanced functionality.

Q4. What are the key features of a 4-Head embroidery machine?

A 4-Head embroidery machine features four needles, a spacious embroidery area, a library of built-in designs, editing functions, USB connectivity, and memory capacity. It is designed for efficient multi-head embroidery projects.

Q5. How do I set up and test a 4-Head embroidery machine before use?

Setting up involves choosing the right location, connecting to a power source and computer network, and testing the machine's embroidery accuracy and sewing performance to ensure it functions correctly.


Related Tags

#4-Head #Embroidery Machine

Liza Charles

Vector Artist

Liza Charles is a professional vector artist and embroidery digitizing expert with over a decade of experience. Known for her award-winning designs, she crafts unique applique creations and shares valuable industry tips through her blog at Digitizing USA.